Get a Flawless Finish with One Hour Enamel Paint
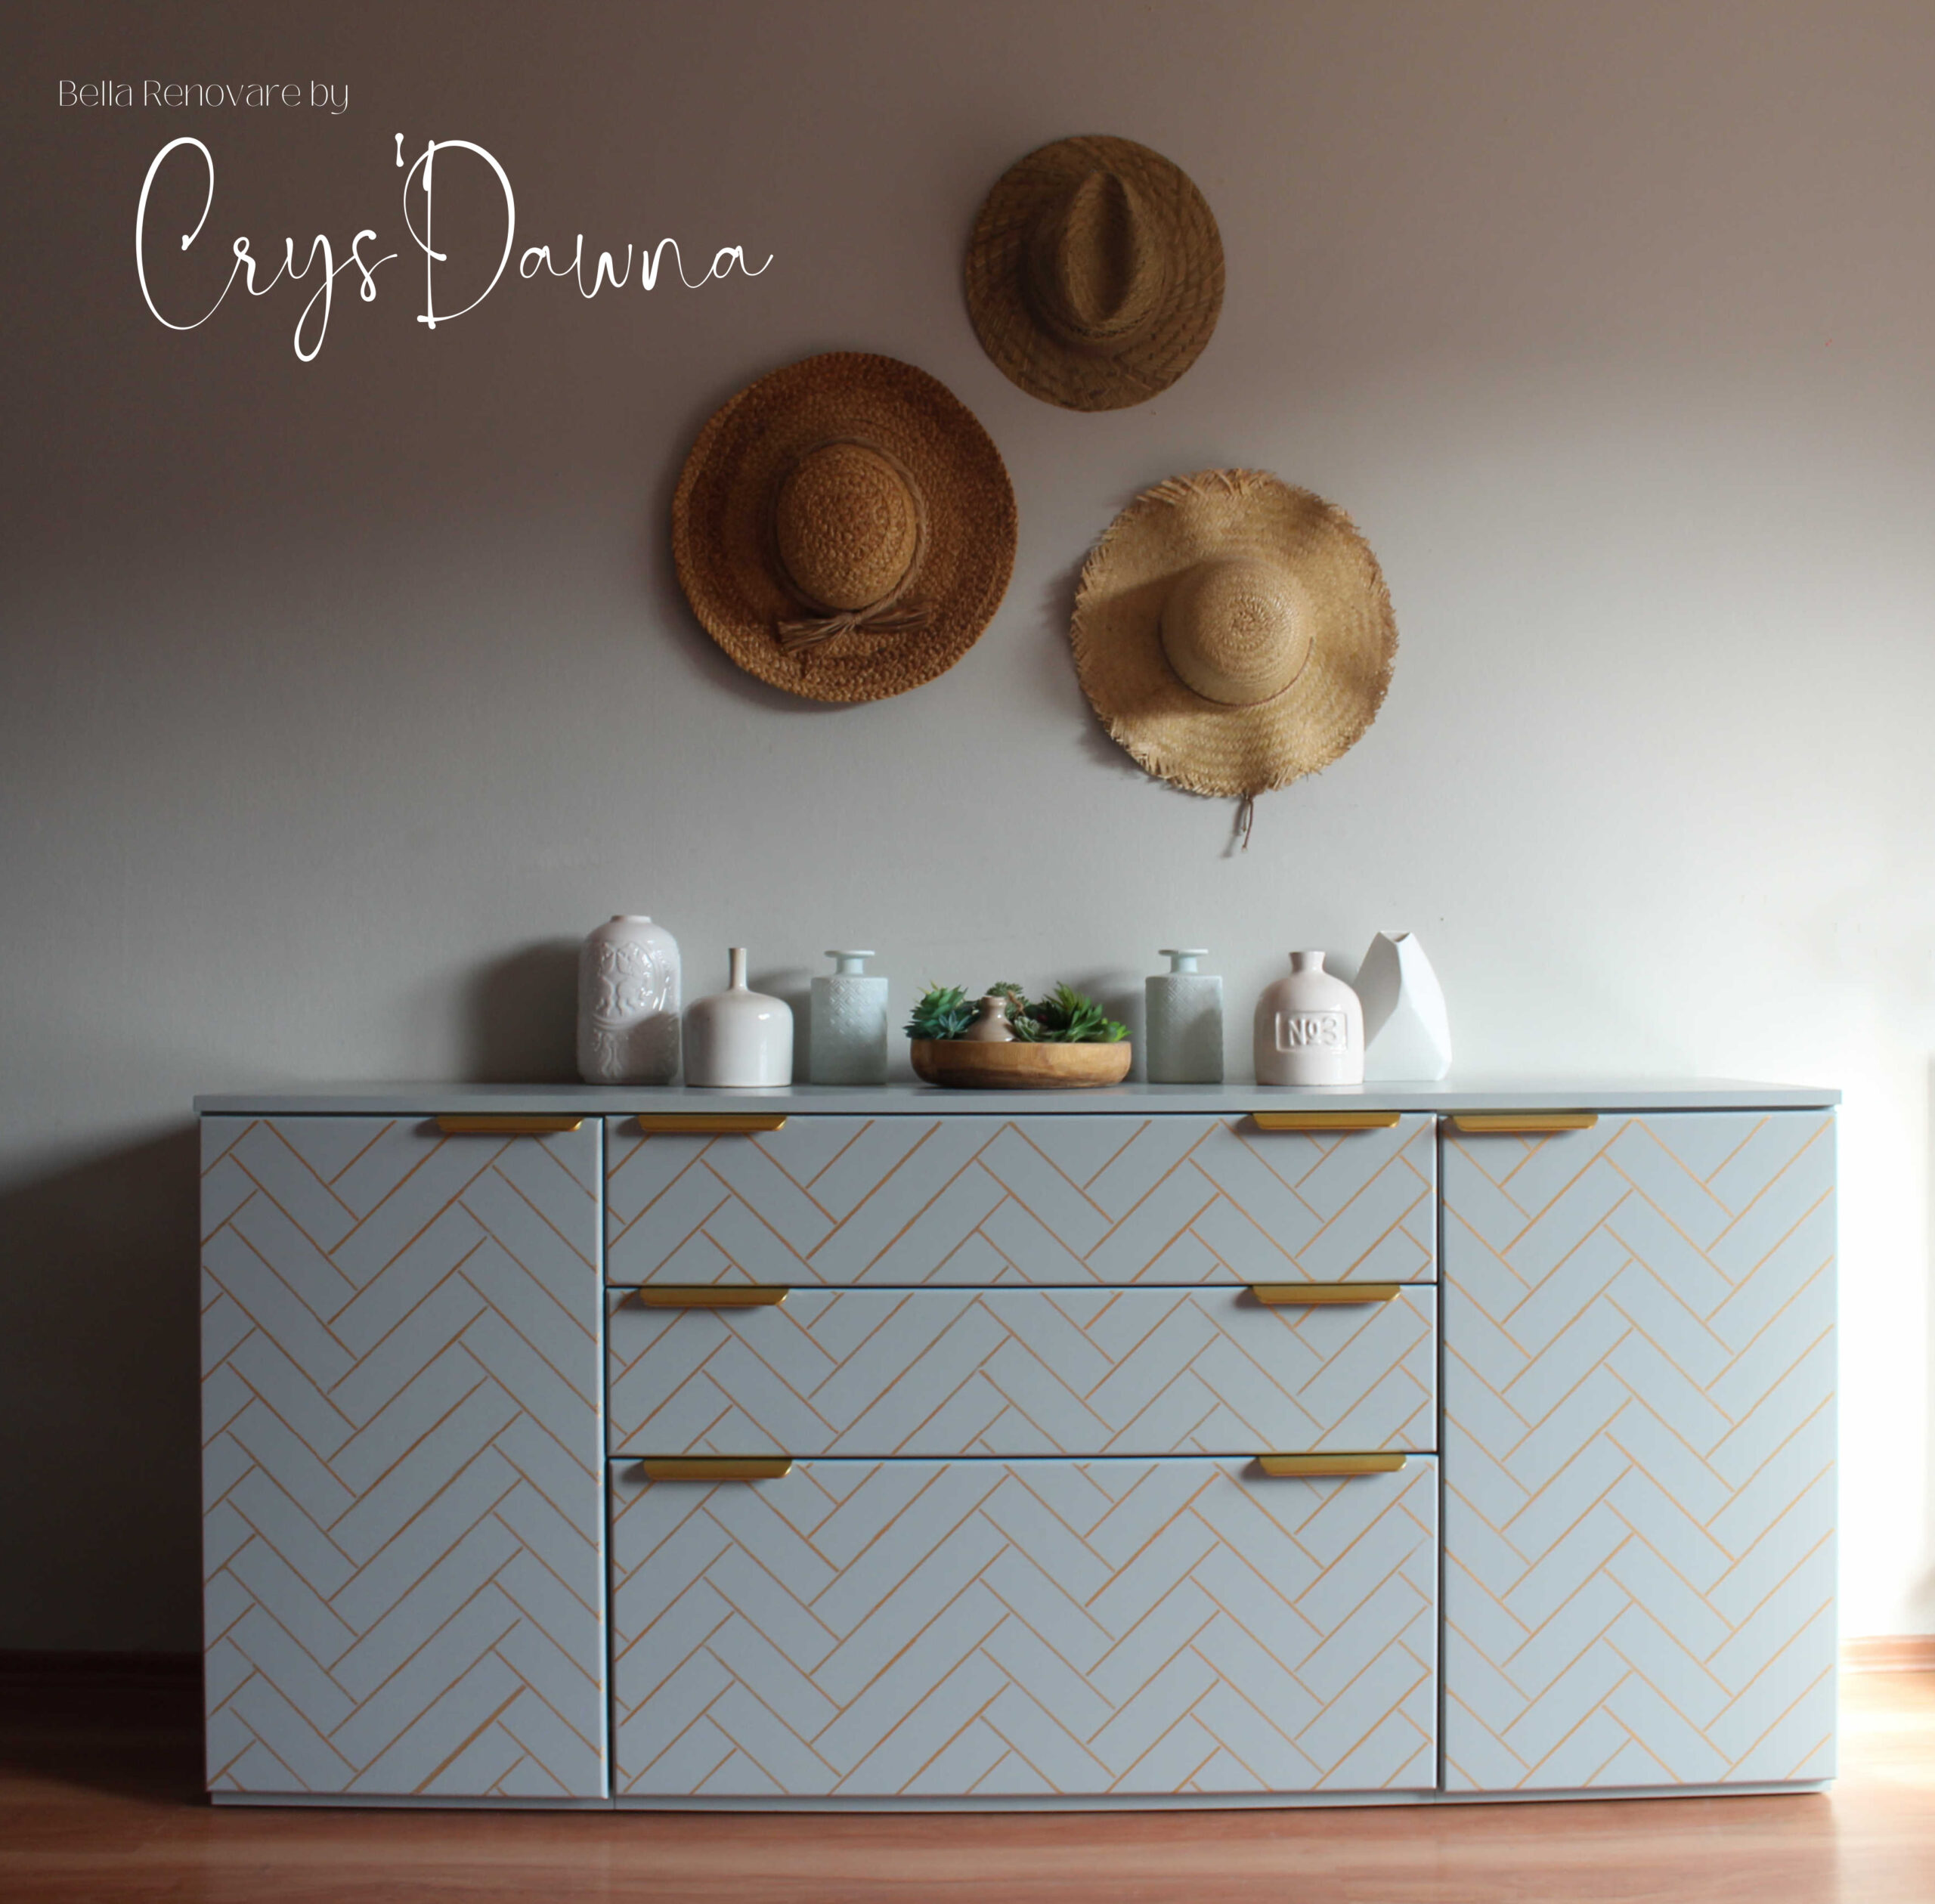
I'm so excited to show you how I used Wise Owl’s One Hour Enamel Paint (OHE)! You can truly get a stone-hard, smooth finish when you use OHE on your projects! Keep reading to find out exactly how I prepped, painted, and achieved a flawless look.
I have provided a list of supplies used for this project. Some of these are affiliate links; they don’t cost you any extra to use, but I do earn a small commission if you click and purchase through them.
Transforming a Boring Buffet with One Hour Enamel Paint
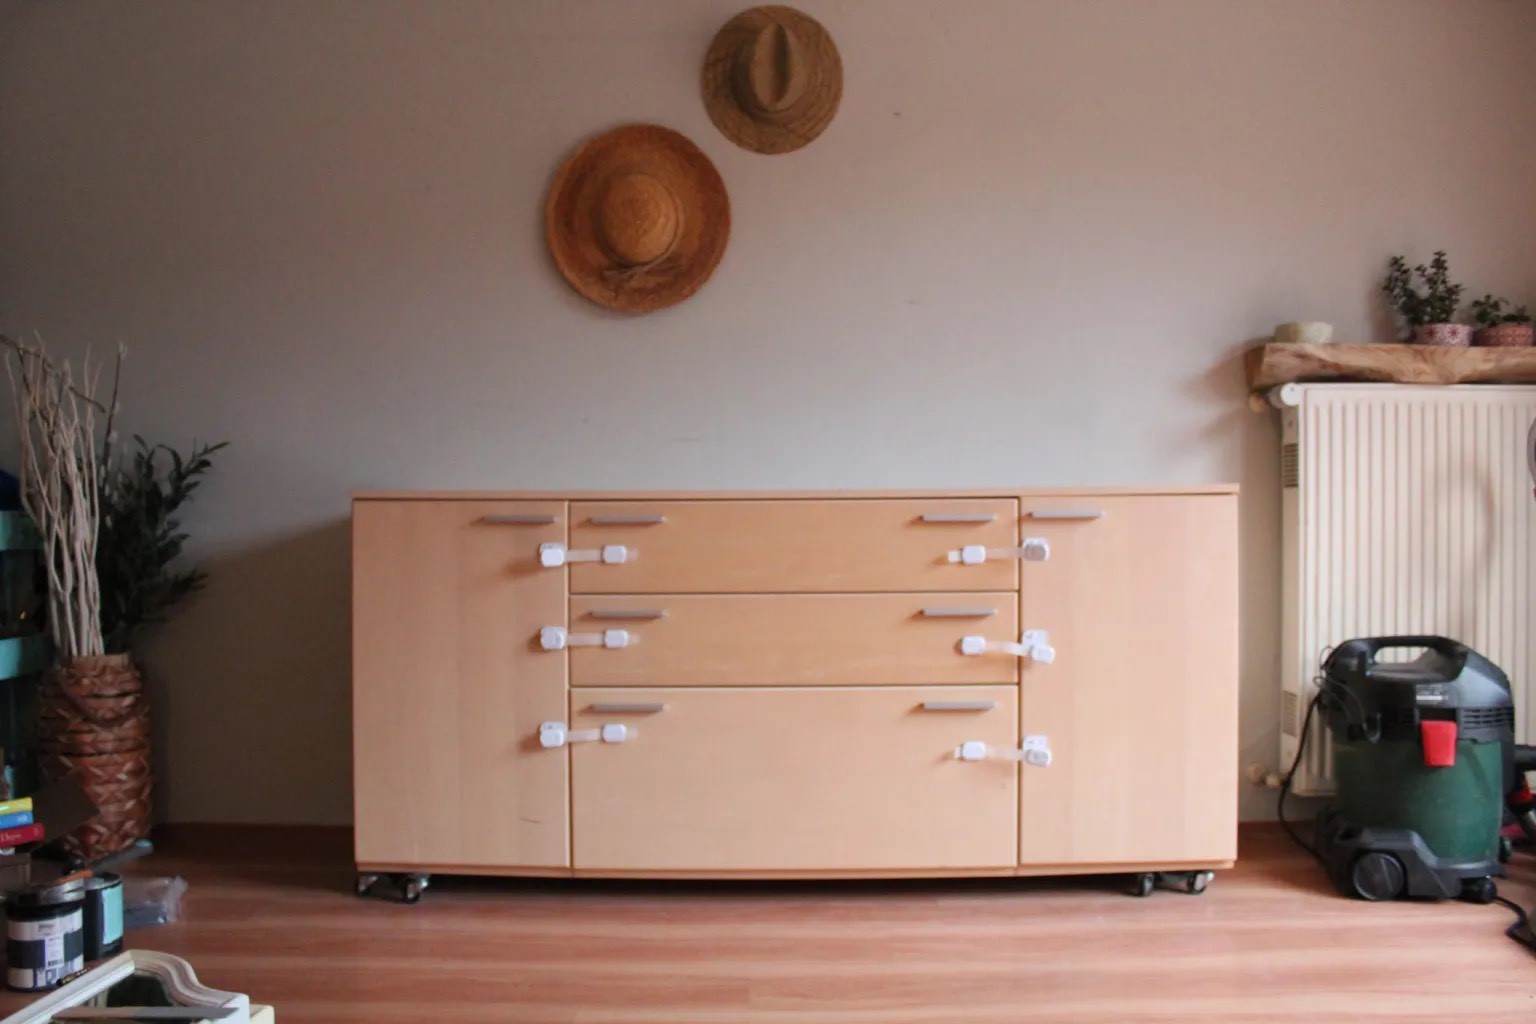
Before we can talk about how amazing Wise Owl’s One Hour Enamel Paint is, we need to address something of the utmost importance. It’s sometimes a bad word to some people, but it’s part of the process if you want a durable finish that will last many years. PREP! You MUST prep your pieces properly before you can use and really enjoy the quality and durability of this paint finish. This is how I prepped this piece.
Prepping for your One Hour Enamel Paint Finish
First, I removed all the hardware and anything I was not going to be painting. Next, I gave it a thorough cleaning; I used Green EZ Strip & Clean Finishing Cleaner. You must use a good degreasing cleaner to make sure there are NO OILS or residue on the surface. Oils and residue can cause adhesion issues, and in some instances can cause surface crackling of the paint. Once I cleaned it very well, I rinsed all the cleaner off with plenty of water.
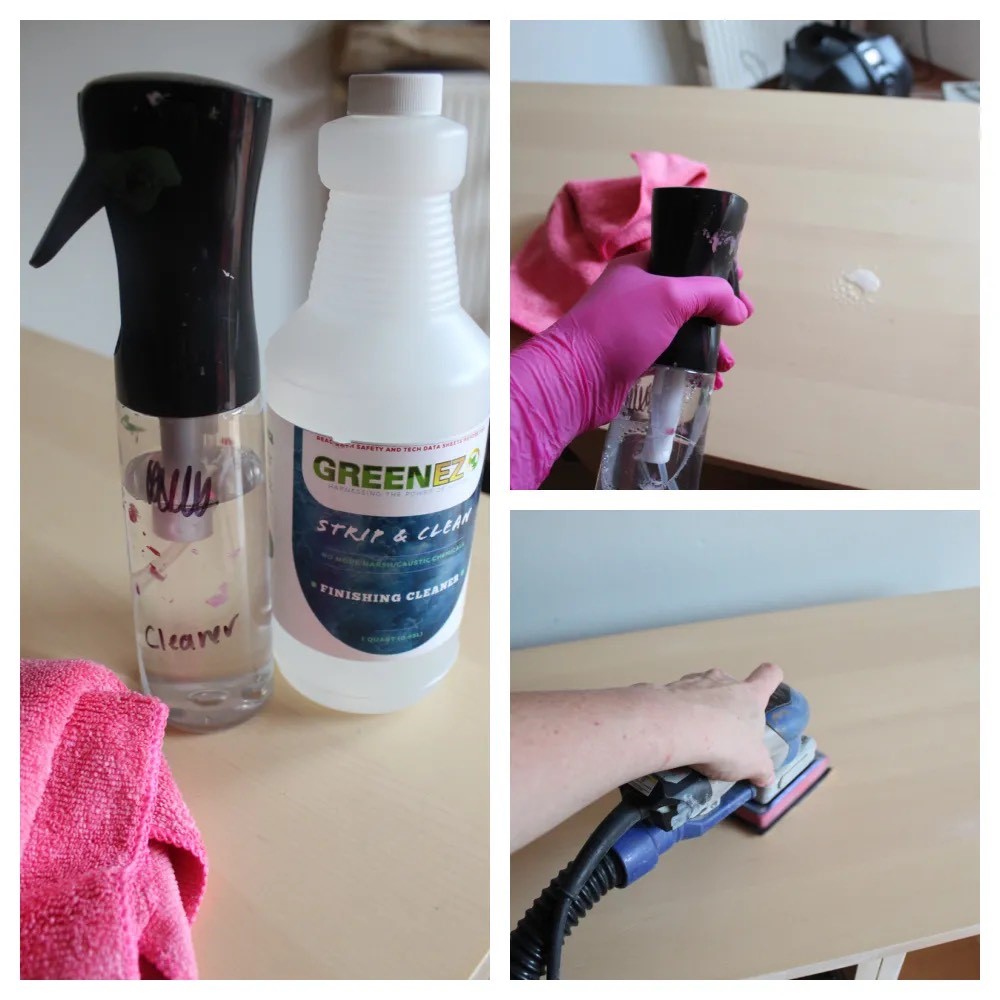
After the piece was fully dry, it was time for me to scuff sand. Scuff sanding creates the best surface for the primer and paint to adhere to. Cleaning before sanding is important so that you’re not pushing oils and dirt deeper into the wood surface. When I was done scuff sanding, I wiped the entire piece down with clean water and a clean, lint-free rag to remove any dust or leftover cleaner.
Priming for your One Hour Enamel Paint
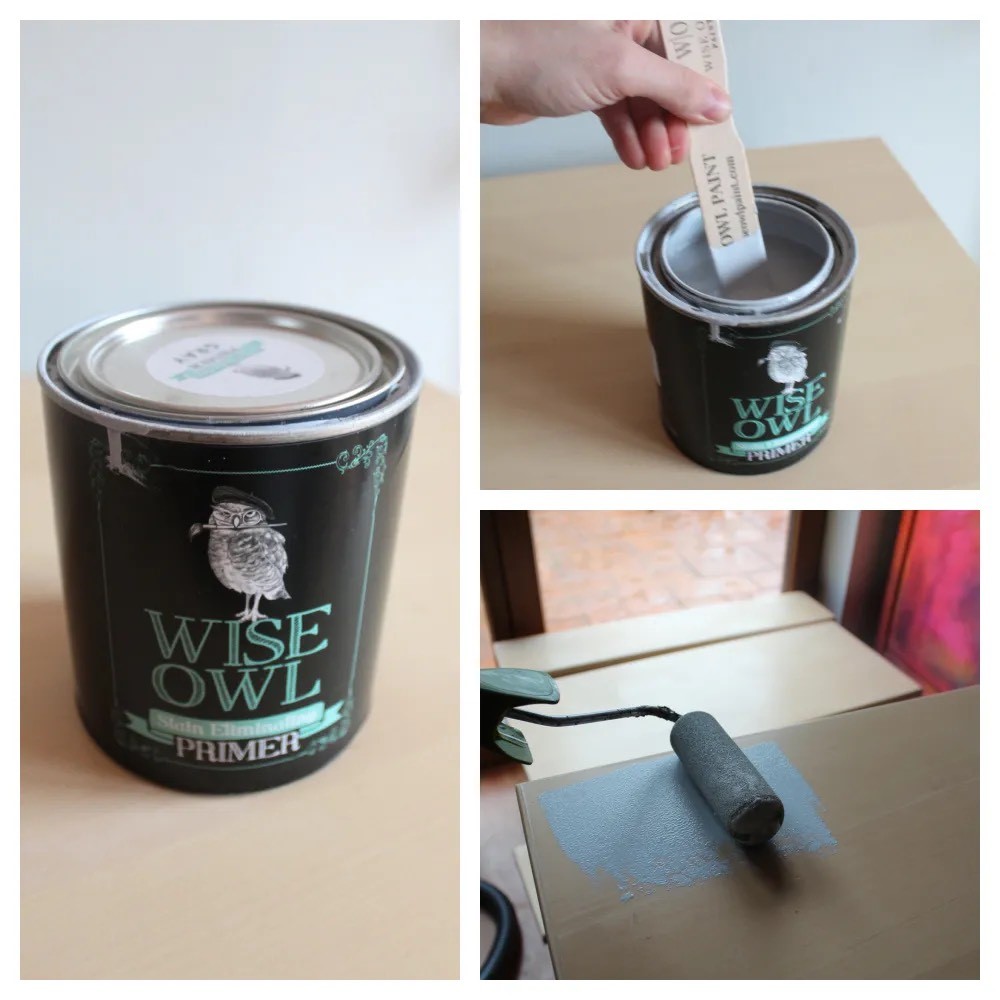
The final step in my prep was to use one of Wise Owl’s Stain Blocking Primers. This primer is both a stain blocking and bonding primer in one; it will help the One Hour Enamel Paint adhere to the surface, adding durability. For this piece, I used the gray primer (a light gray) because I planned on using Renovation Gray OHE, which is also a light gray. Be sure to stir the primer very well before using it and occasionally during use, scraping the bottom of the can. I applied one coat of primer and allowed it to dry for at least 4 hours. Once I applied my second coat, I let it sit for 24 hours.
Applying One Hour Enamel
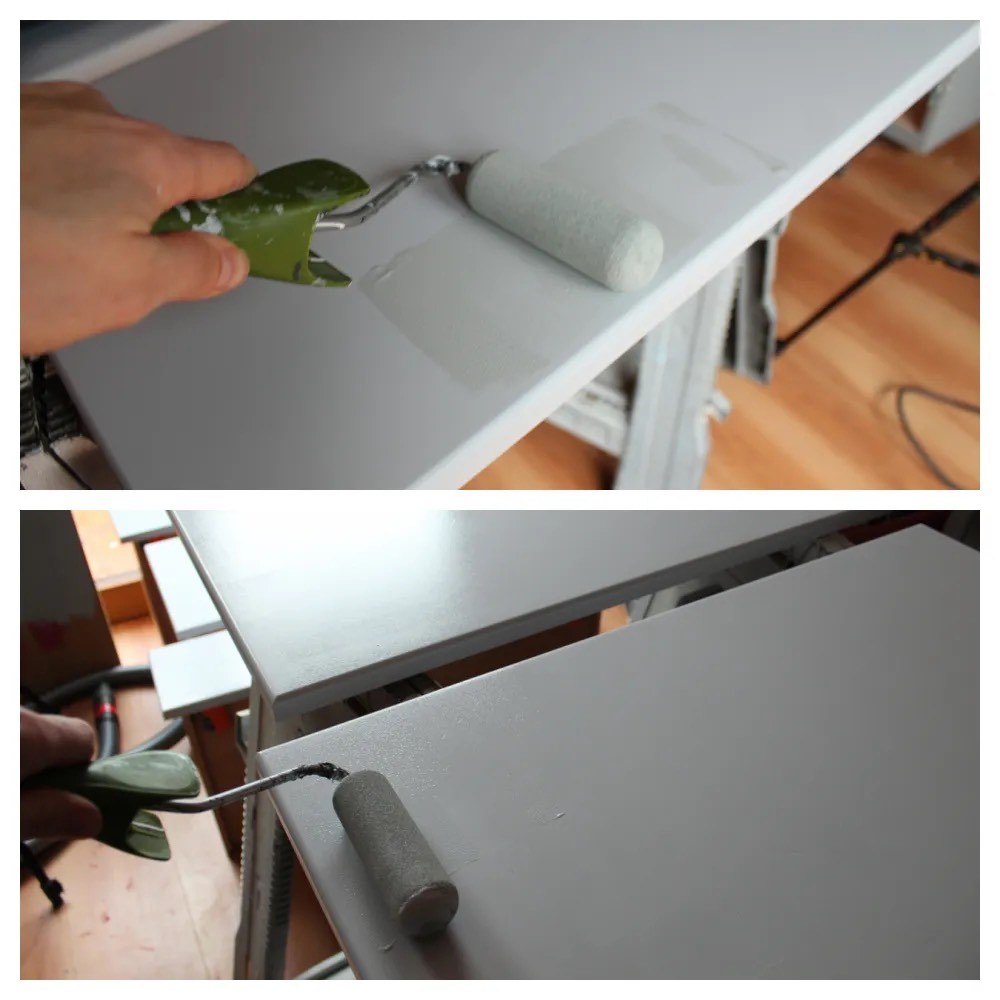
I chose the color Renovation Gray, for this project. I used a high-density foam roller to test the limits of the paint, and it worked beautifully! Be careful not to press too hard, you could get bubbles. If you get bubbles, use a paintbrush to tip off the paint and smooth out the bubbles immediately. Wise Owl Paint recommends a microfiber roller when rolling while tipping off with a good quality brush.
You can also apply OHE with a high-quality, synthetic brush, such as any Cling On or a Wise Owl Premium Micro Angle brush.
OHE paint sprays beautifully with a sprayer! Typically, dilution is not needed but if it must be thinned with water, use the smallest amount needed. Do not thin by more than 10%.
Adding a Little Pizzazz
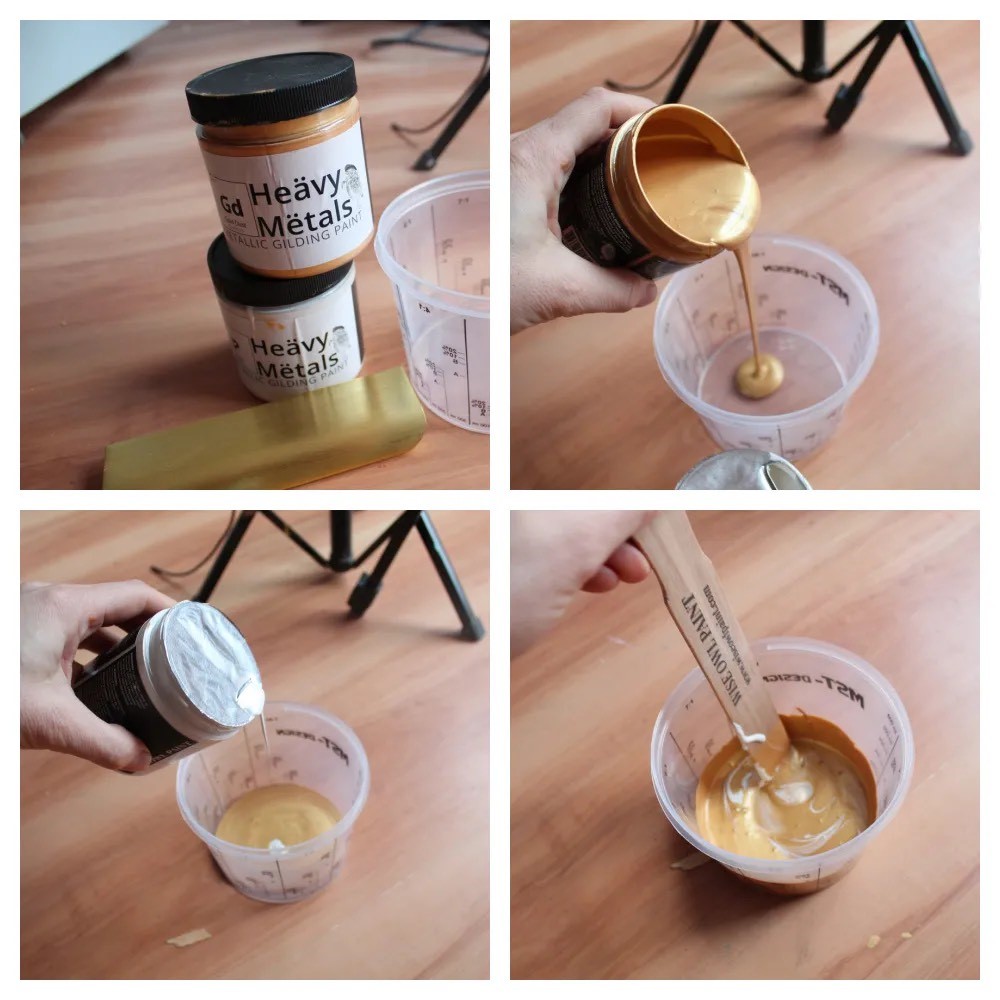
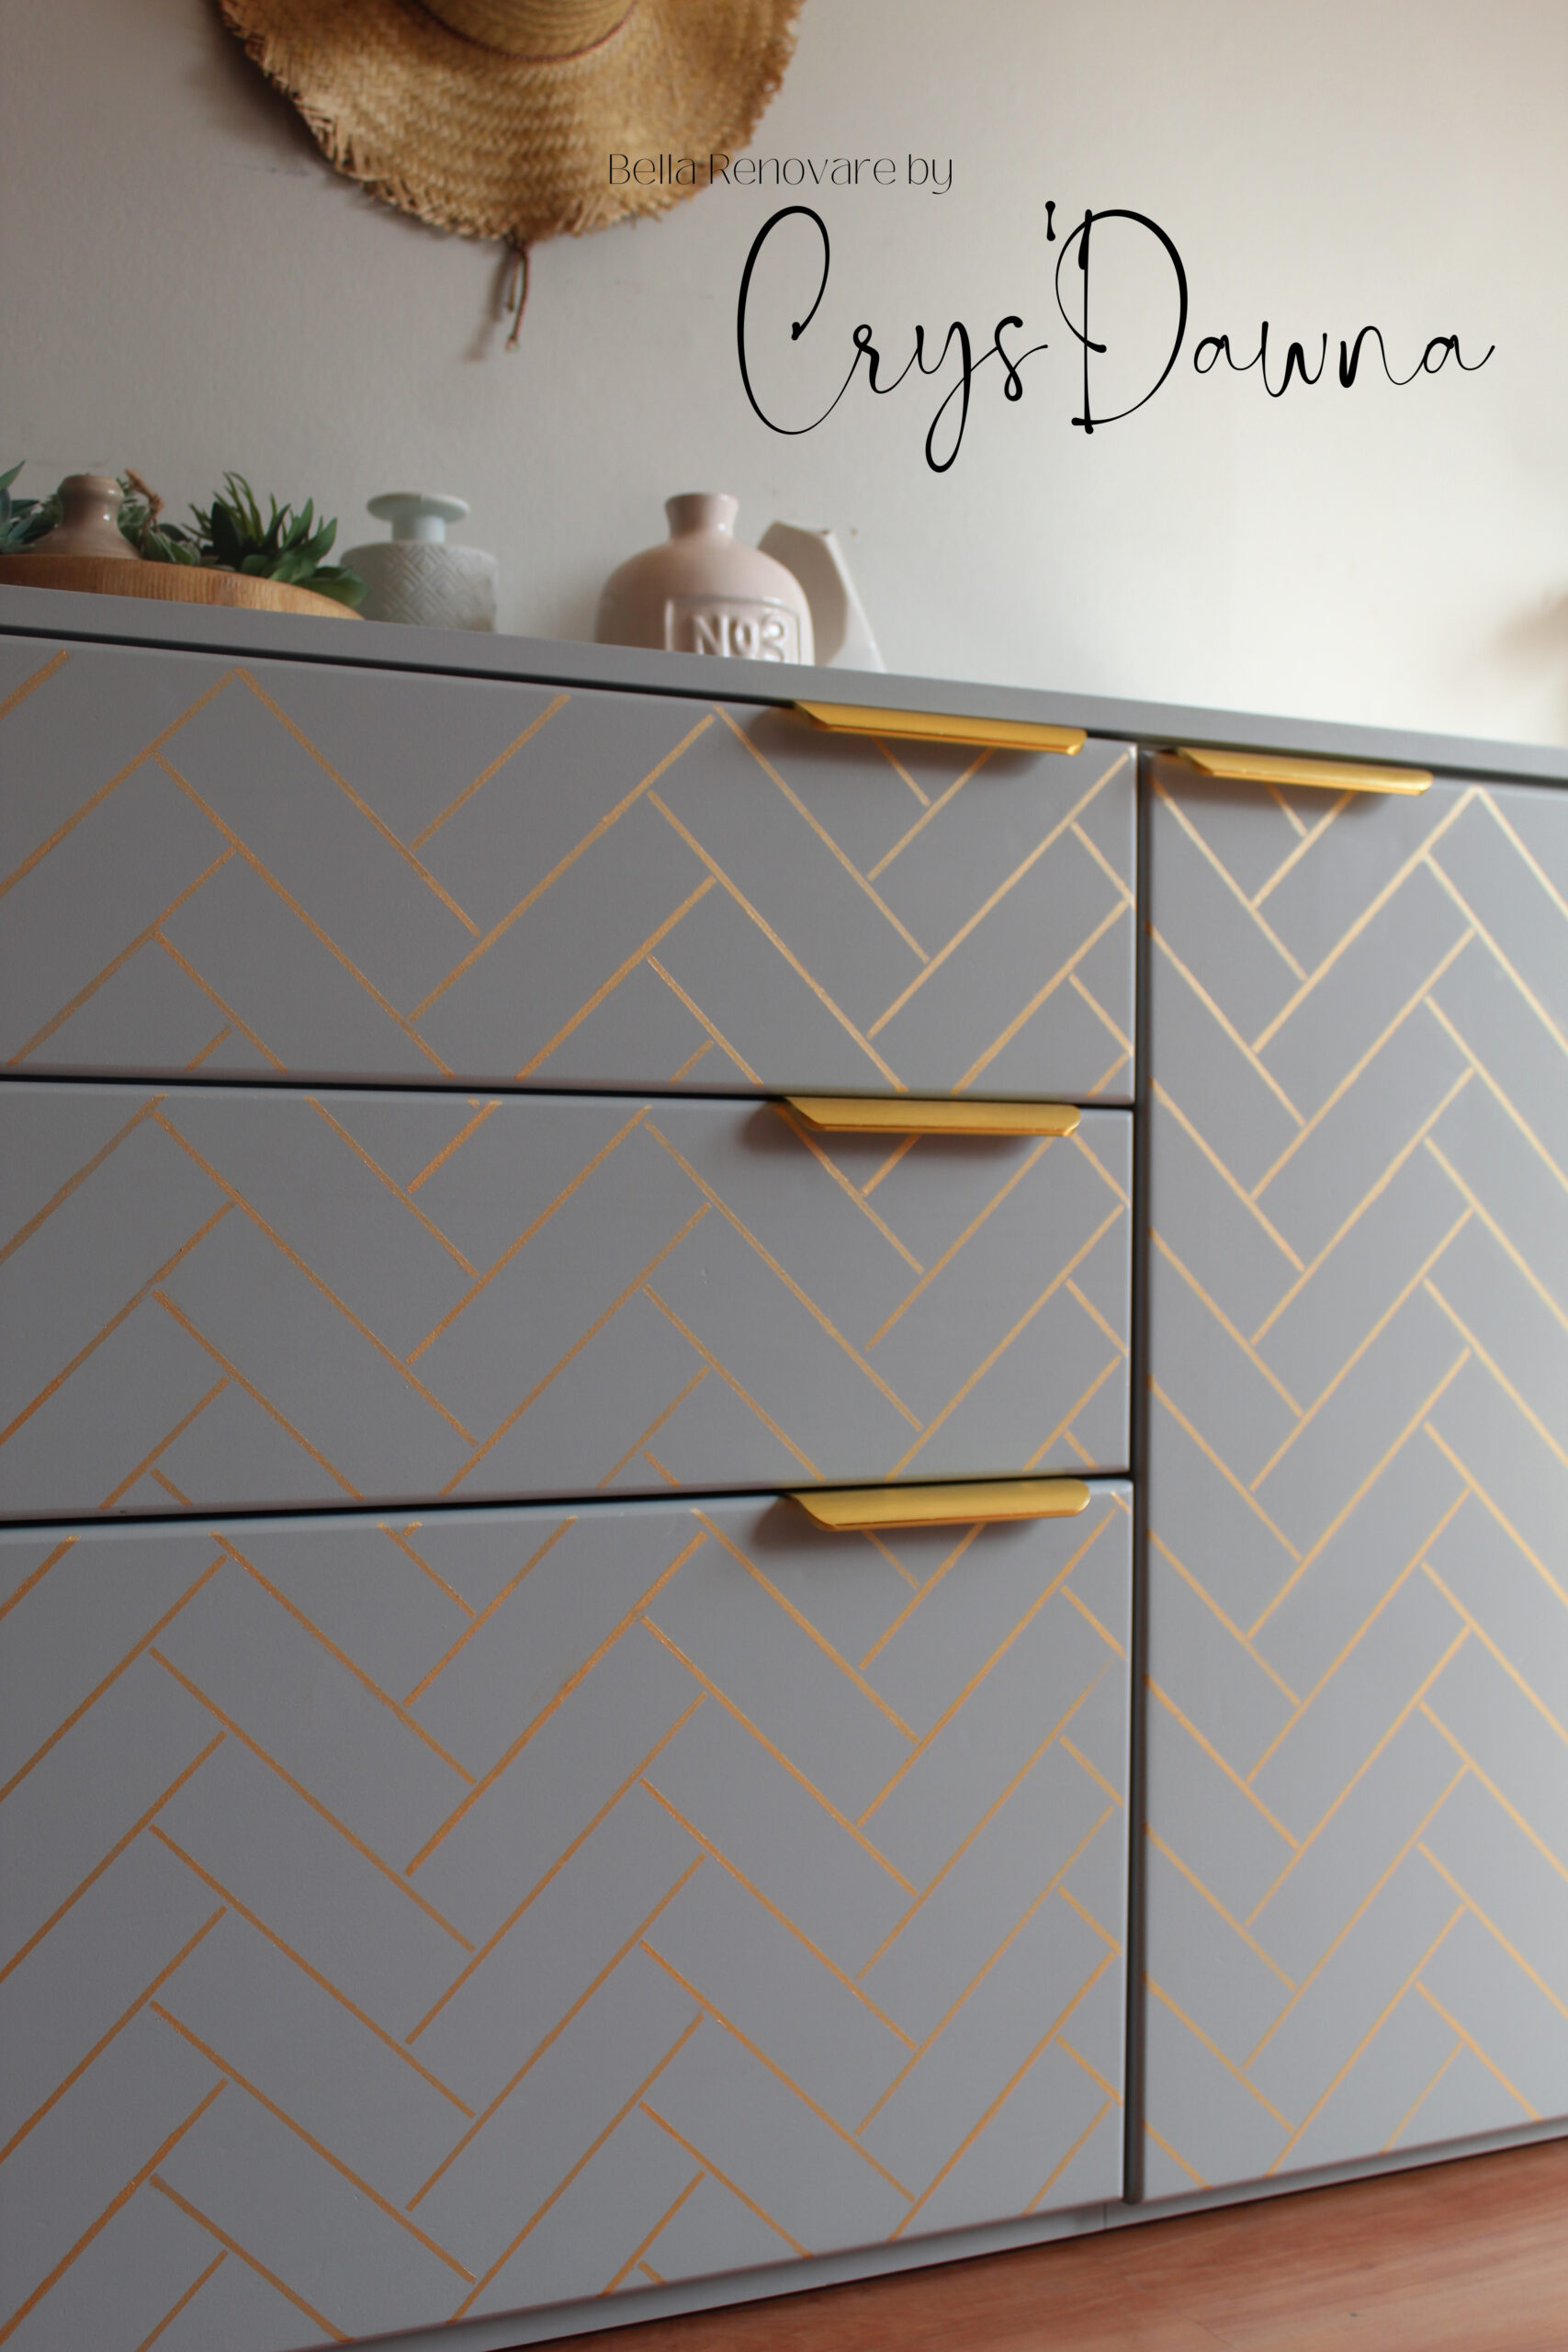
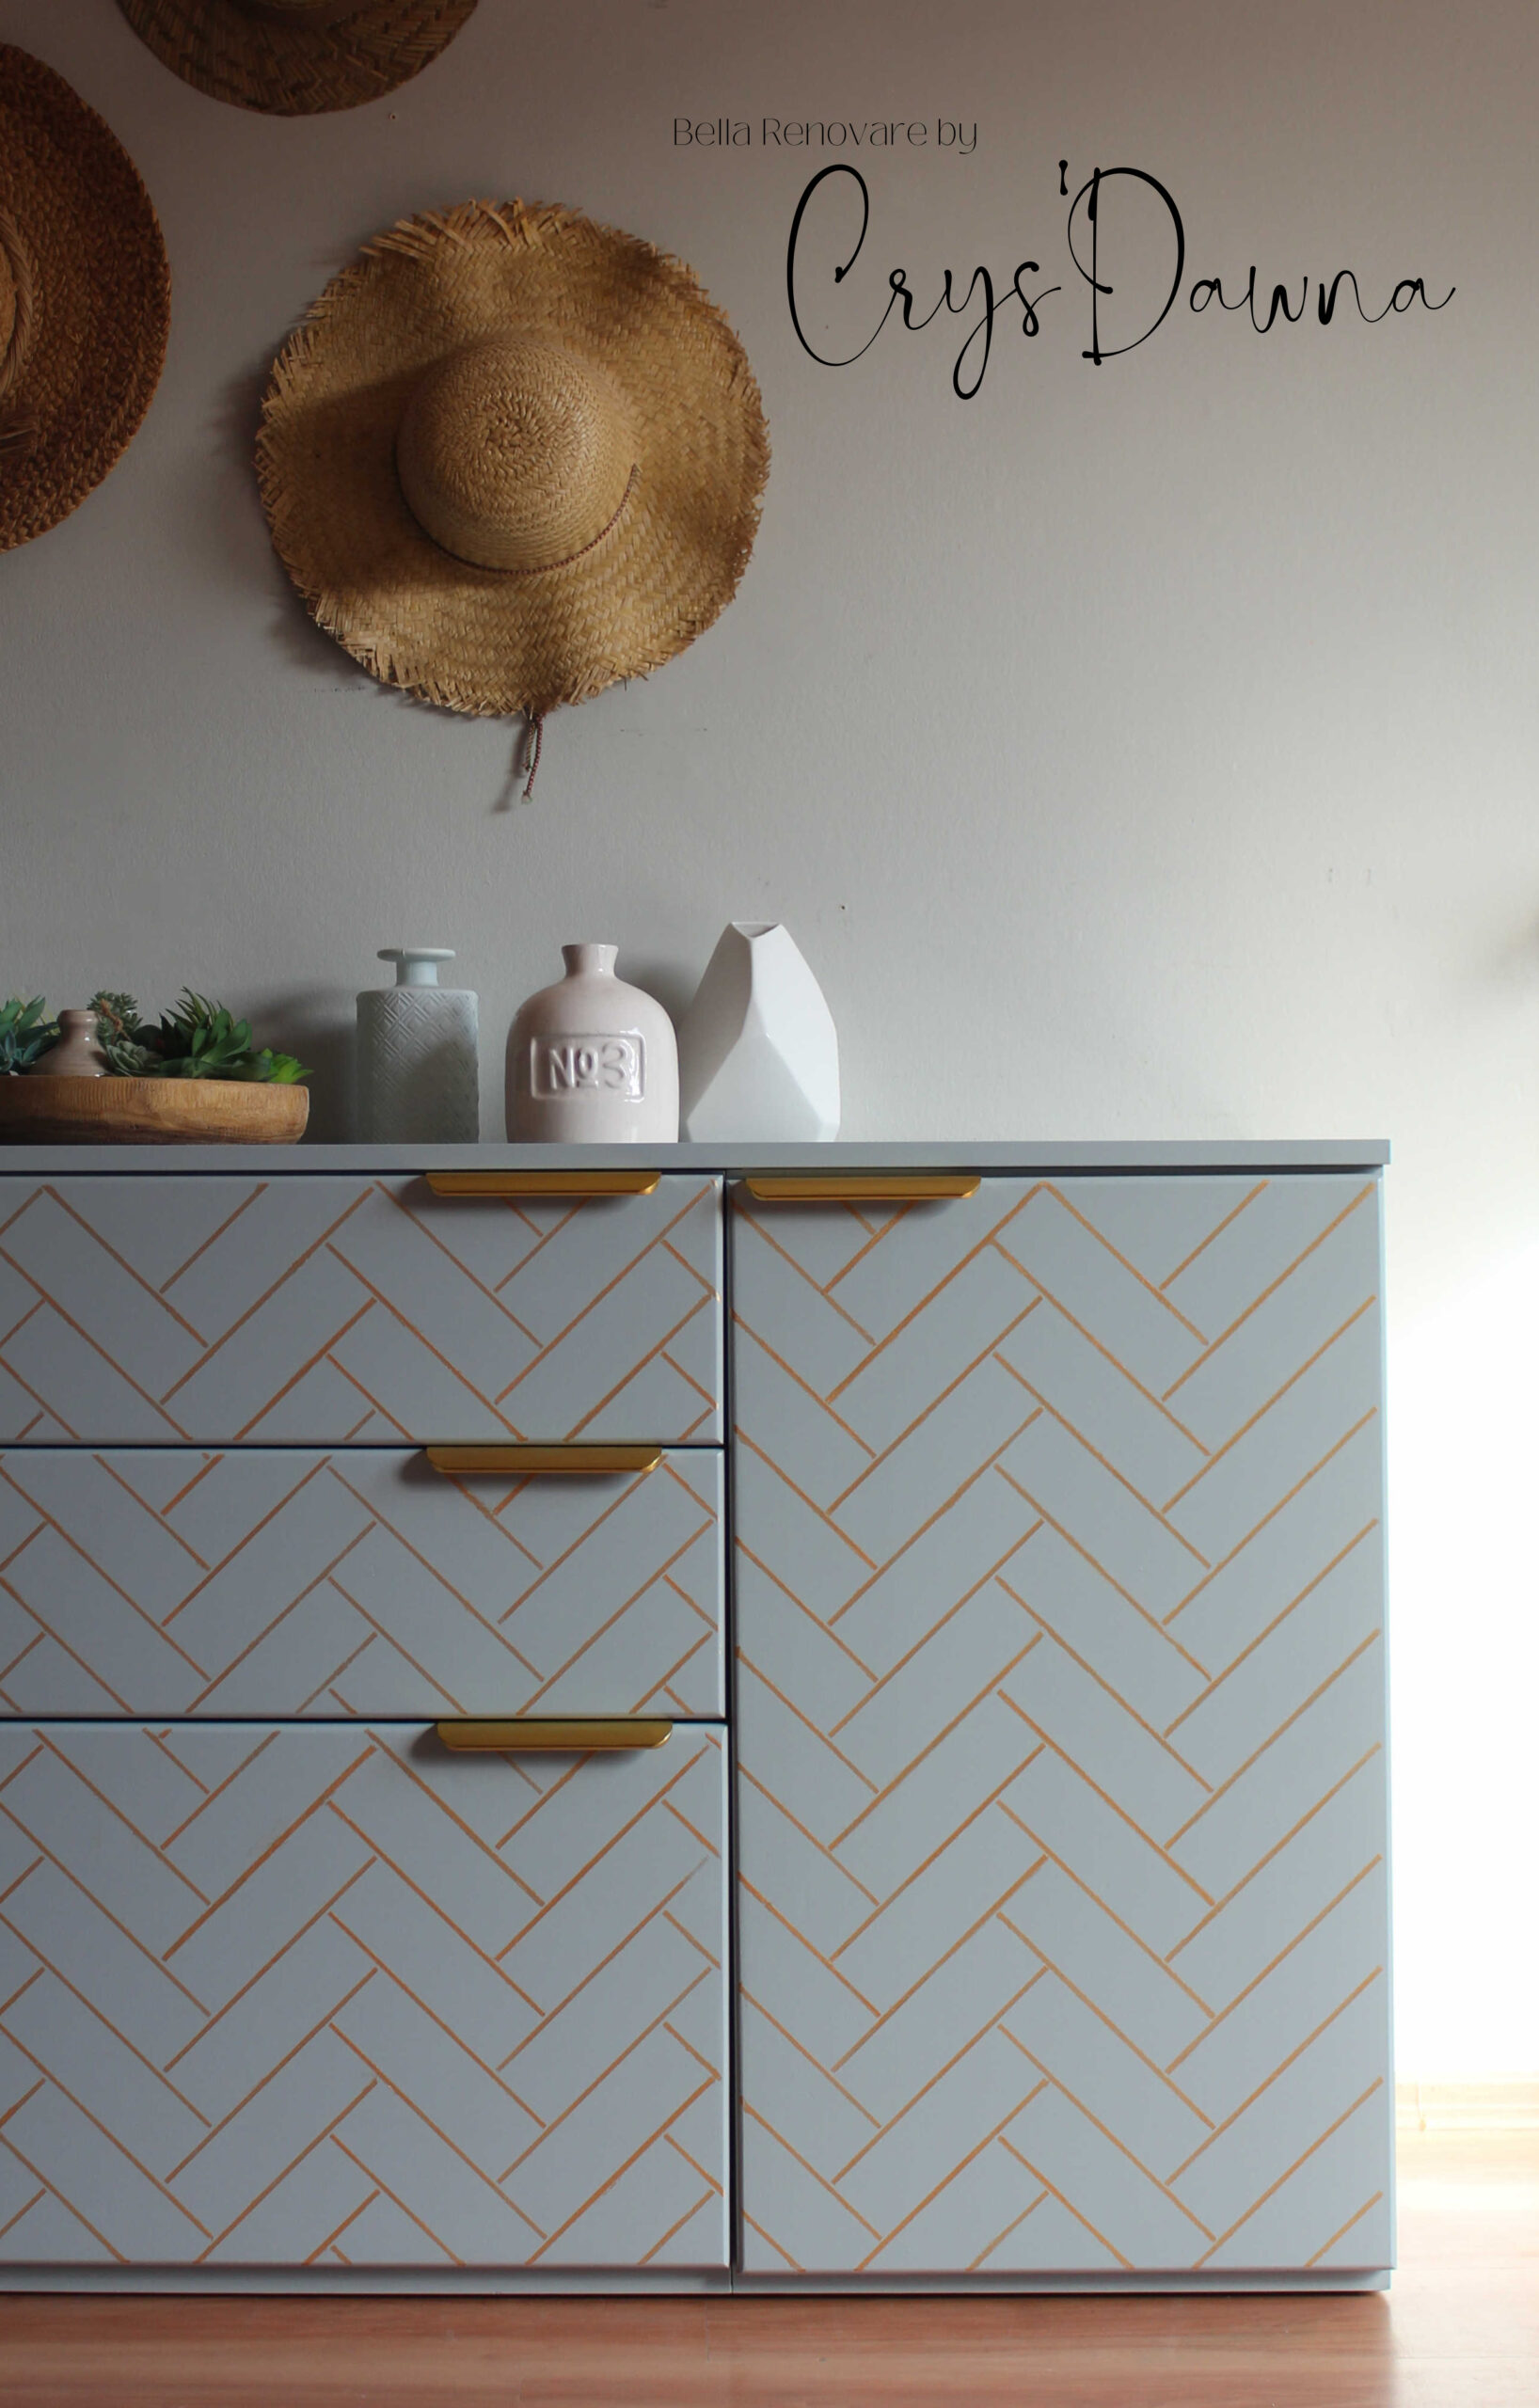
This buffet was painted with 2 coats of Renovation Gray One Hour Enamel Paint. What a beautiful, smooth finish! But if you know me, you know I needed to add some fun! So, I mixed some of Wise Owl’s Heavy Metals Paint in Gold Dust and Pearl.
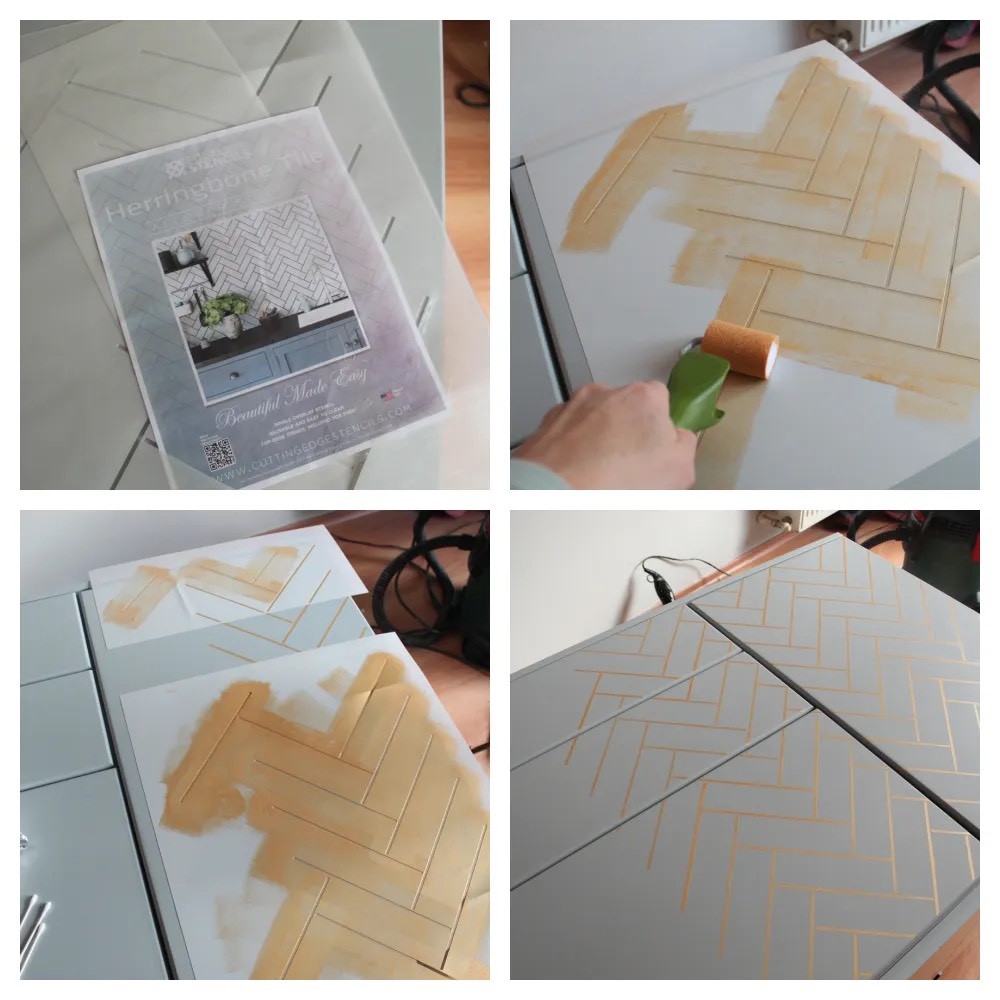
I grabbed the Herringbone Tile stencil by Cutting Edge Stencils, purchased through Wise Owl Paint, and I applied the Heavy Metals mixture with a mini roller. This stencil is continuous and just lays over the already painted pattern. Super easy! I rolled on the paint, allowed the pattern to dry, then placed the stencil over the pattern to line everything up. I continued this process over the entire piece. The Heavy Metal Metallics do not need to be sealed for most applications, so once it was dry, boom! I was DONE!

I almost forgot to tell you; this finish is scrubbable! My client’s son decided to write on it the day I delivered it. YIKES! The photos she sent me were cringe-worthy. However, she was able to scrub it all off and the piece looks brand new! Her son tested the limits of this finish, and it passed with flying colors!
Want to see more? I made you a video!! Check it OUT!! 👇🏻👇🏻👇🏻
Happy creating friends!
XOXOXO
CrysDawna

