Boho Blended Vintage Buffet Makeover
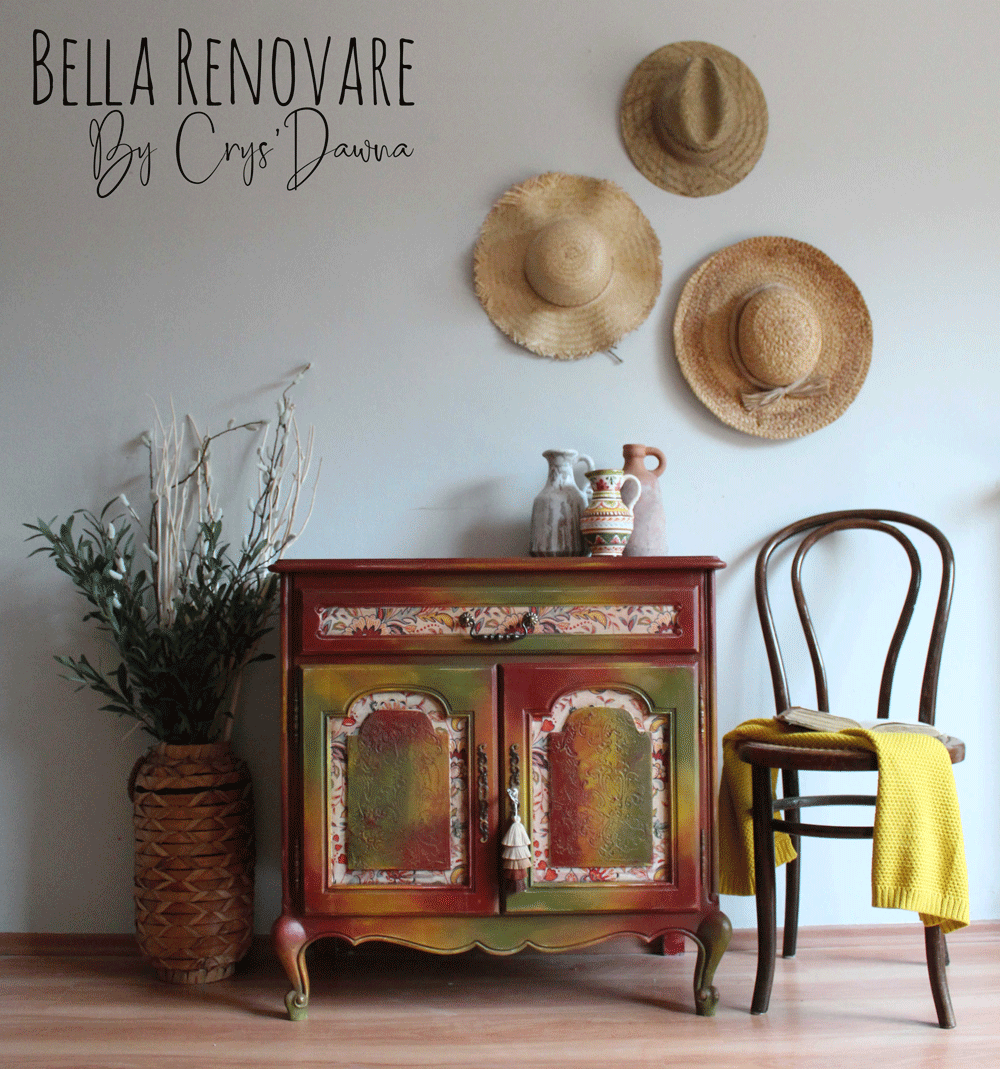
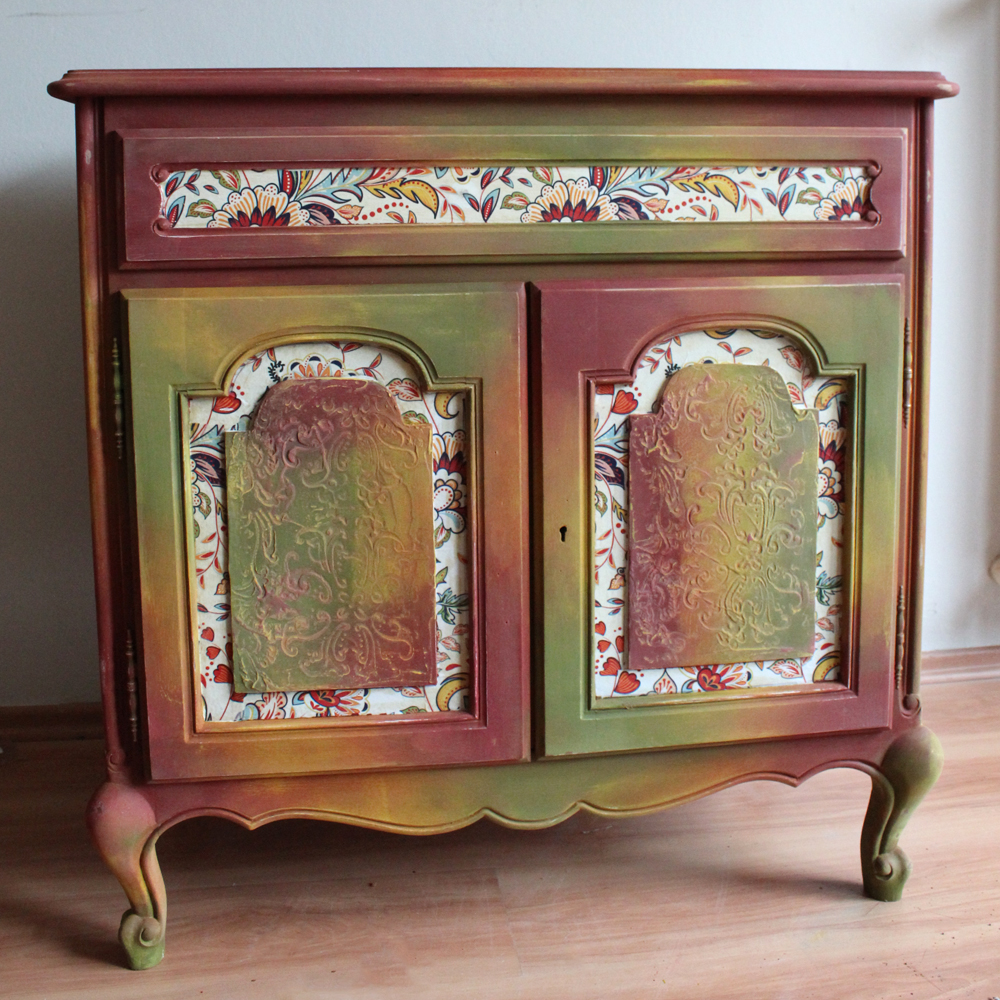
In this tutorial I will teach you the techniques I used with Wise Owl Chalk Synthesis Paint’s products to create a unique awesome boho blend that transformed a vintage buffet from blah to bomb! At the end of this article you will find a complete list of supplies used to create this look.
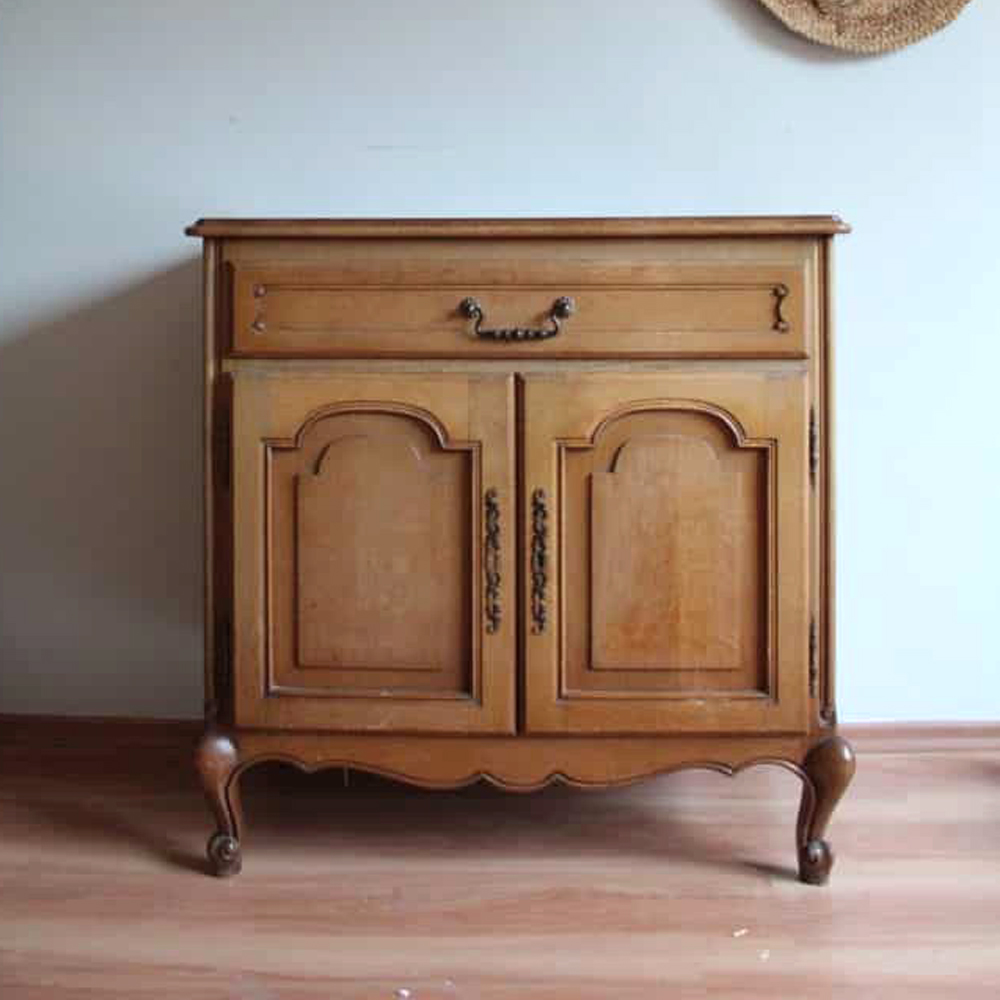
Prepping The Vintage Buffet
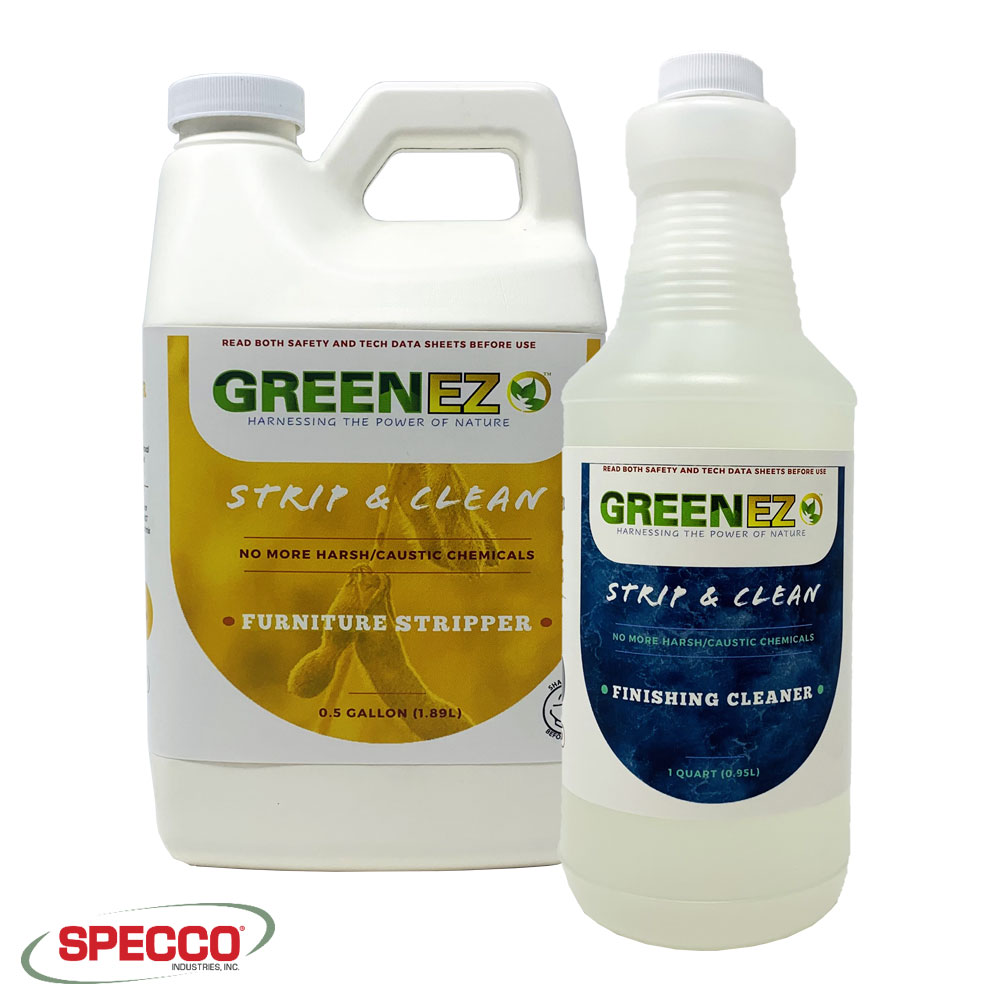
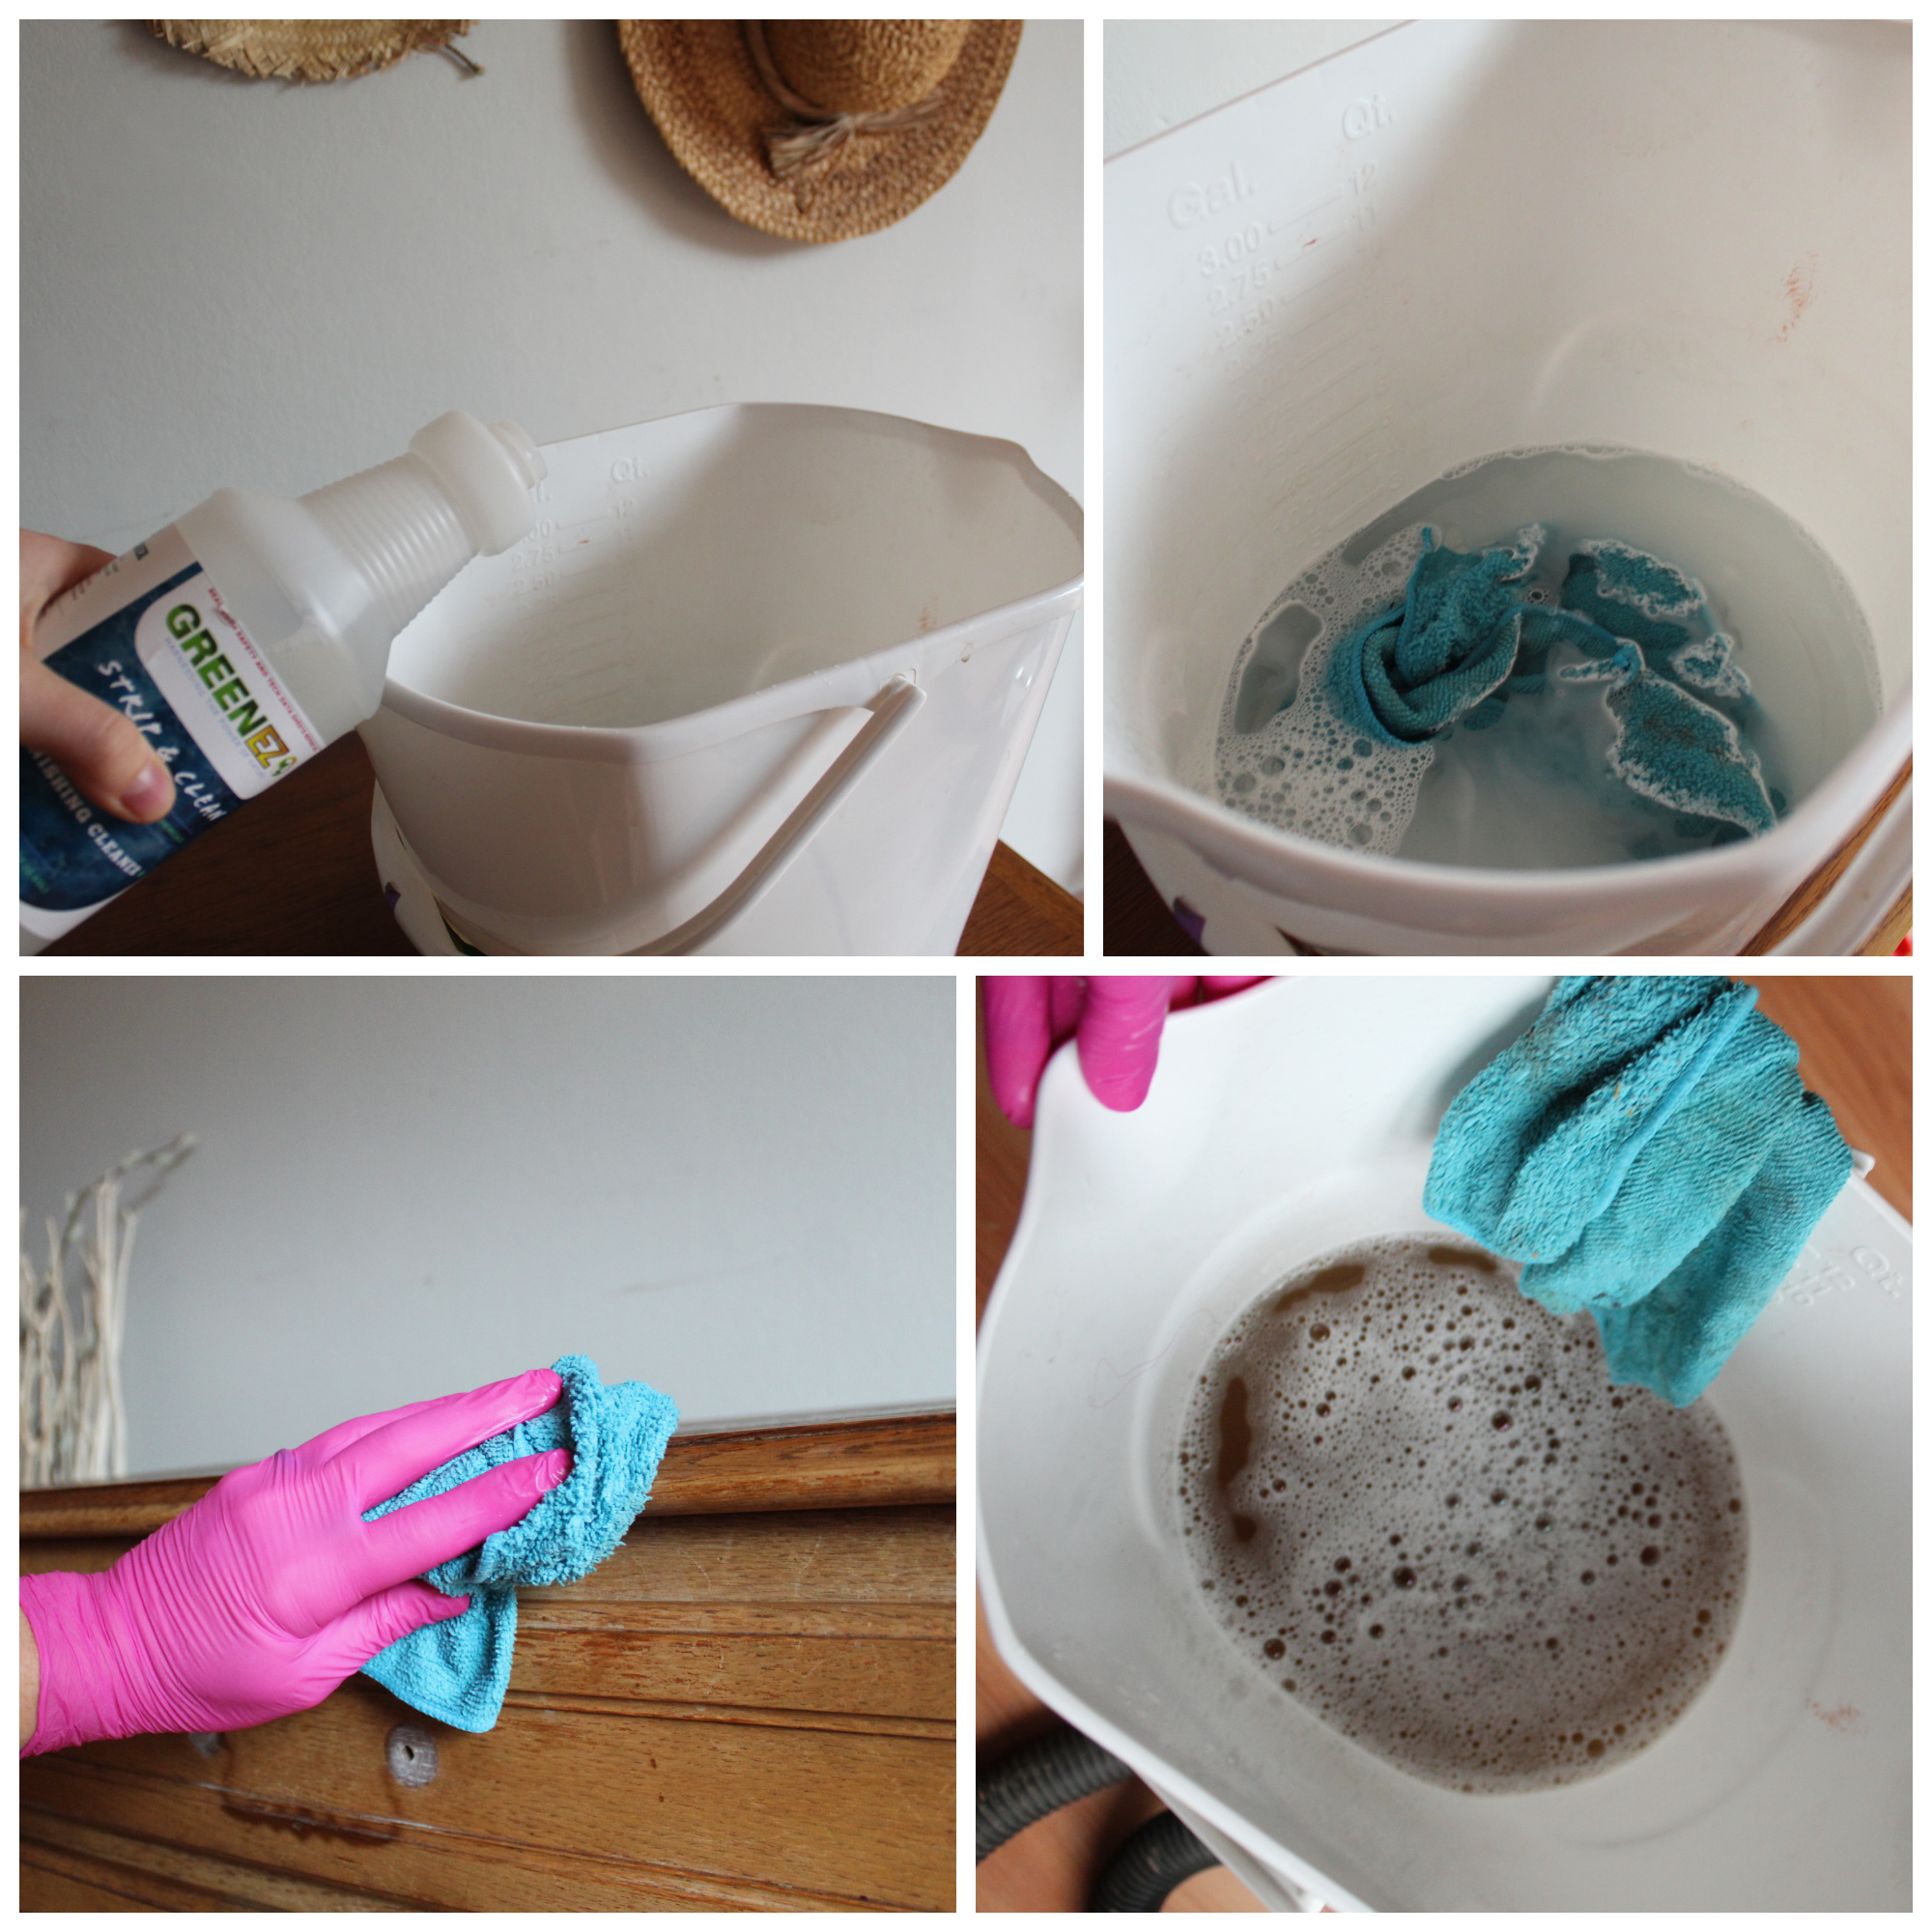
In order to create an amazing painted vintage buffet or any project, you will need to do the proper prep first. For this buffet, I used GreenEZ Furniture Strip & Clean Furniture Cleaner to clean this piece. This degreaser is an excellent cleanser to use prior to painting even when not stripping a piece. Use it straight from the bottle or follow the mixing instructions on the packaging. Mask and gloves are recommended. I like to use a bucket and rag making sure to rinse out my rag often, as you can see in the final picture the water is VERYYYY dirty!
Once dried, I scuff-sanded the buffet with 120-220 grit sandpaper to remove the shine, roughing it up will help the paint to adhere to this slick surface. Need more prepping tips, check out this article Proper Painting Prep Tips.
Use A Stain Eliminating Primer
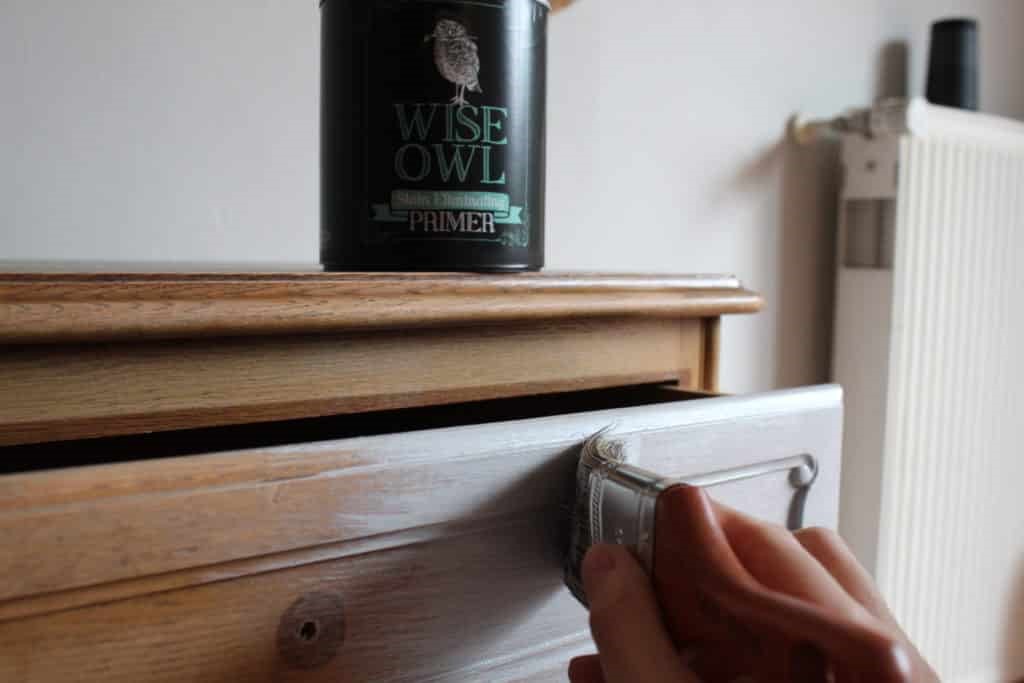
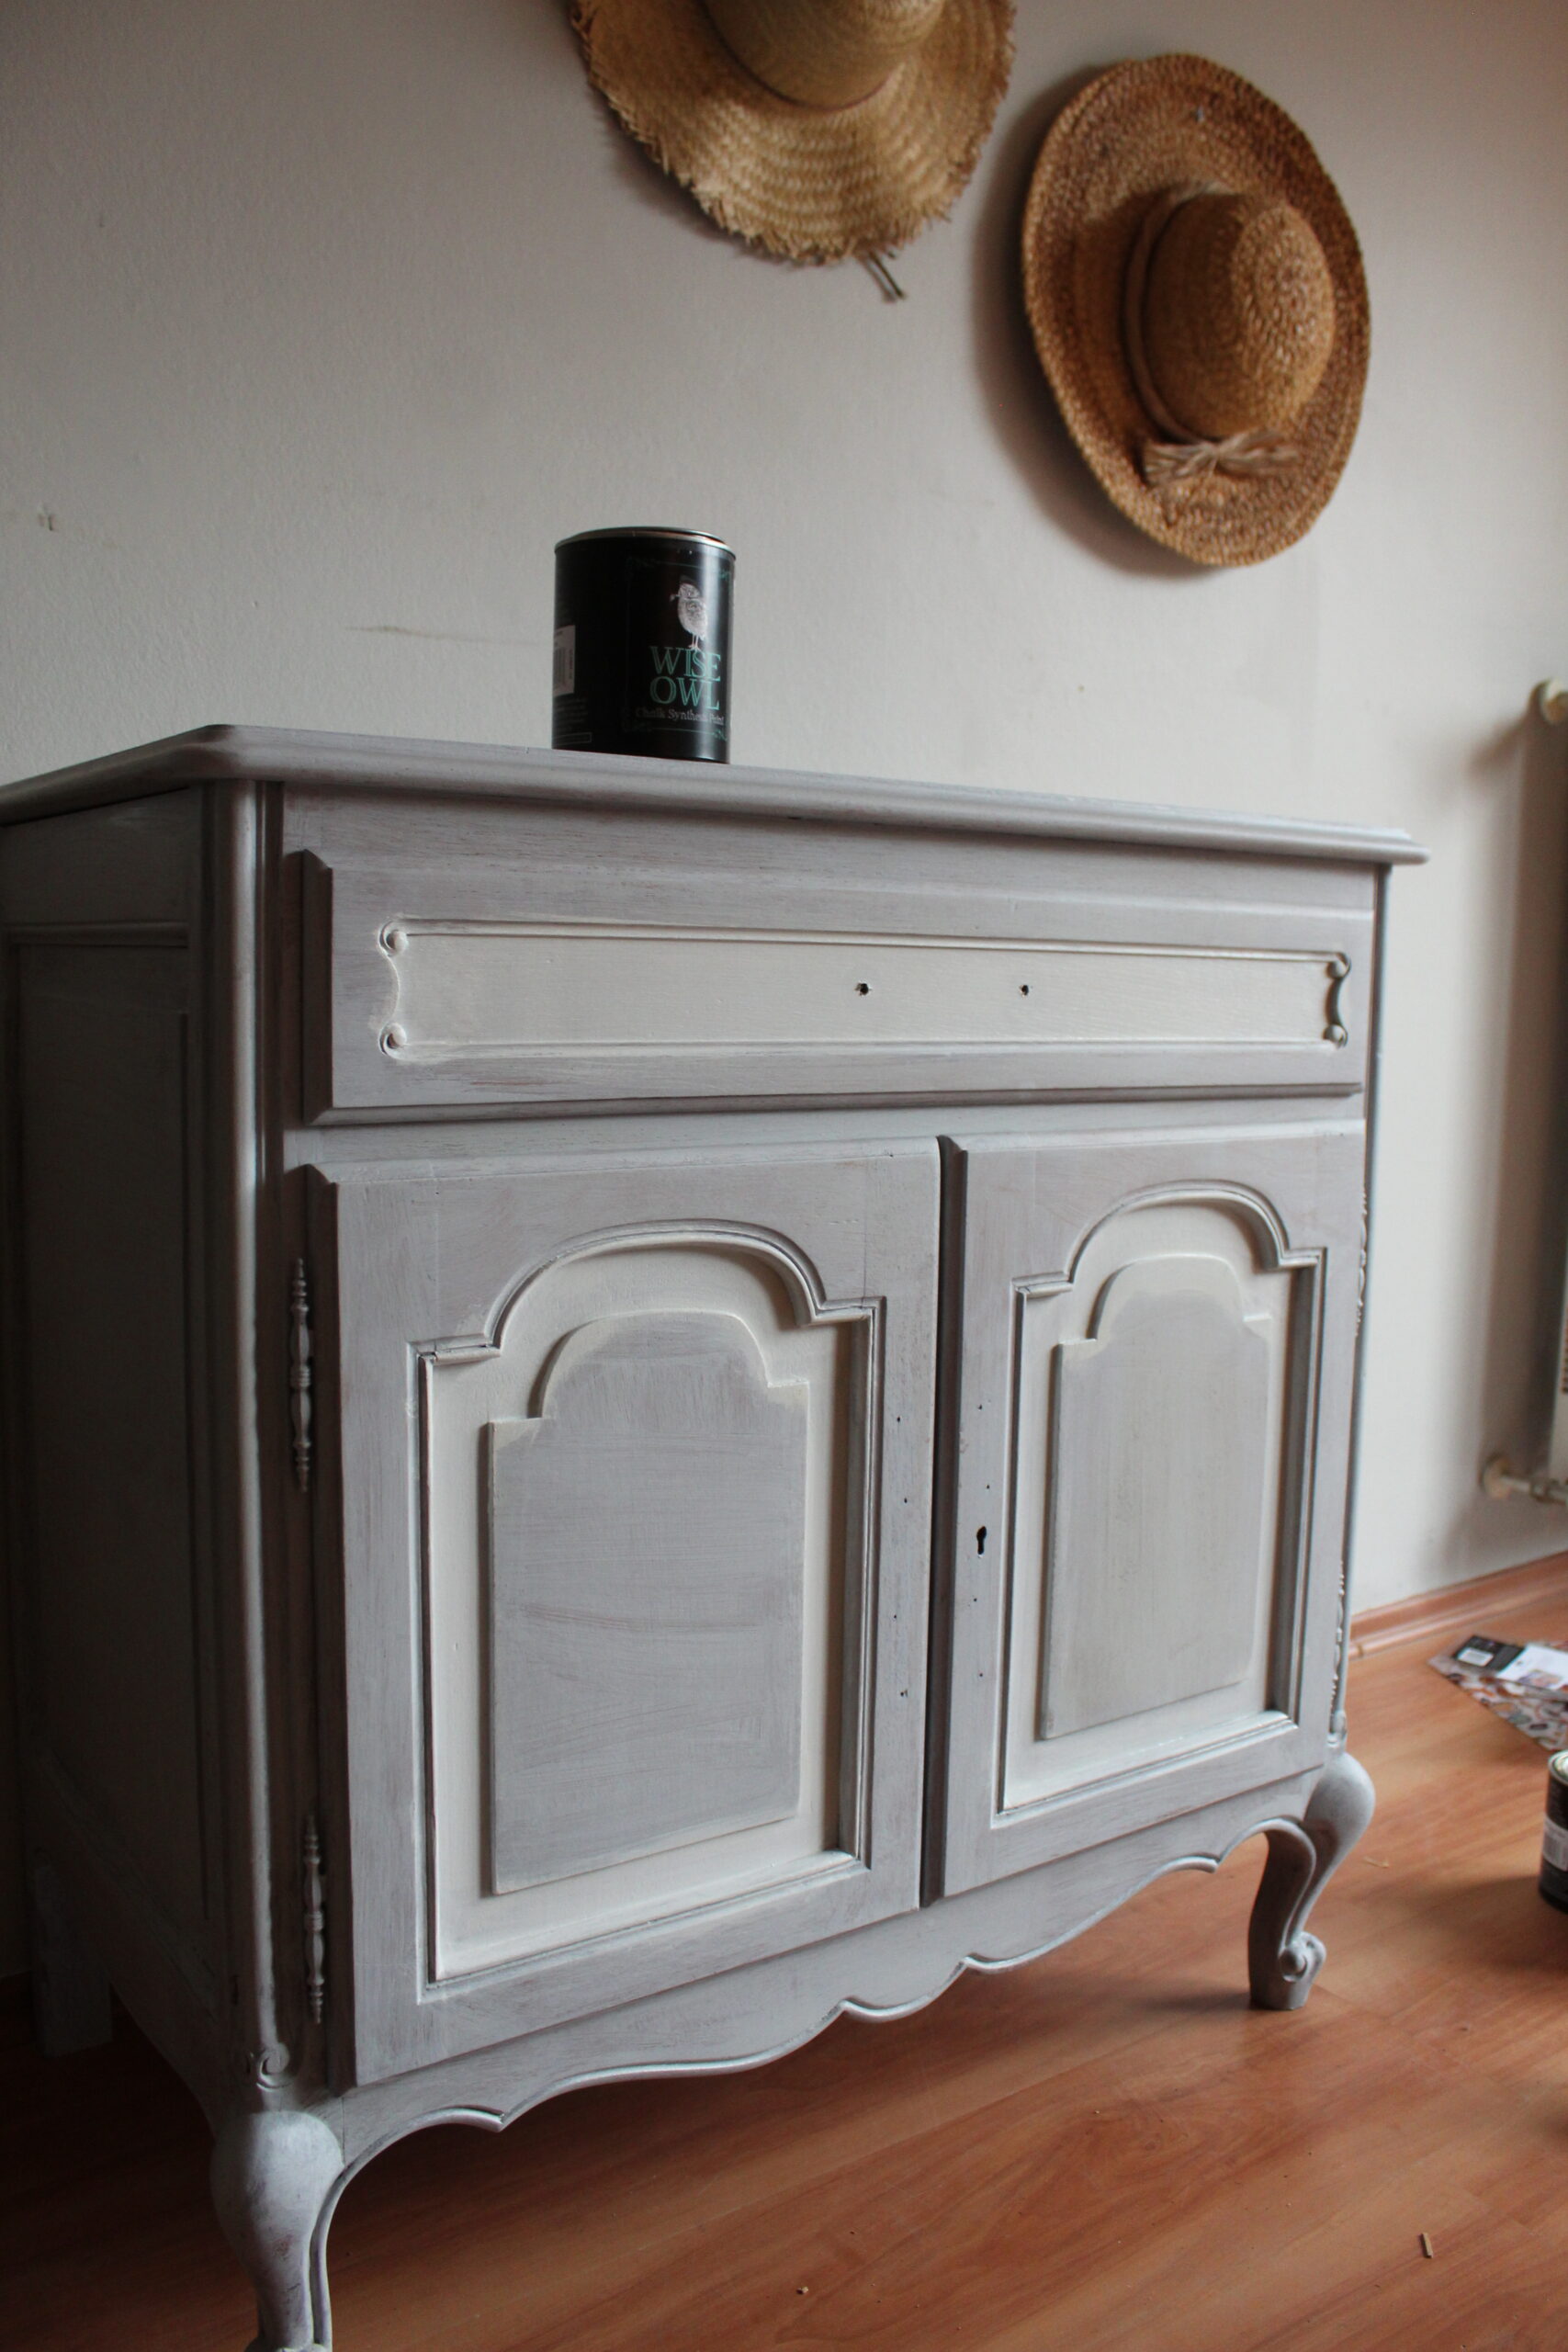
Once the buffet was dry I applied a thin single coat of the grey Wise Owl's Stain Eliminating Primer on this piece using a quality paintbrush (nylon or polyester). You can brush, roll or spray on the primer, but for today's project, I went with the brush. Take your time, apply in a thin layer avoiding drips.
Why prime? I used a primer for a few reasons, one was to prevent pesky wood tannin bleed through. Since I will be using decoupage paper it could be an issue. Unfamiliar with tannins? You may want to do some googling. The real quick explanation is that tannins are sneaky and they try to escape, showing through and possibly ruining all of your hard work. Besides tannins, stubborn stains, nicotine, and years of polishing can also cause bleed-through. The second reason I put a gray primer layer down is that highly pigmented paint colors such as reds or yellows will have better coverage ultimately reducing the need for additional layers of the paint.

Decoupage Application
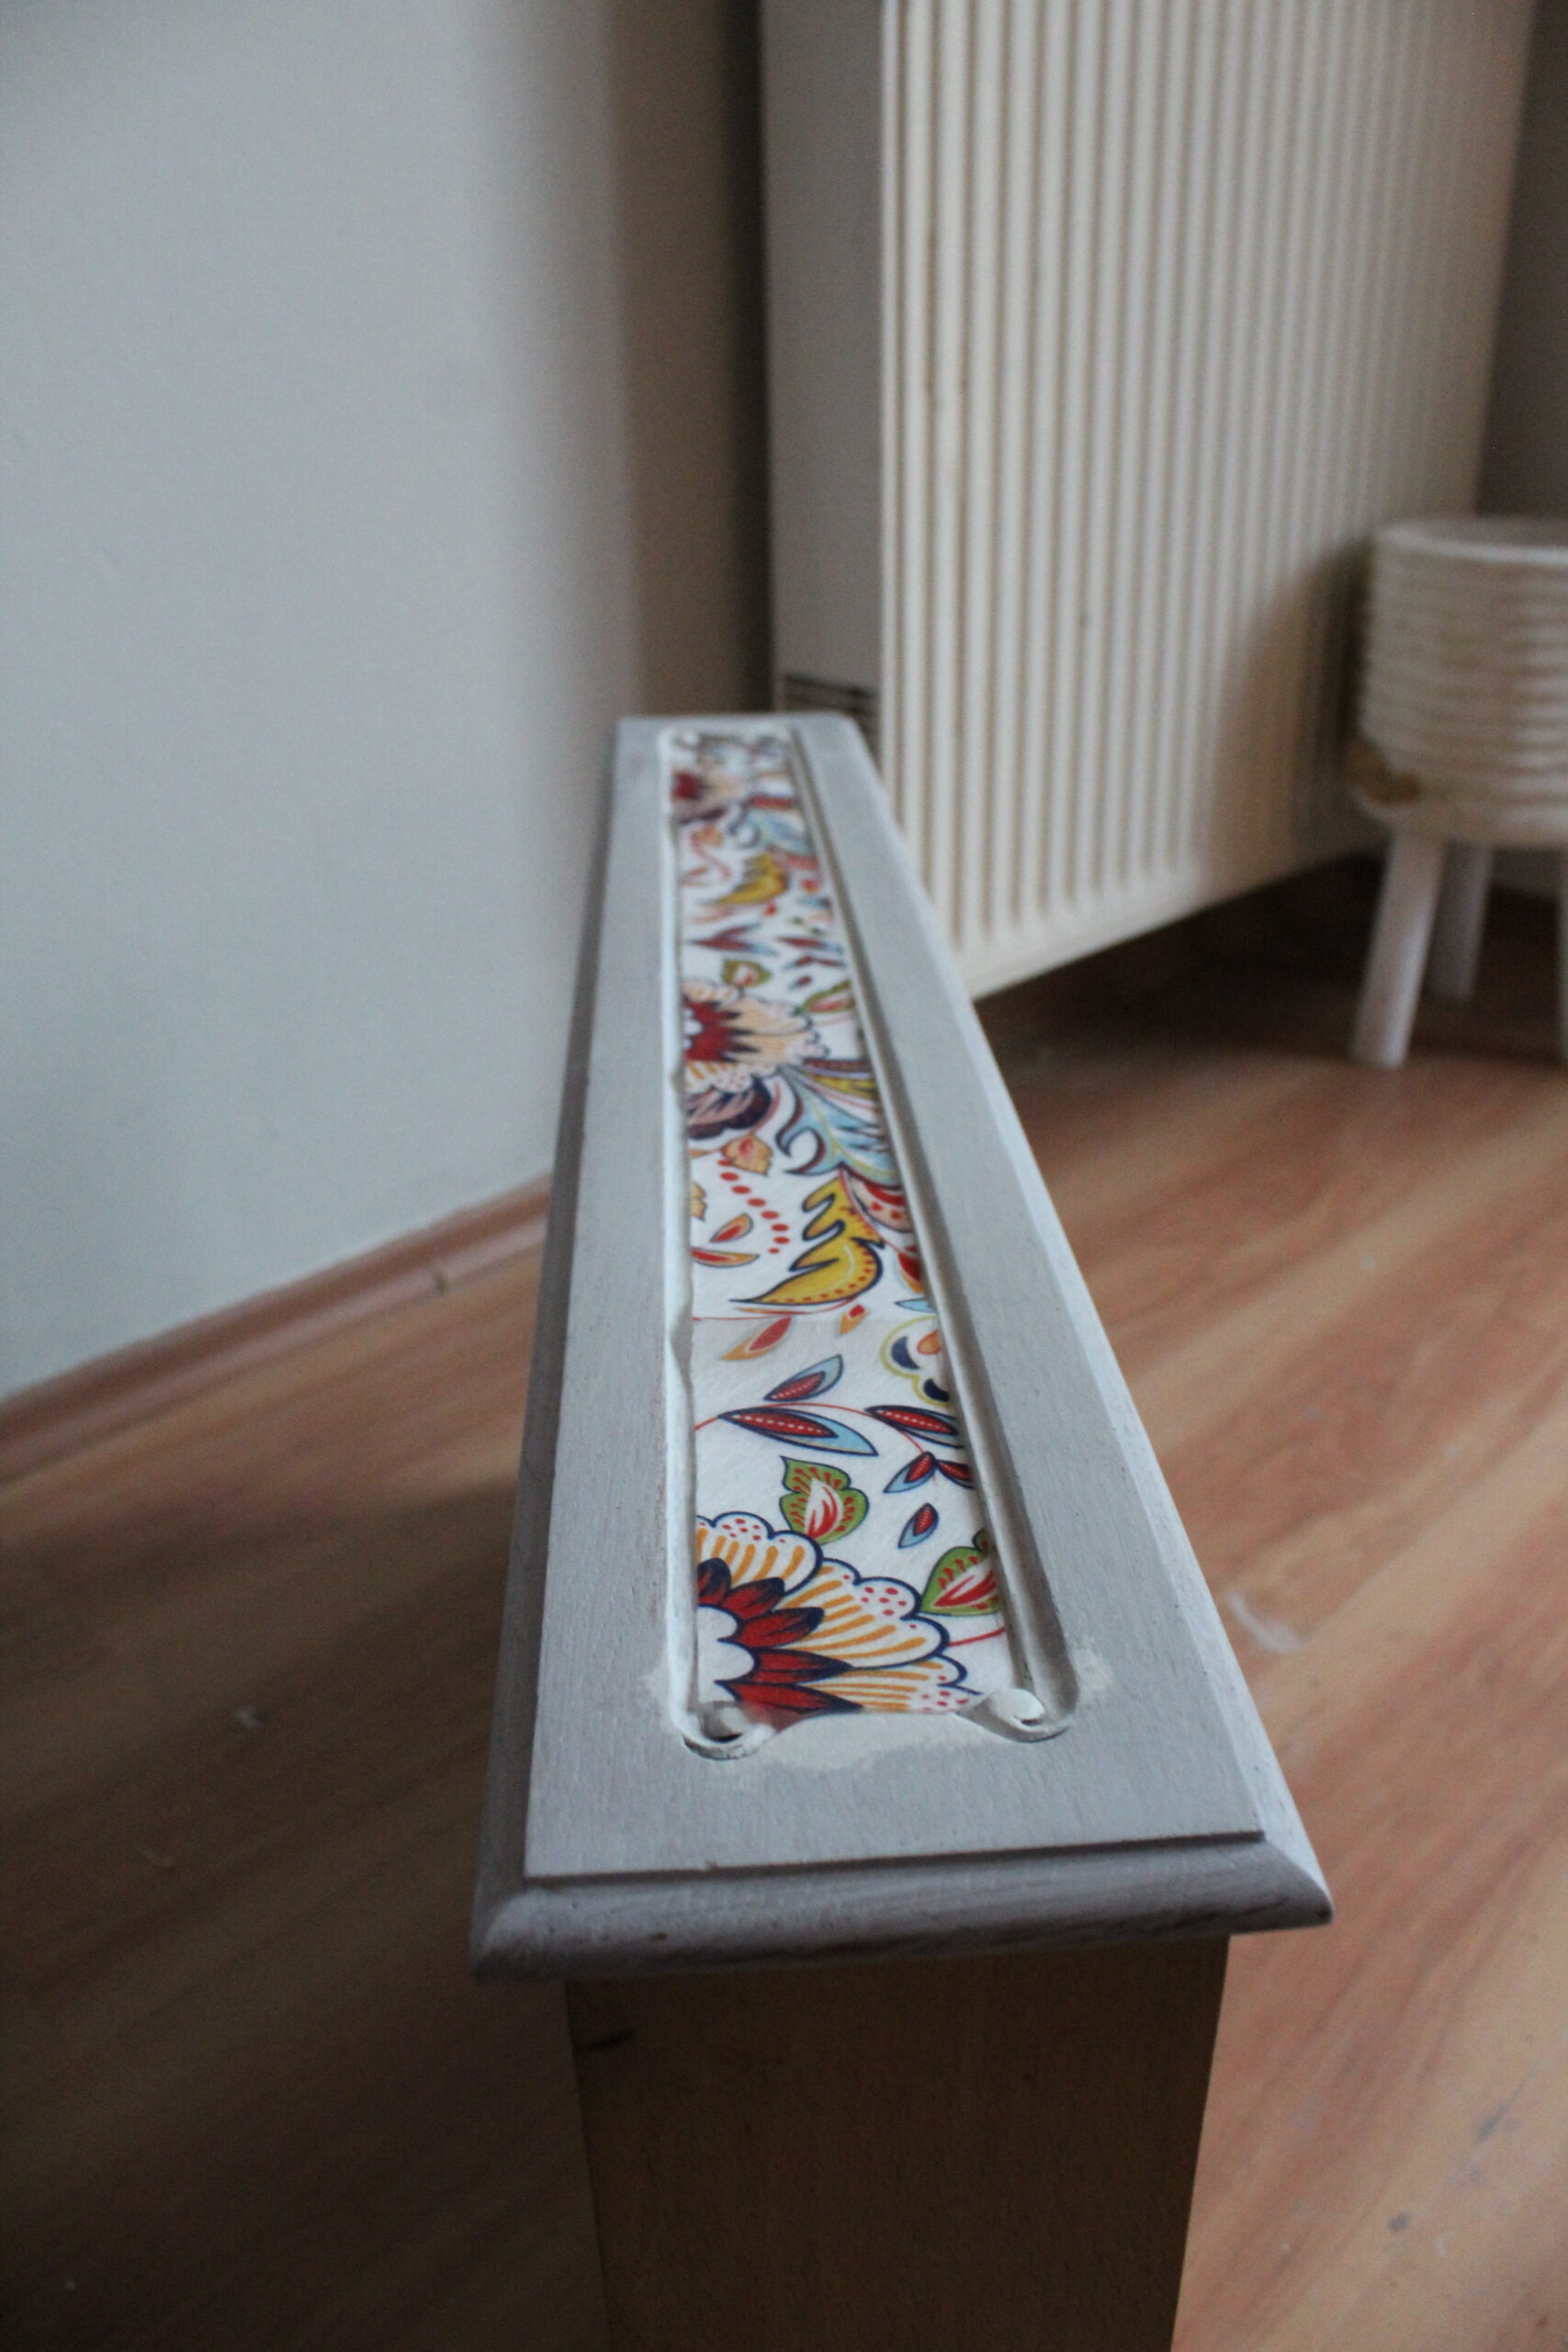
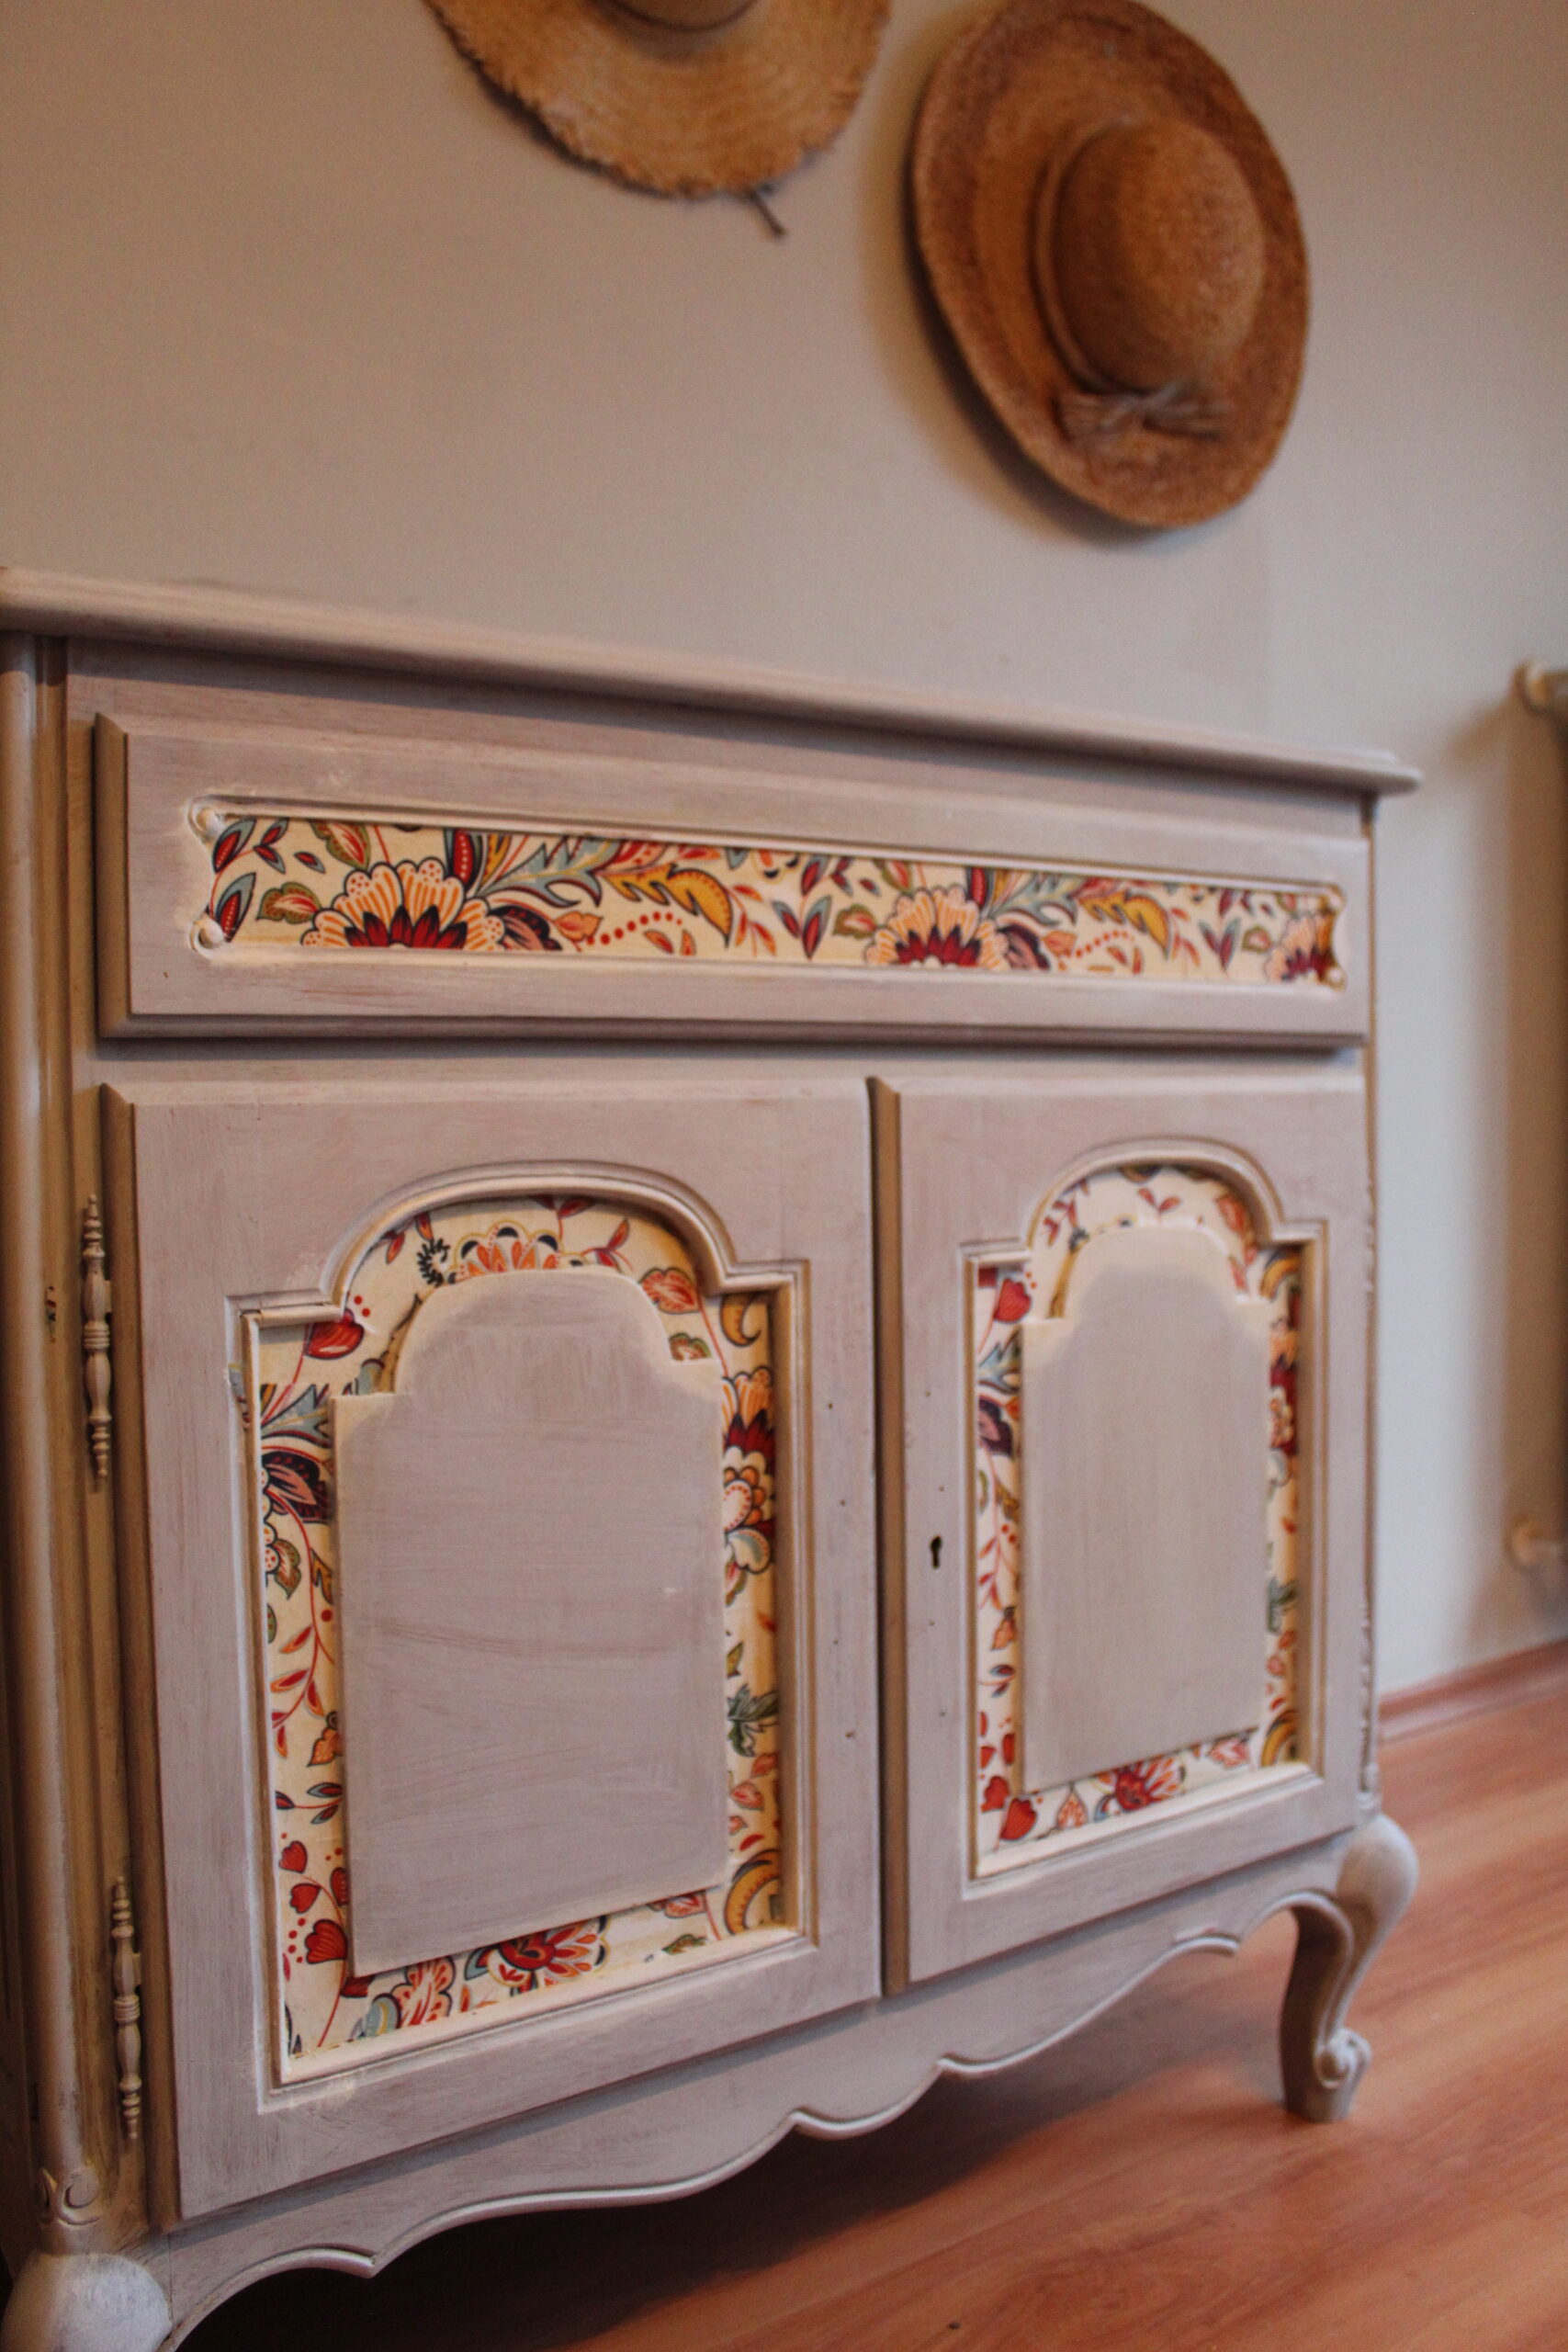
When planning for this project I felt that this buffet needed some pattern, color, and texture other than the paint. I decided to use decoupage tissue paper (designed for furniture application) around the edges of the two-door faces and in the center of the drawer.
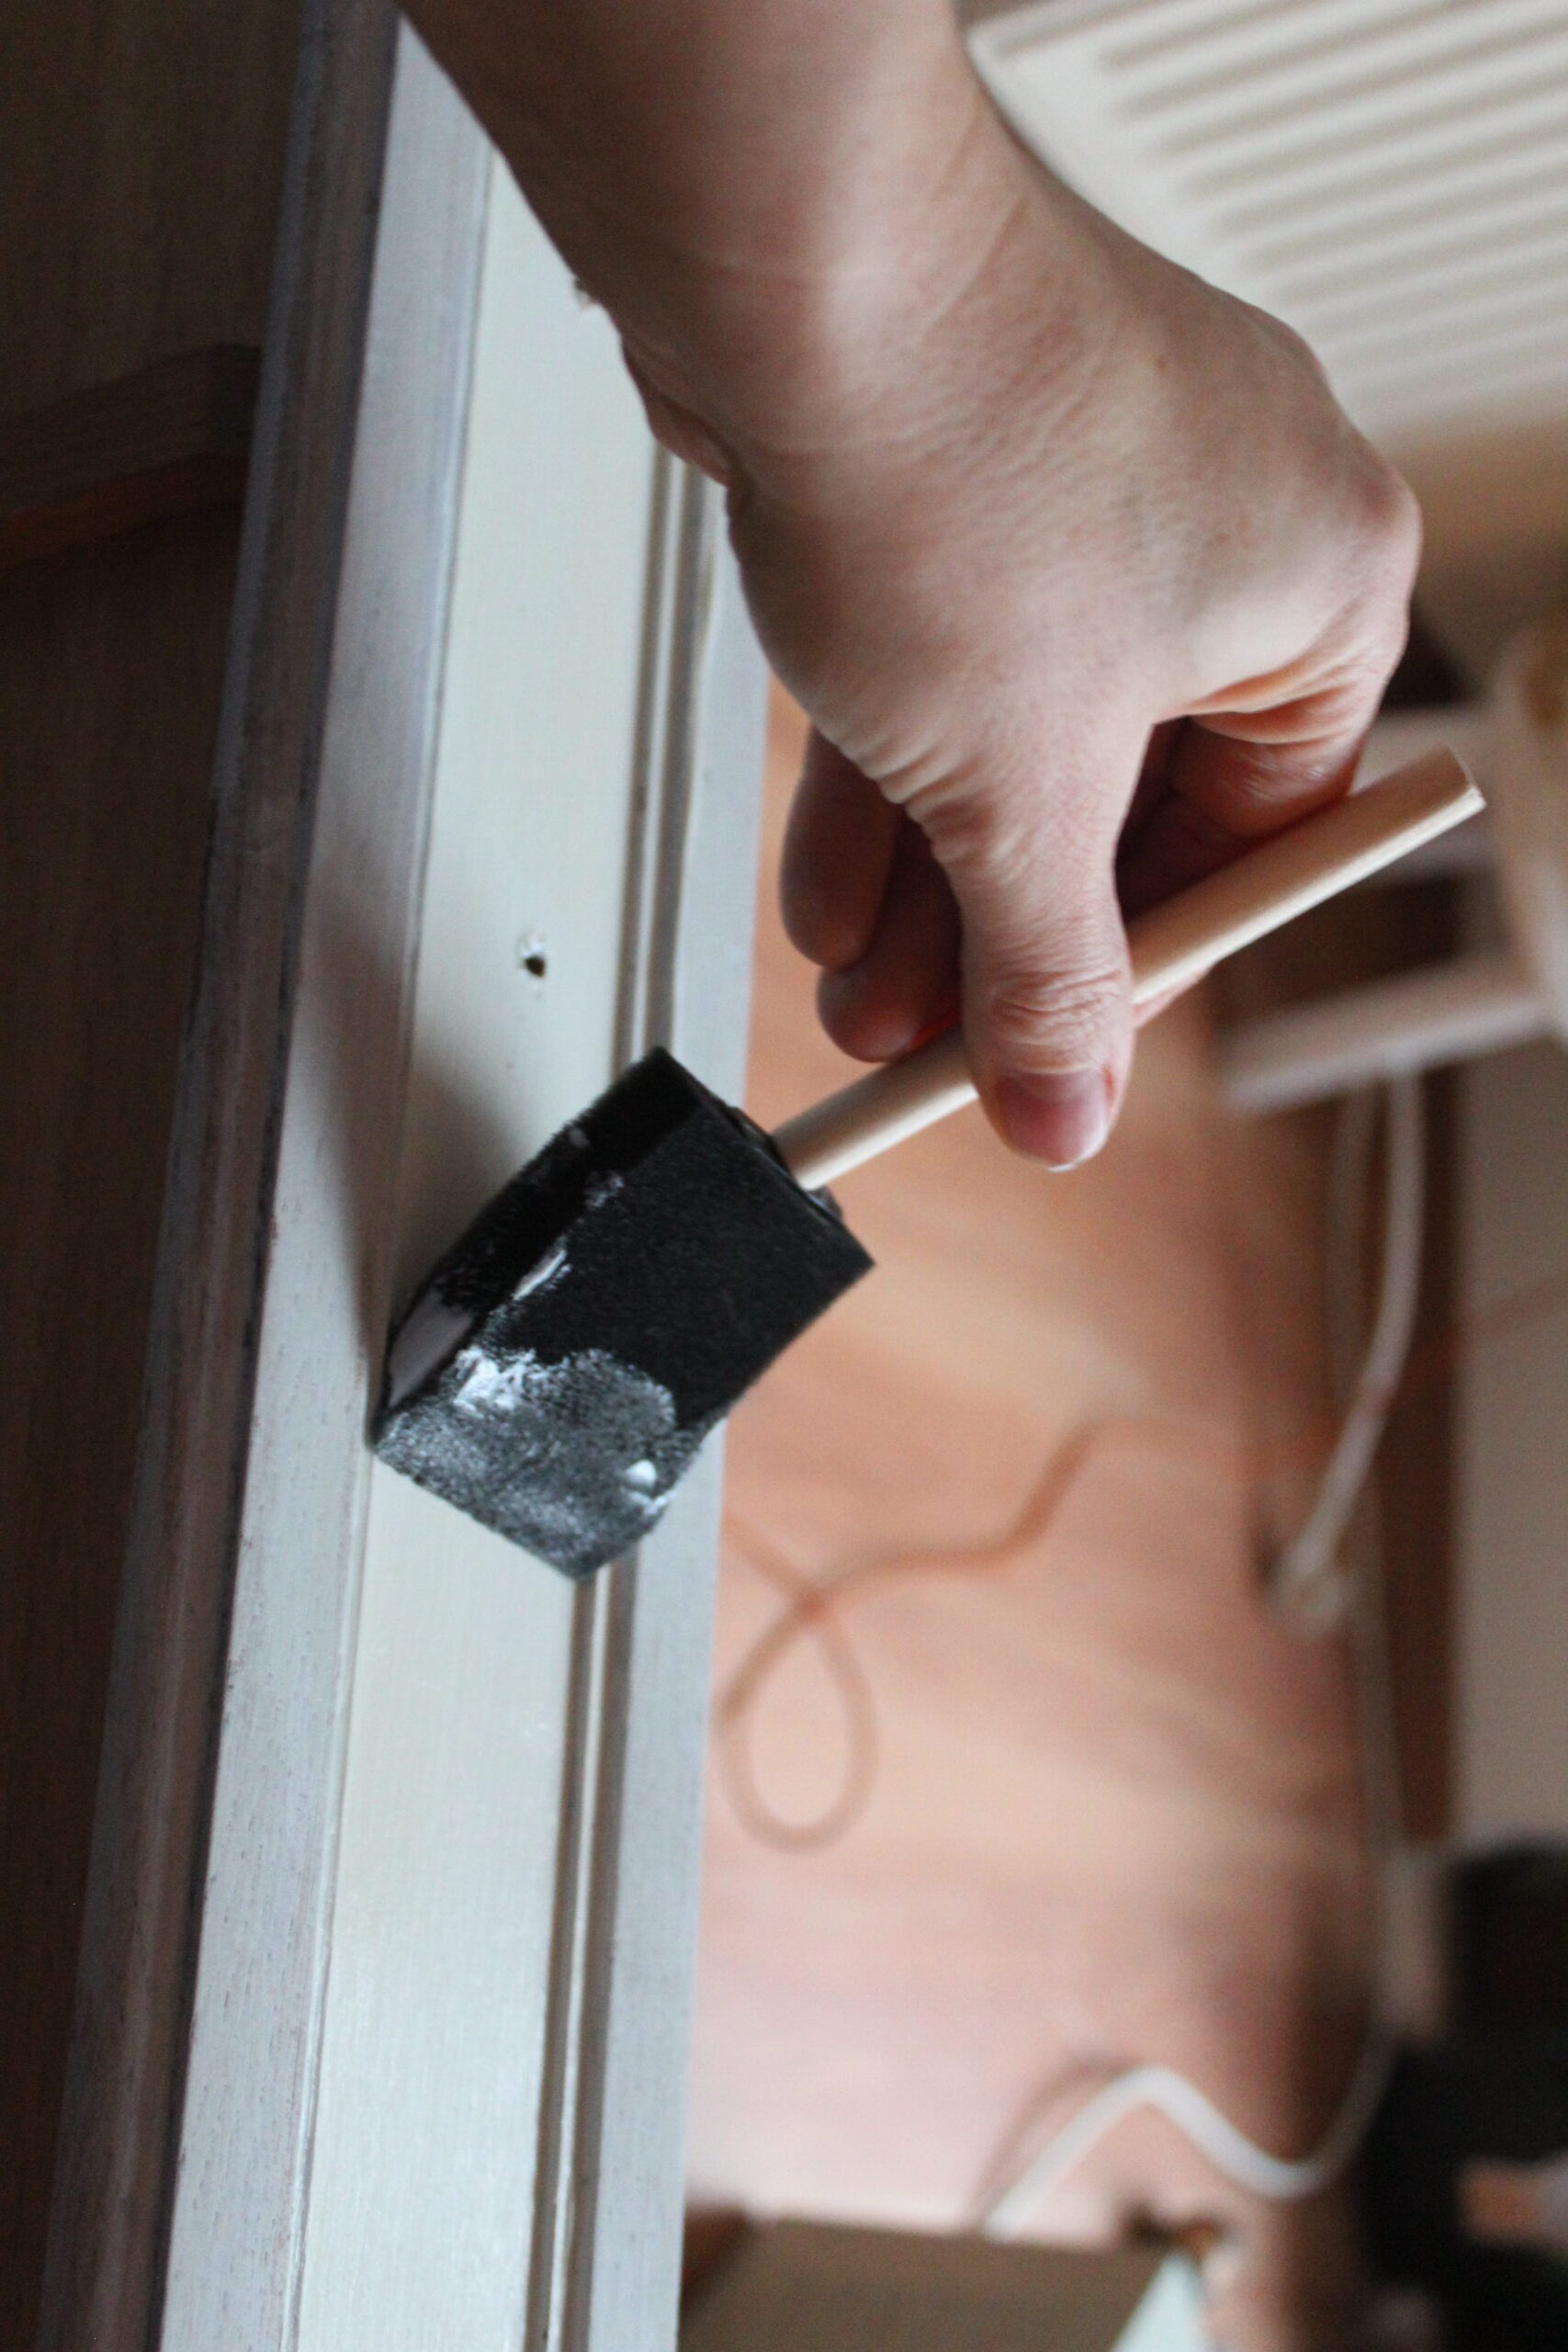
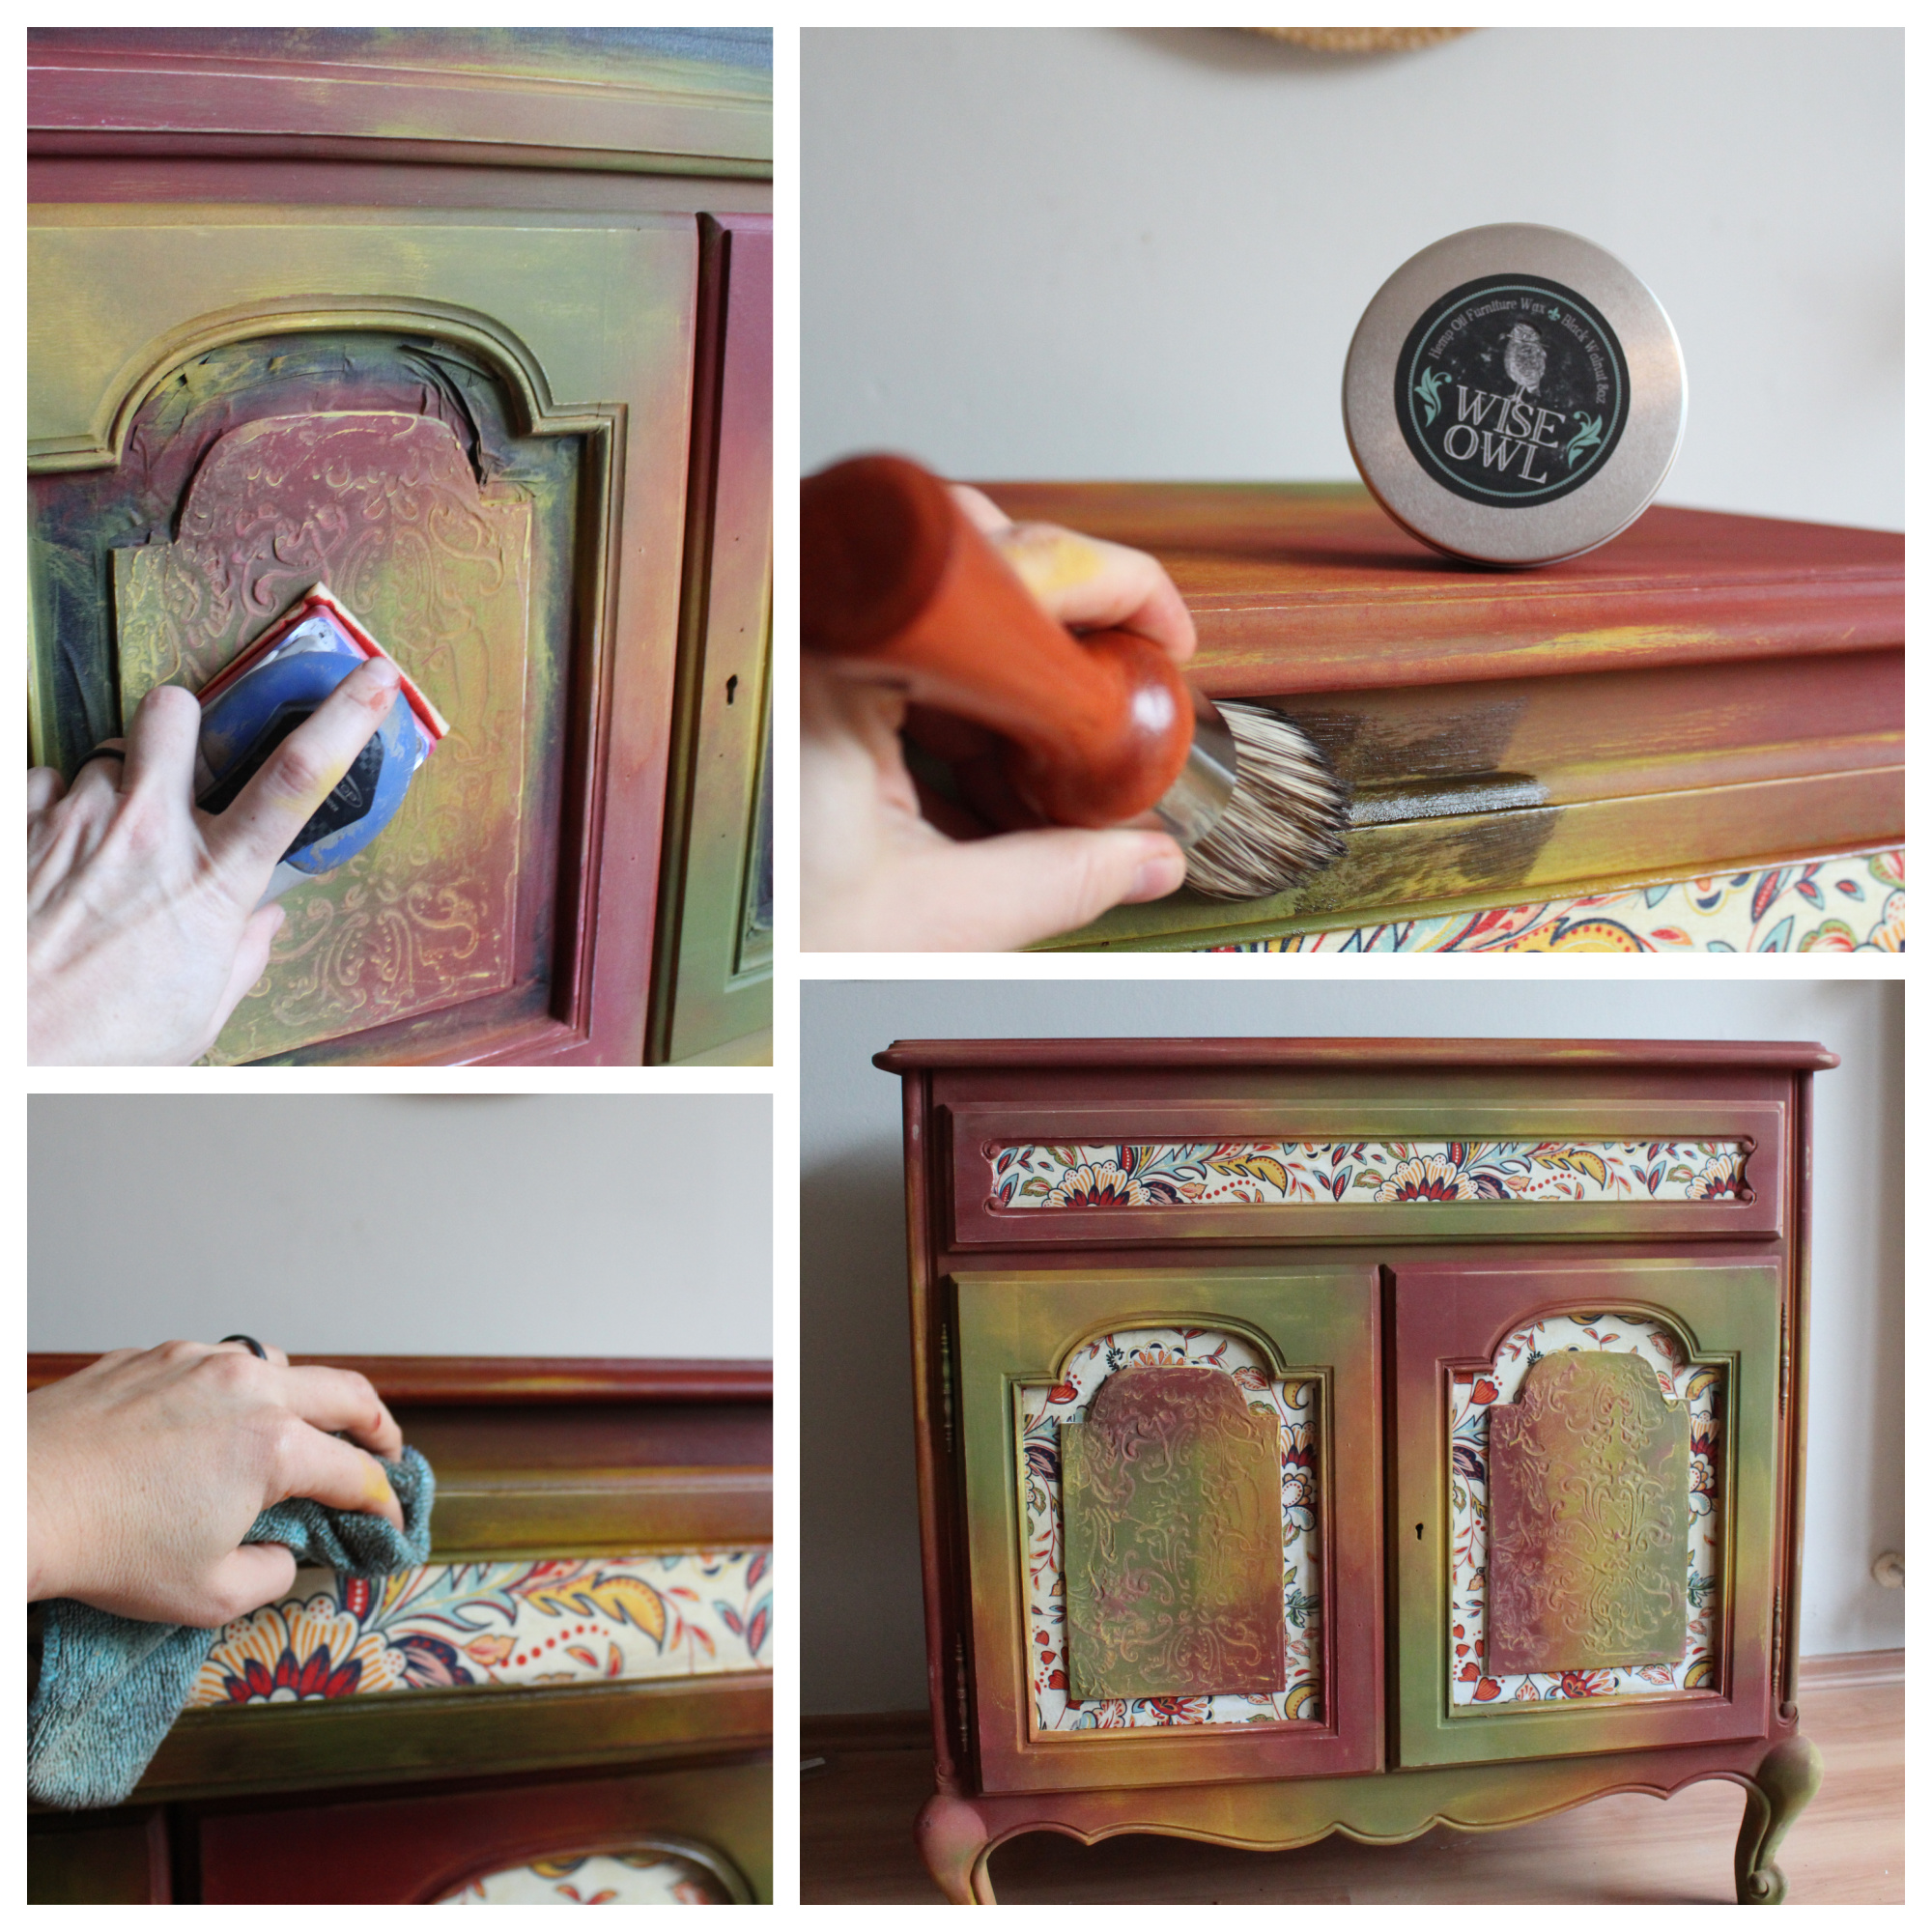
Prior to applying the decoupage tissue paper, I painted the edges and drawer front with Chalk Synthesis Paint in the color Bone. While it dried I cut the paper to size for each section I was decoupaging. Once the buffet was dry I applied a layer of decoupage gel using a foam brush in the areas I wanted the paper, this gel acts as glue to keep the paper down. I then carefully placed the decoupage tissue paper over the gel making sure to smooth and push all air bubbles out, starting from the center outward. There are some wonderful tools on the market to help you with the application of the decoupage paper. Now that the paper is placed put a layer of the decoupage gel over the paper to seal it in.
Textured Door Panels
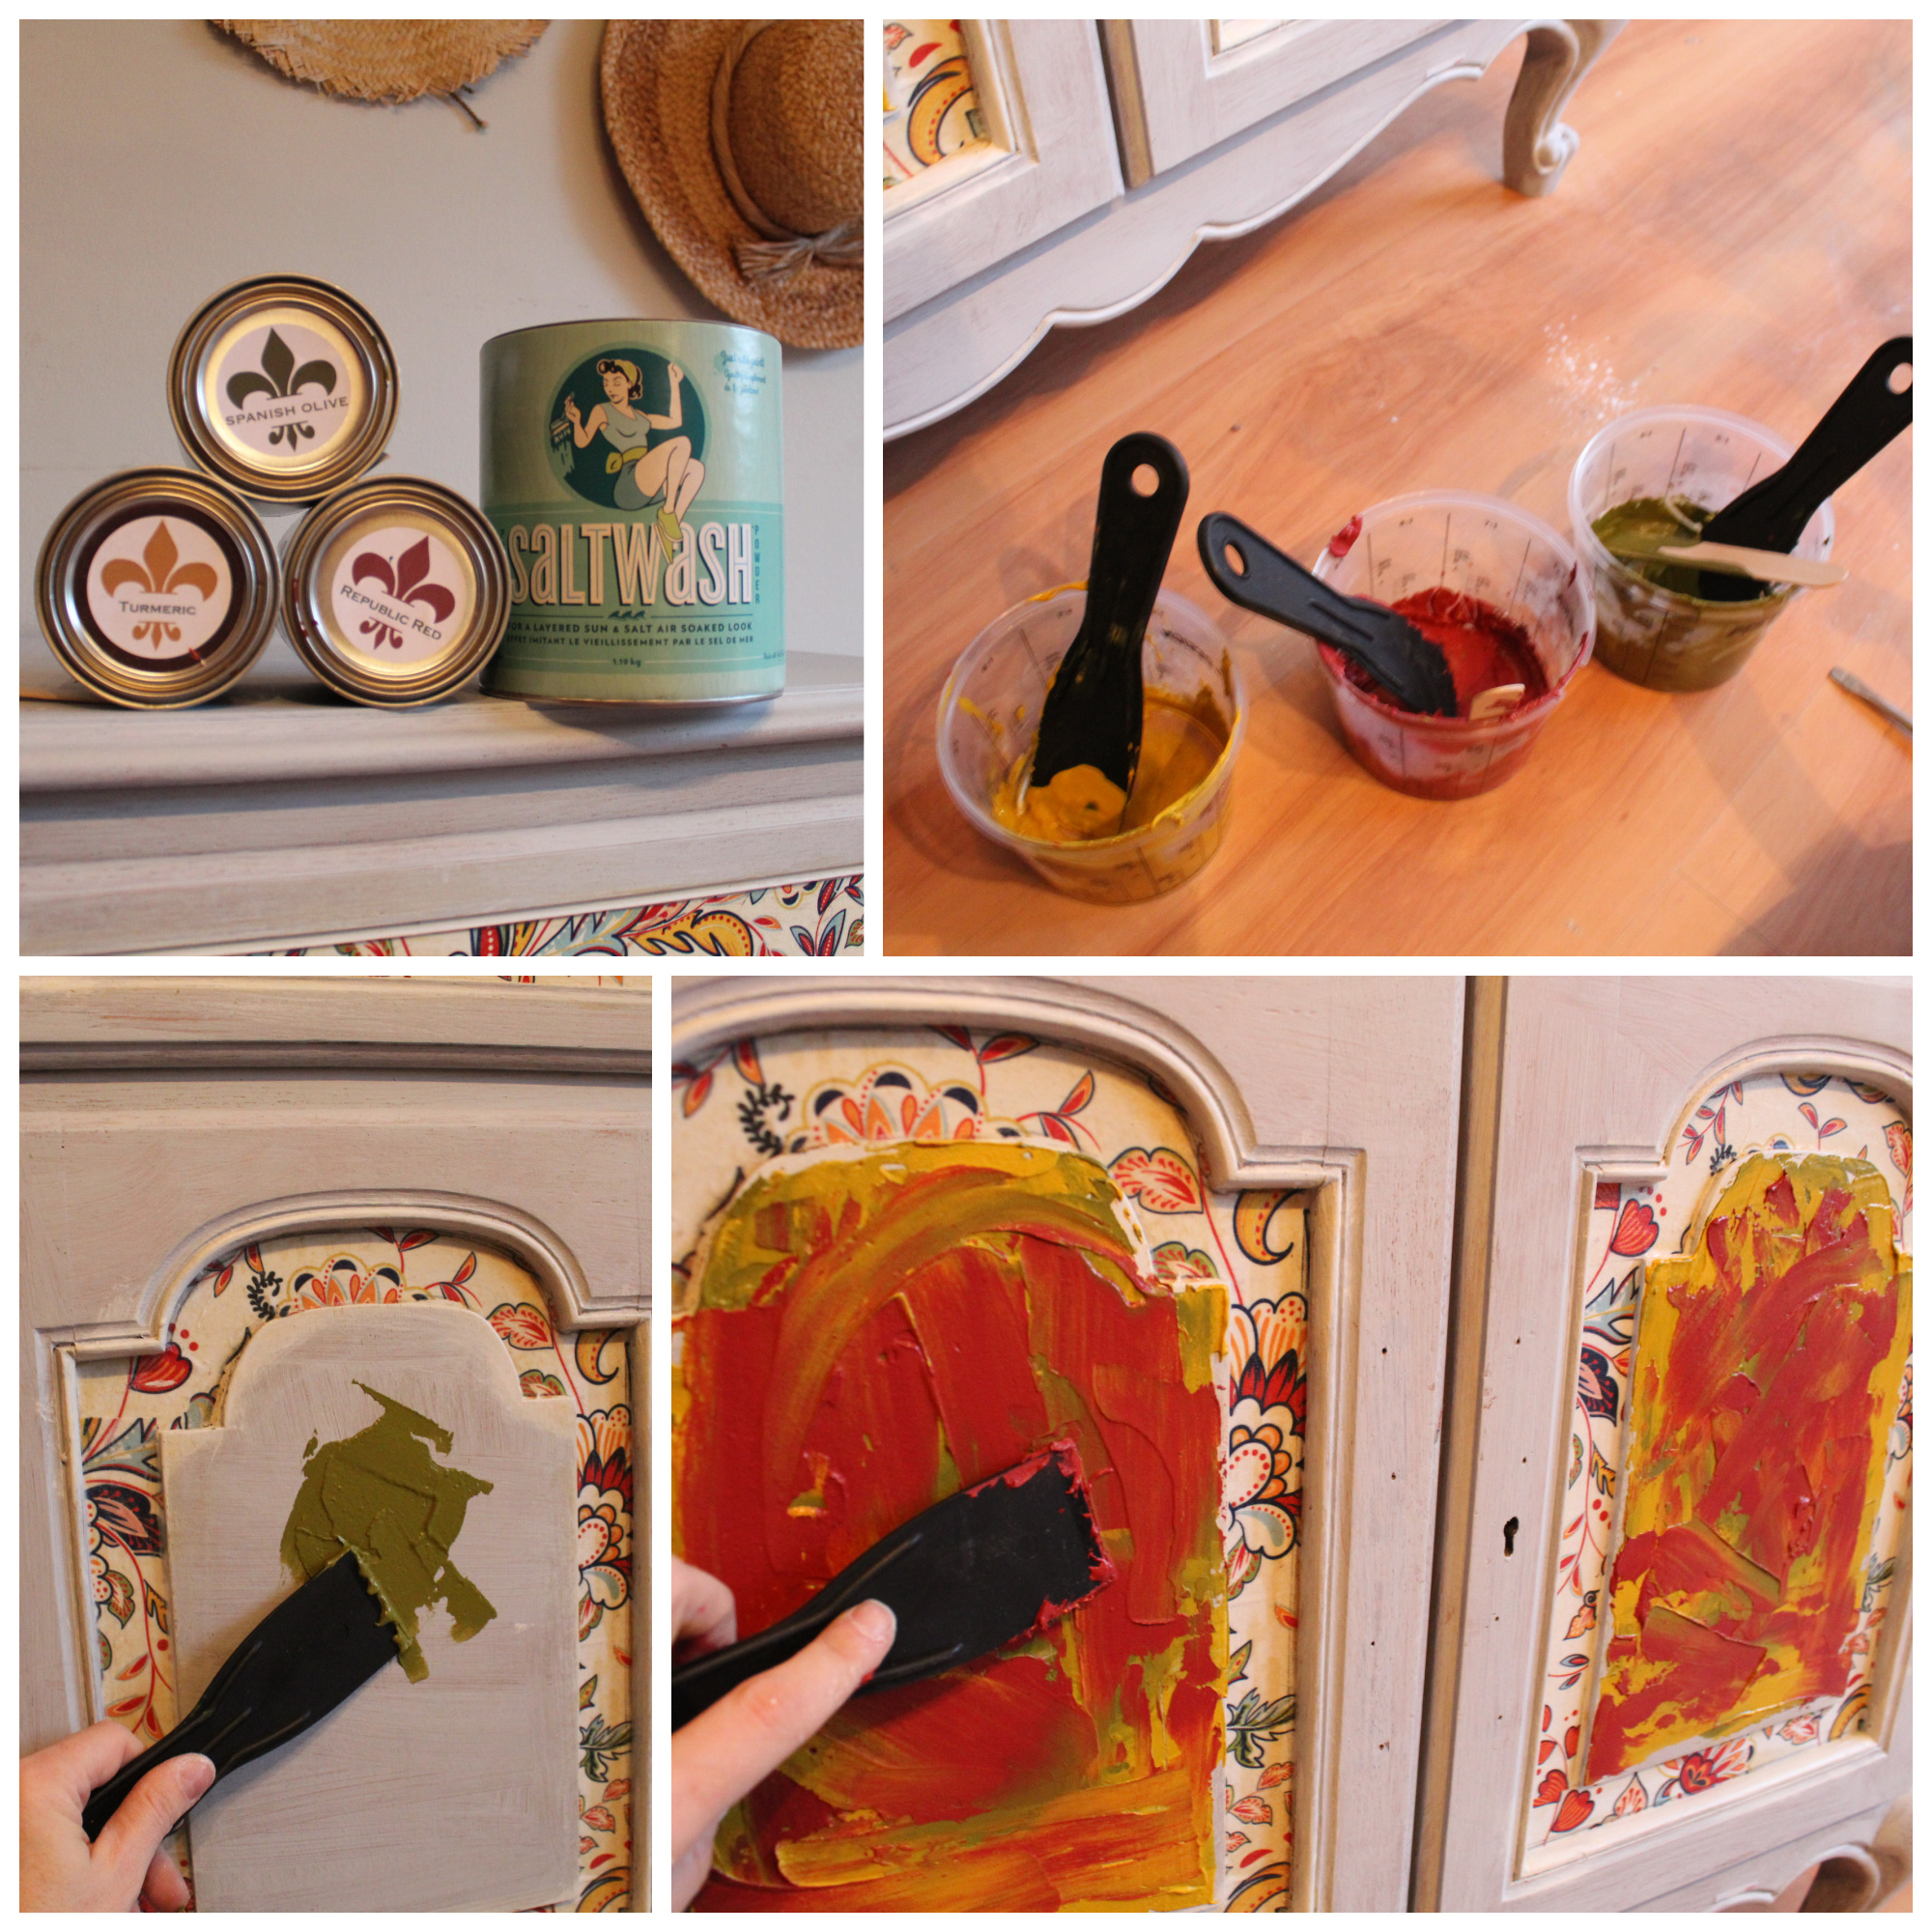
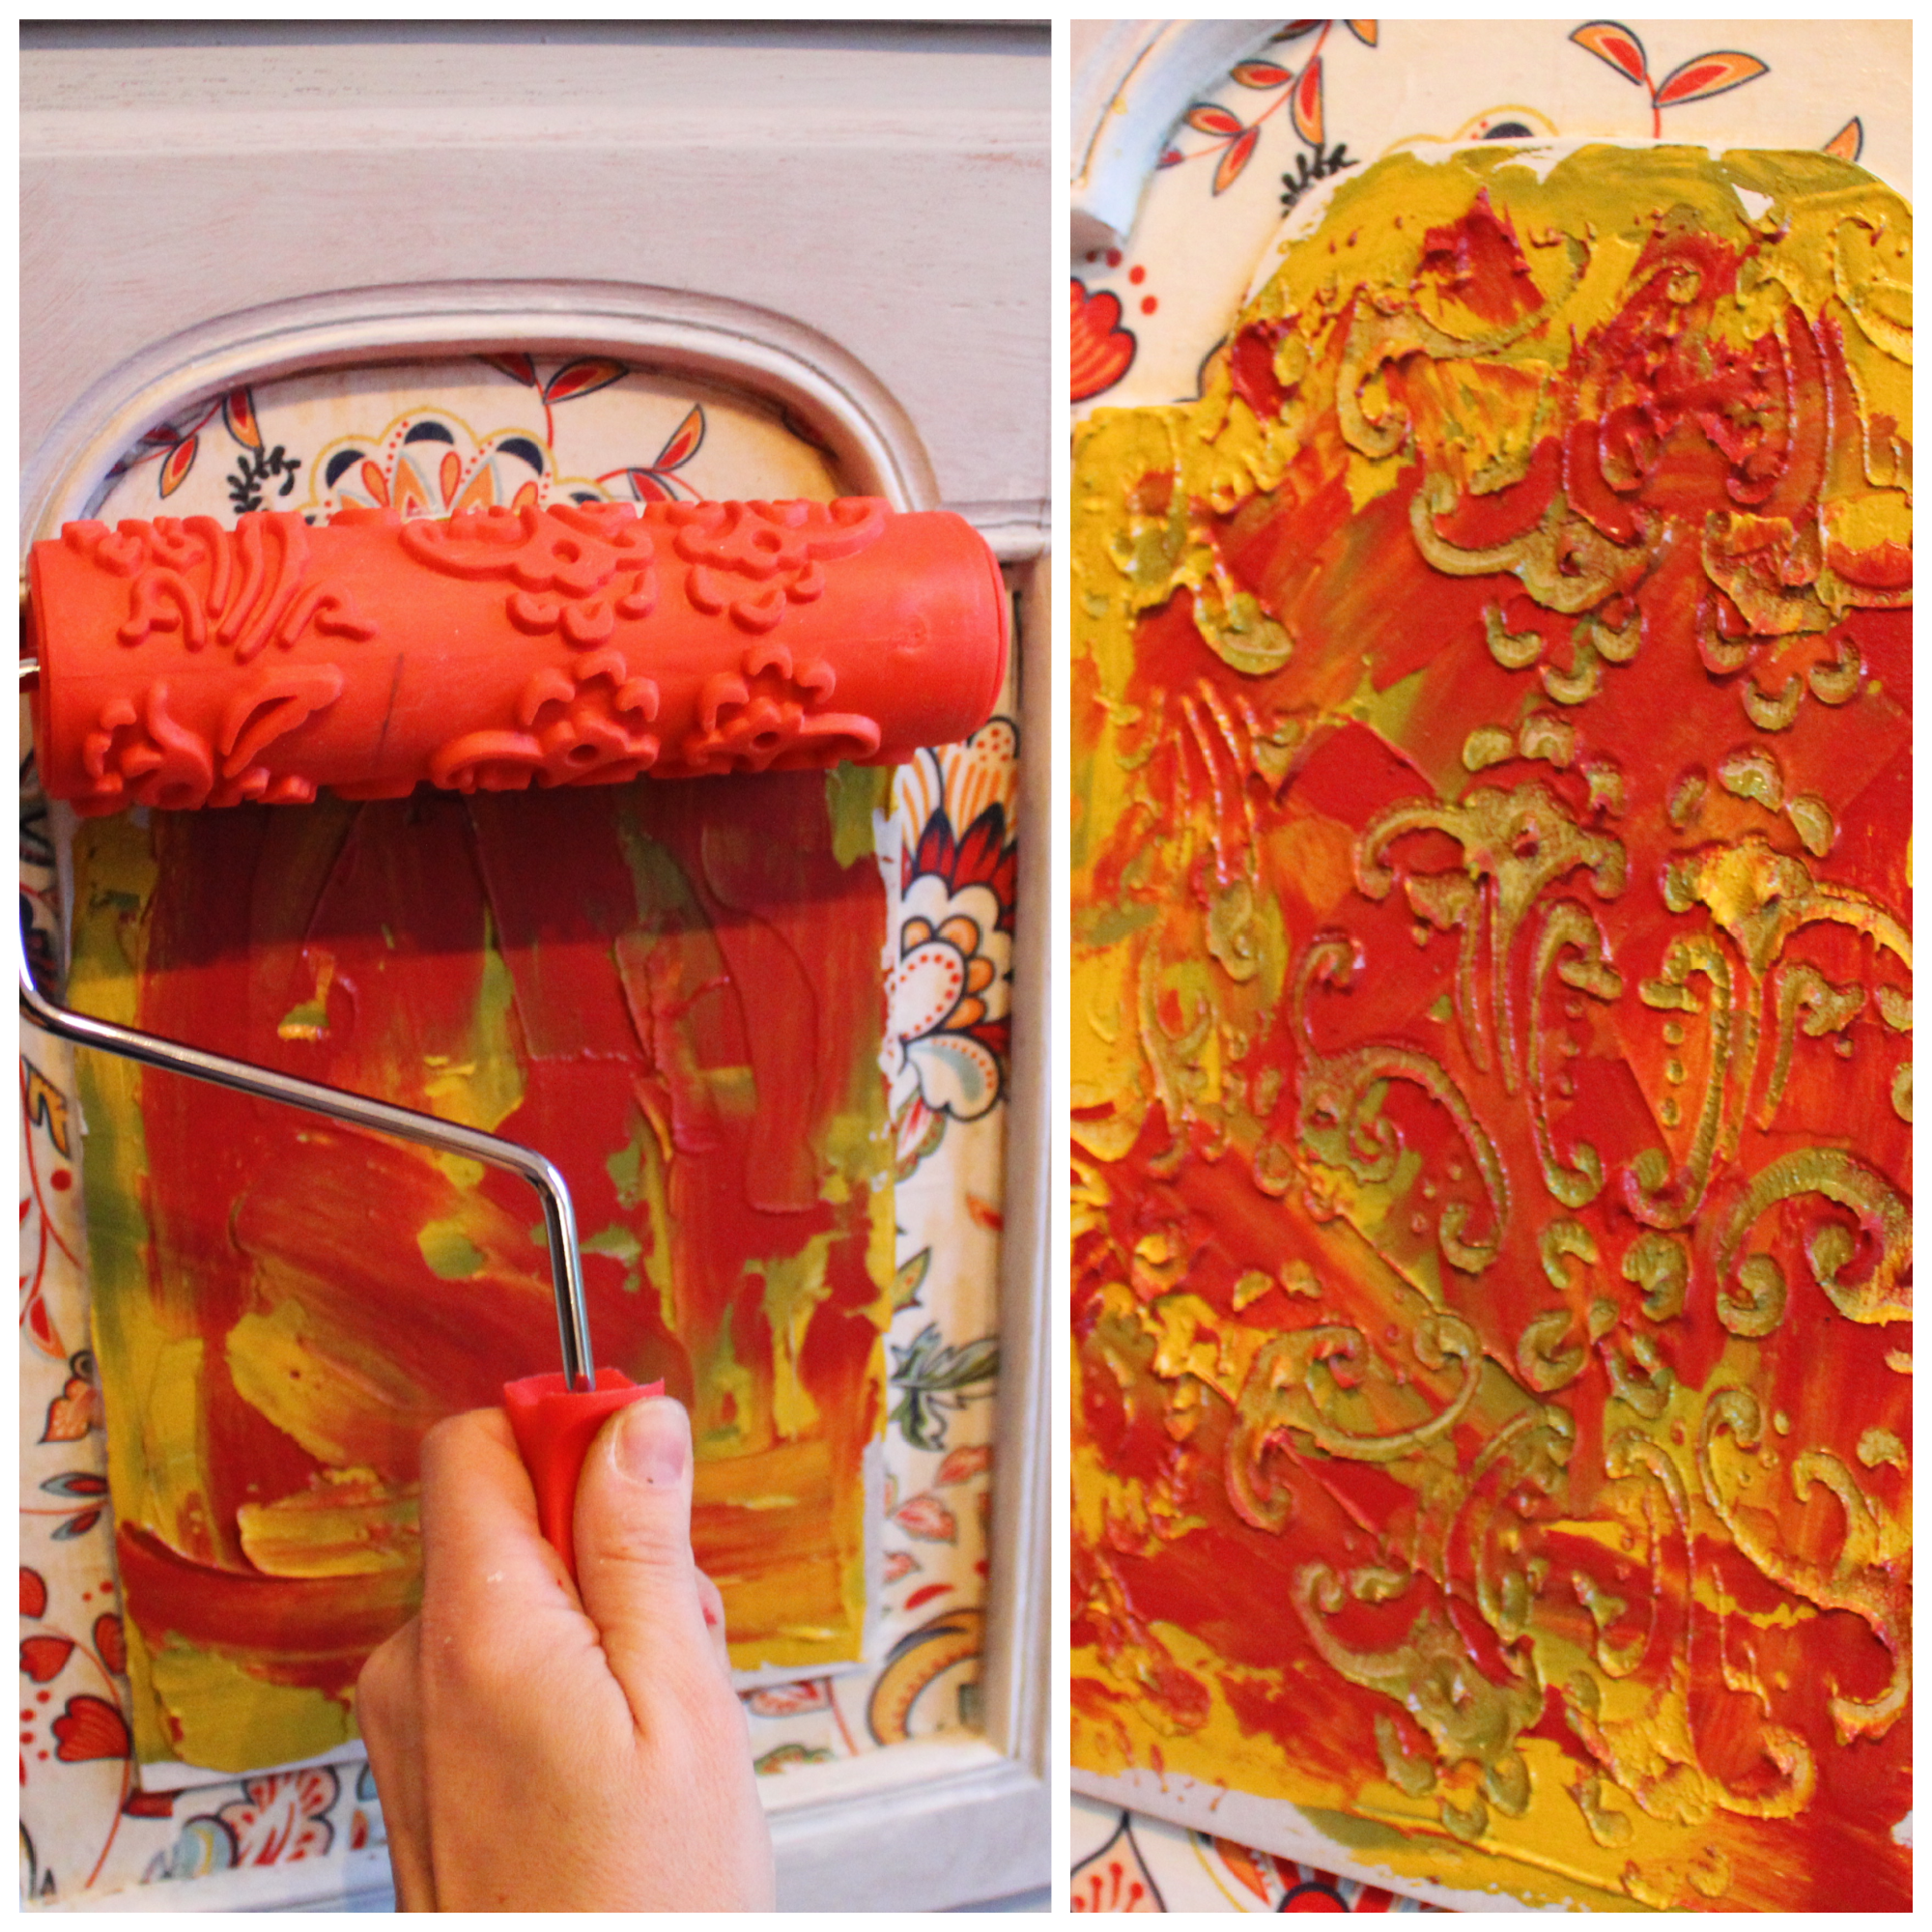
For this next technique, I'm using Saltwash® powder mixed with the three different paint colors we are using on this piece. After mixing the paint and Saltwash® together (the ratio can be found on the Saltwash® product) I layered the textured colors on top of one another using a small flexible putty. Once I was happy with what it looked like, I used a decor roller and slowly roll over the panel to create a negative stenciled effect. These combined techniques added the texture I was looking for to the front of the buffet doors.
Creating A Colorful Blend
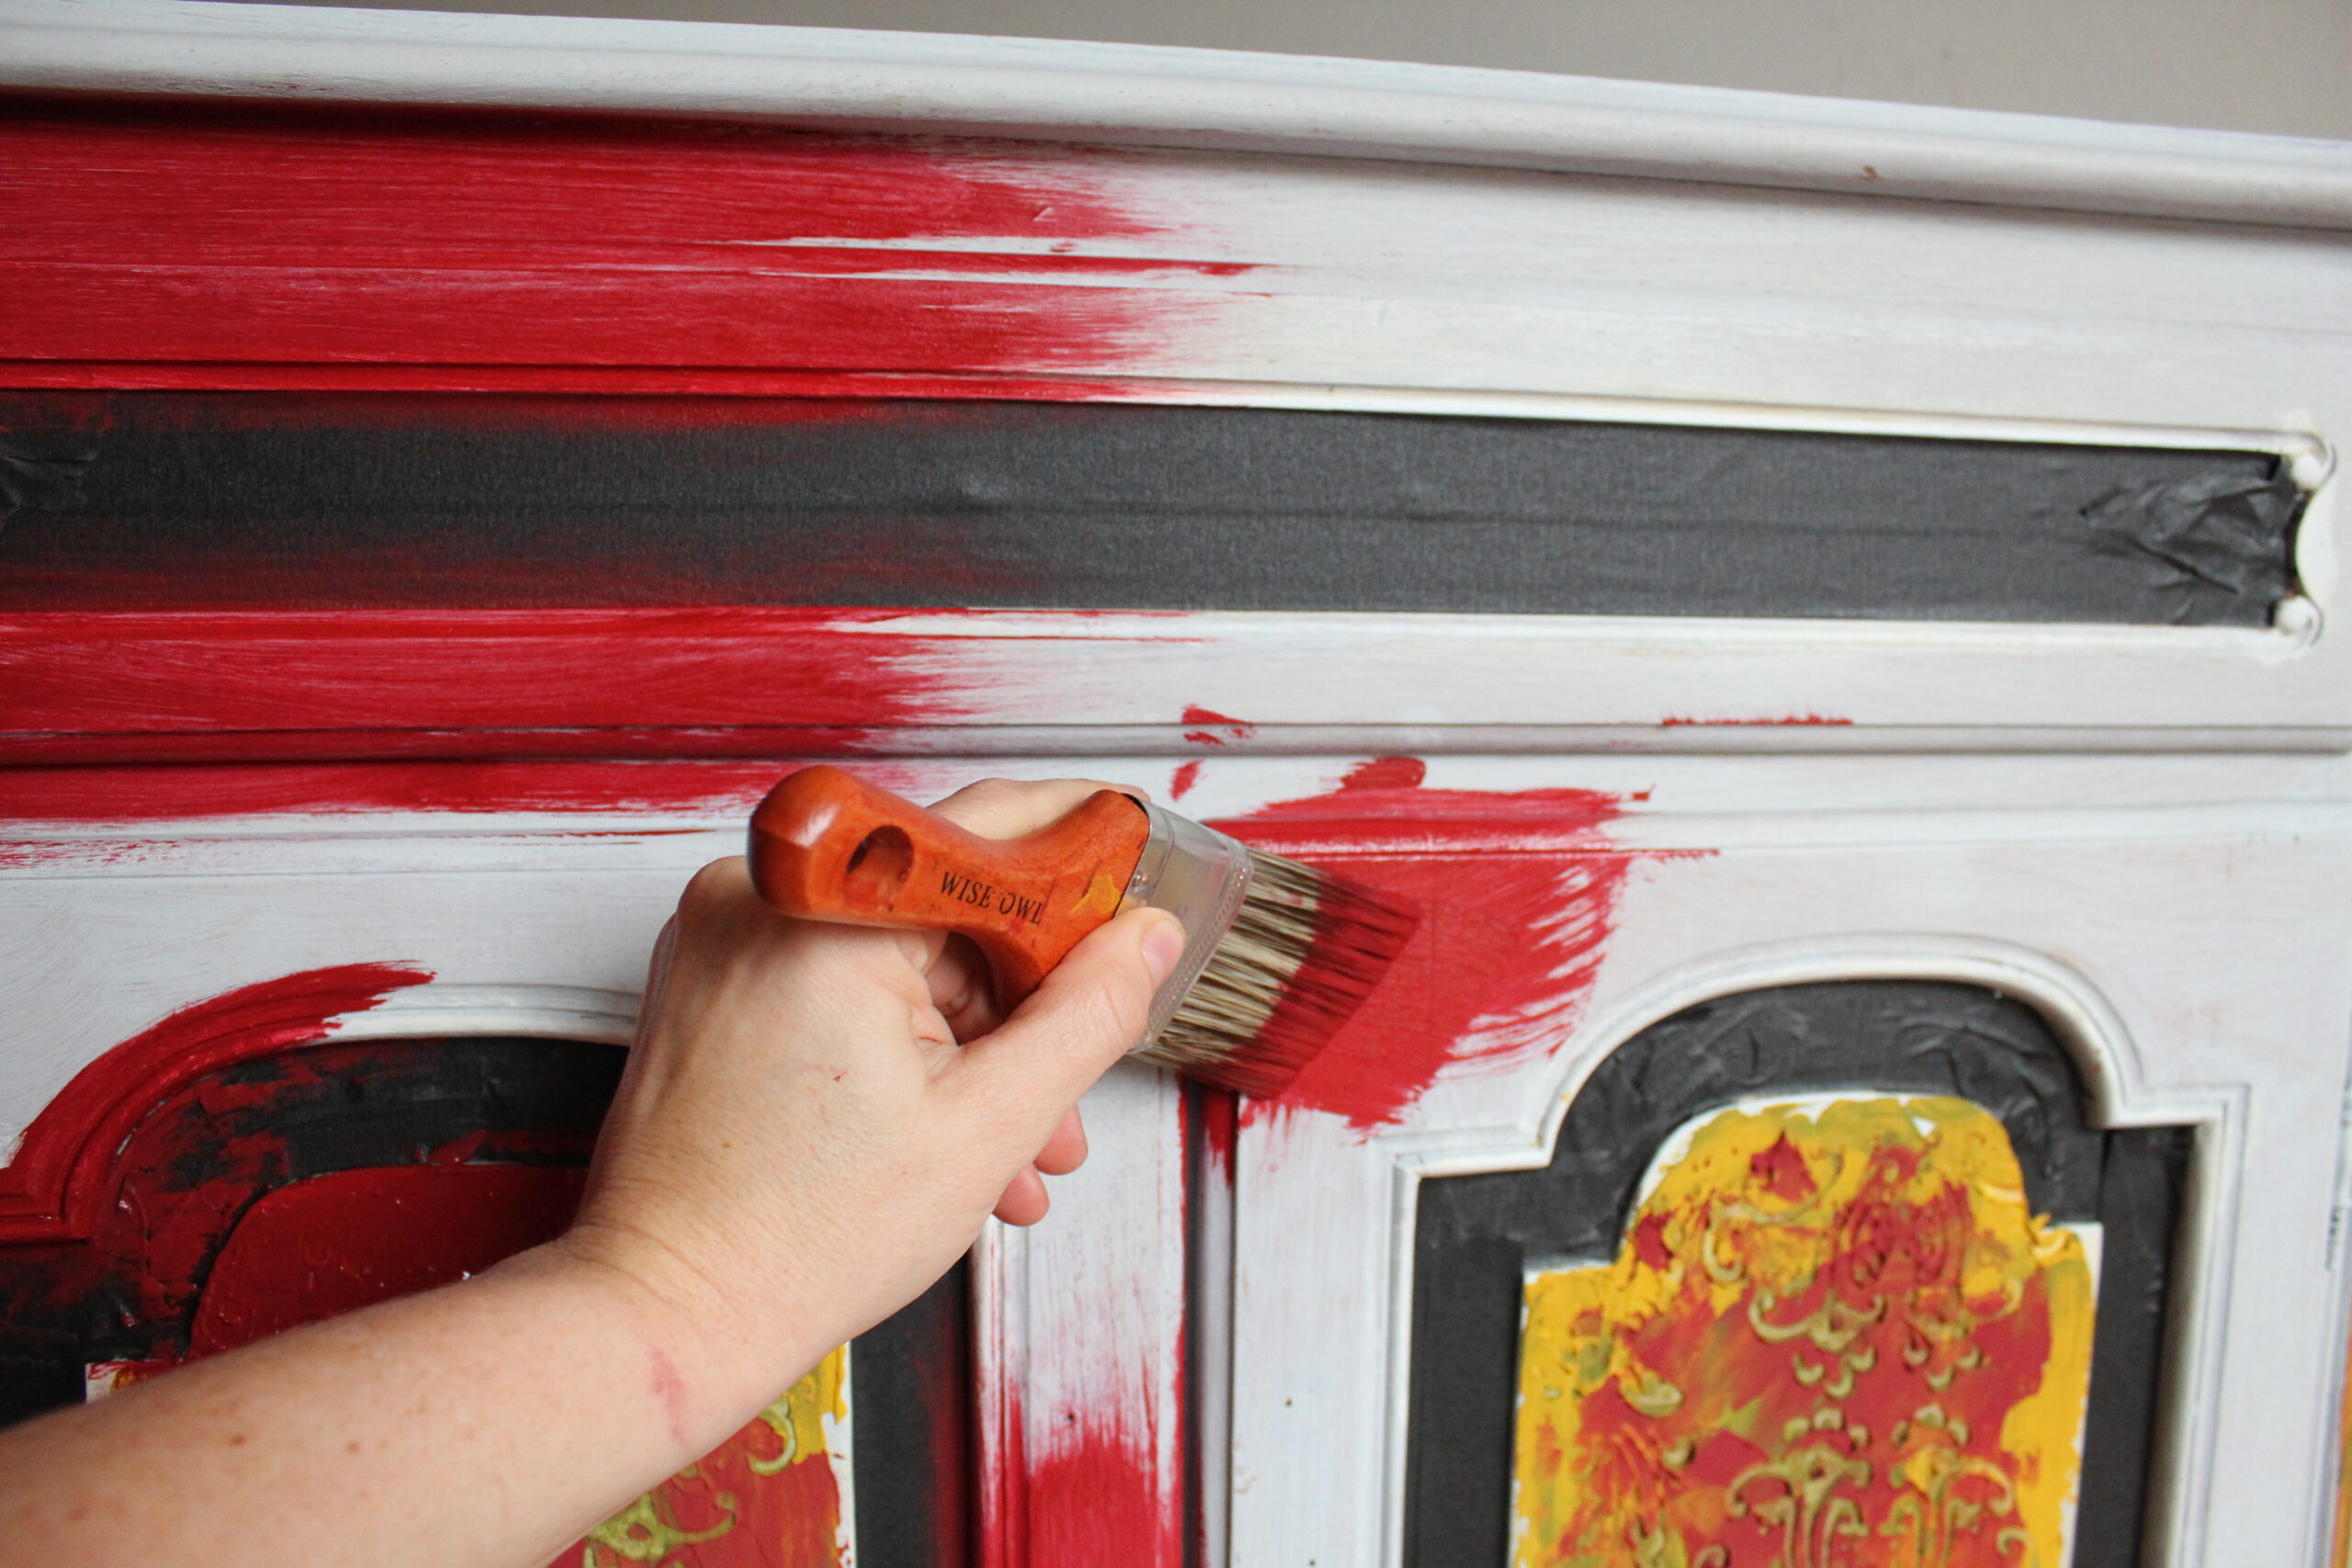
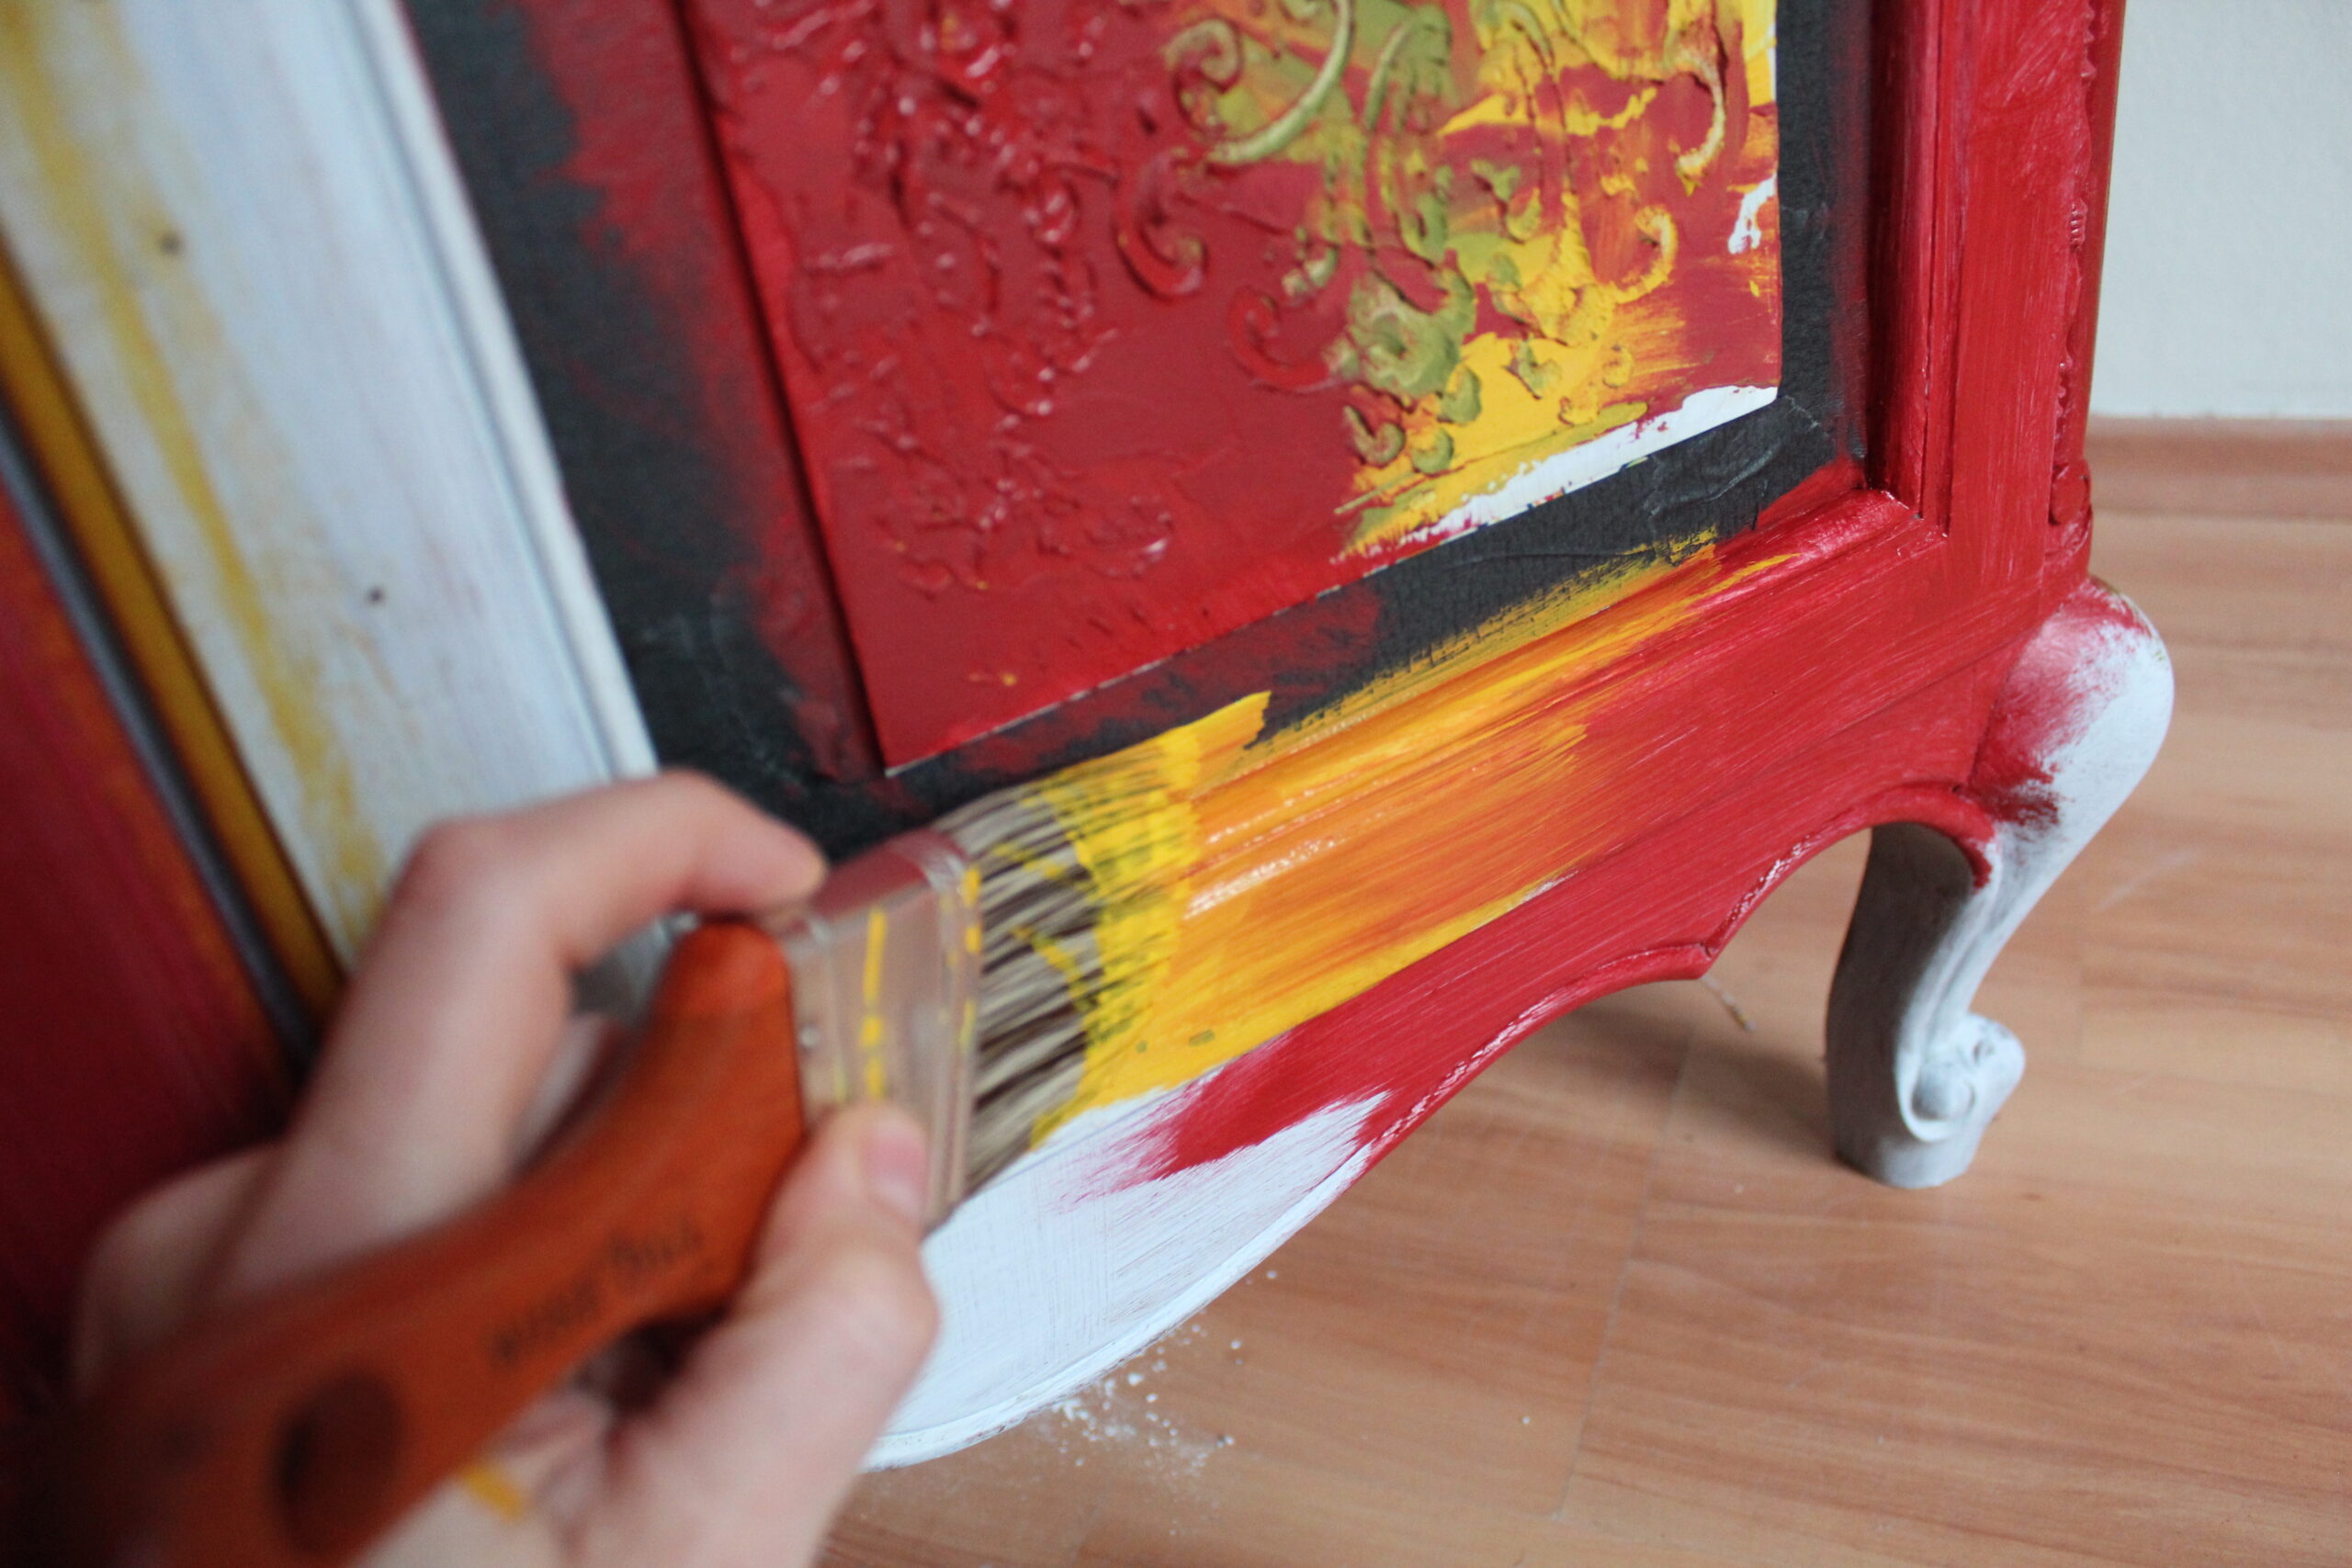
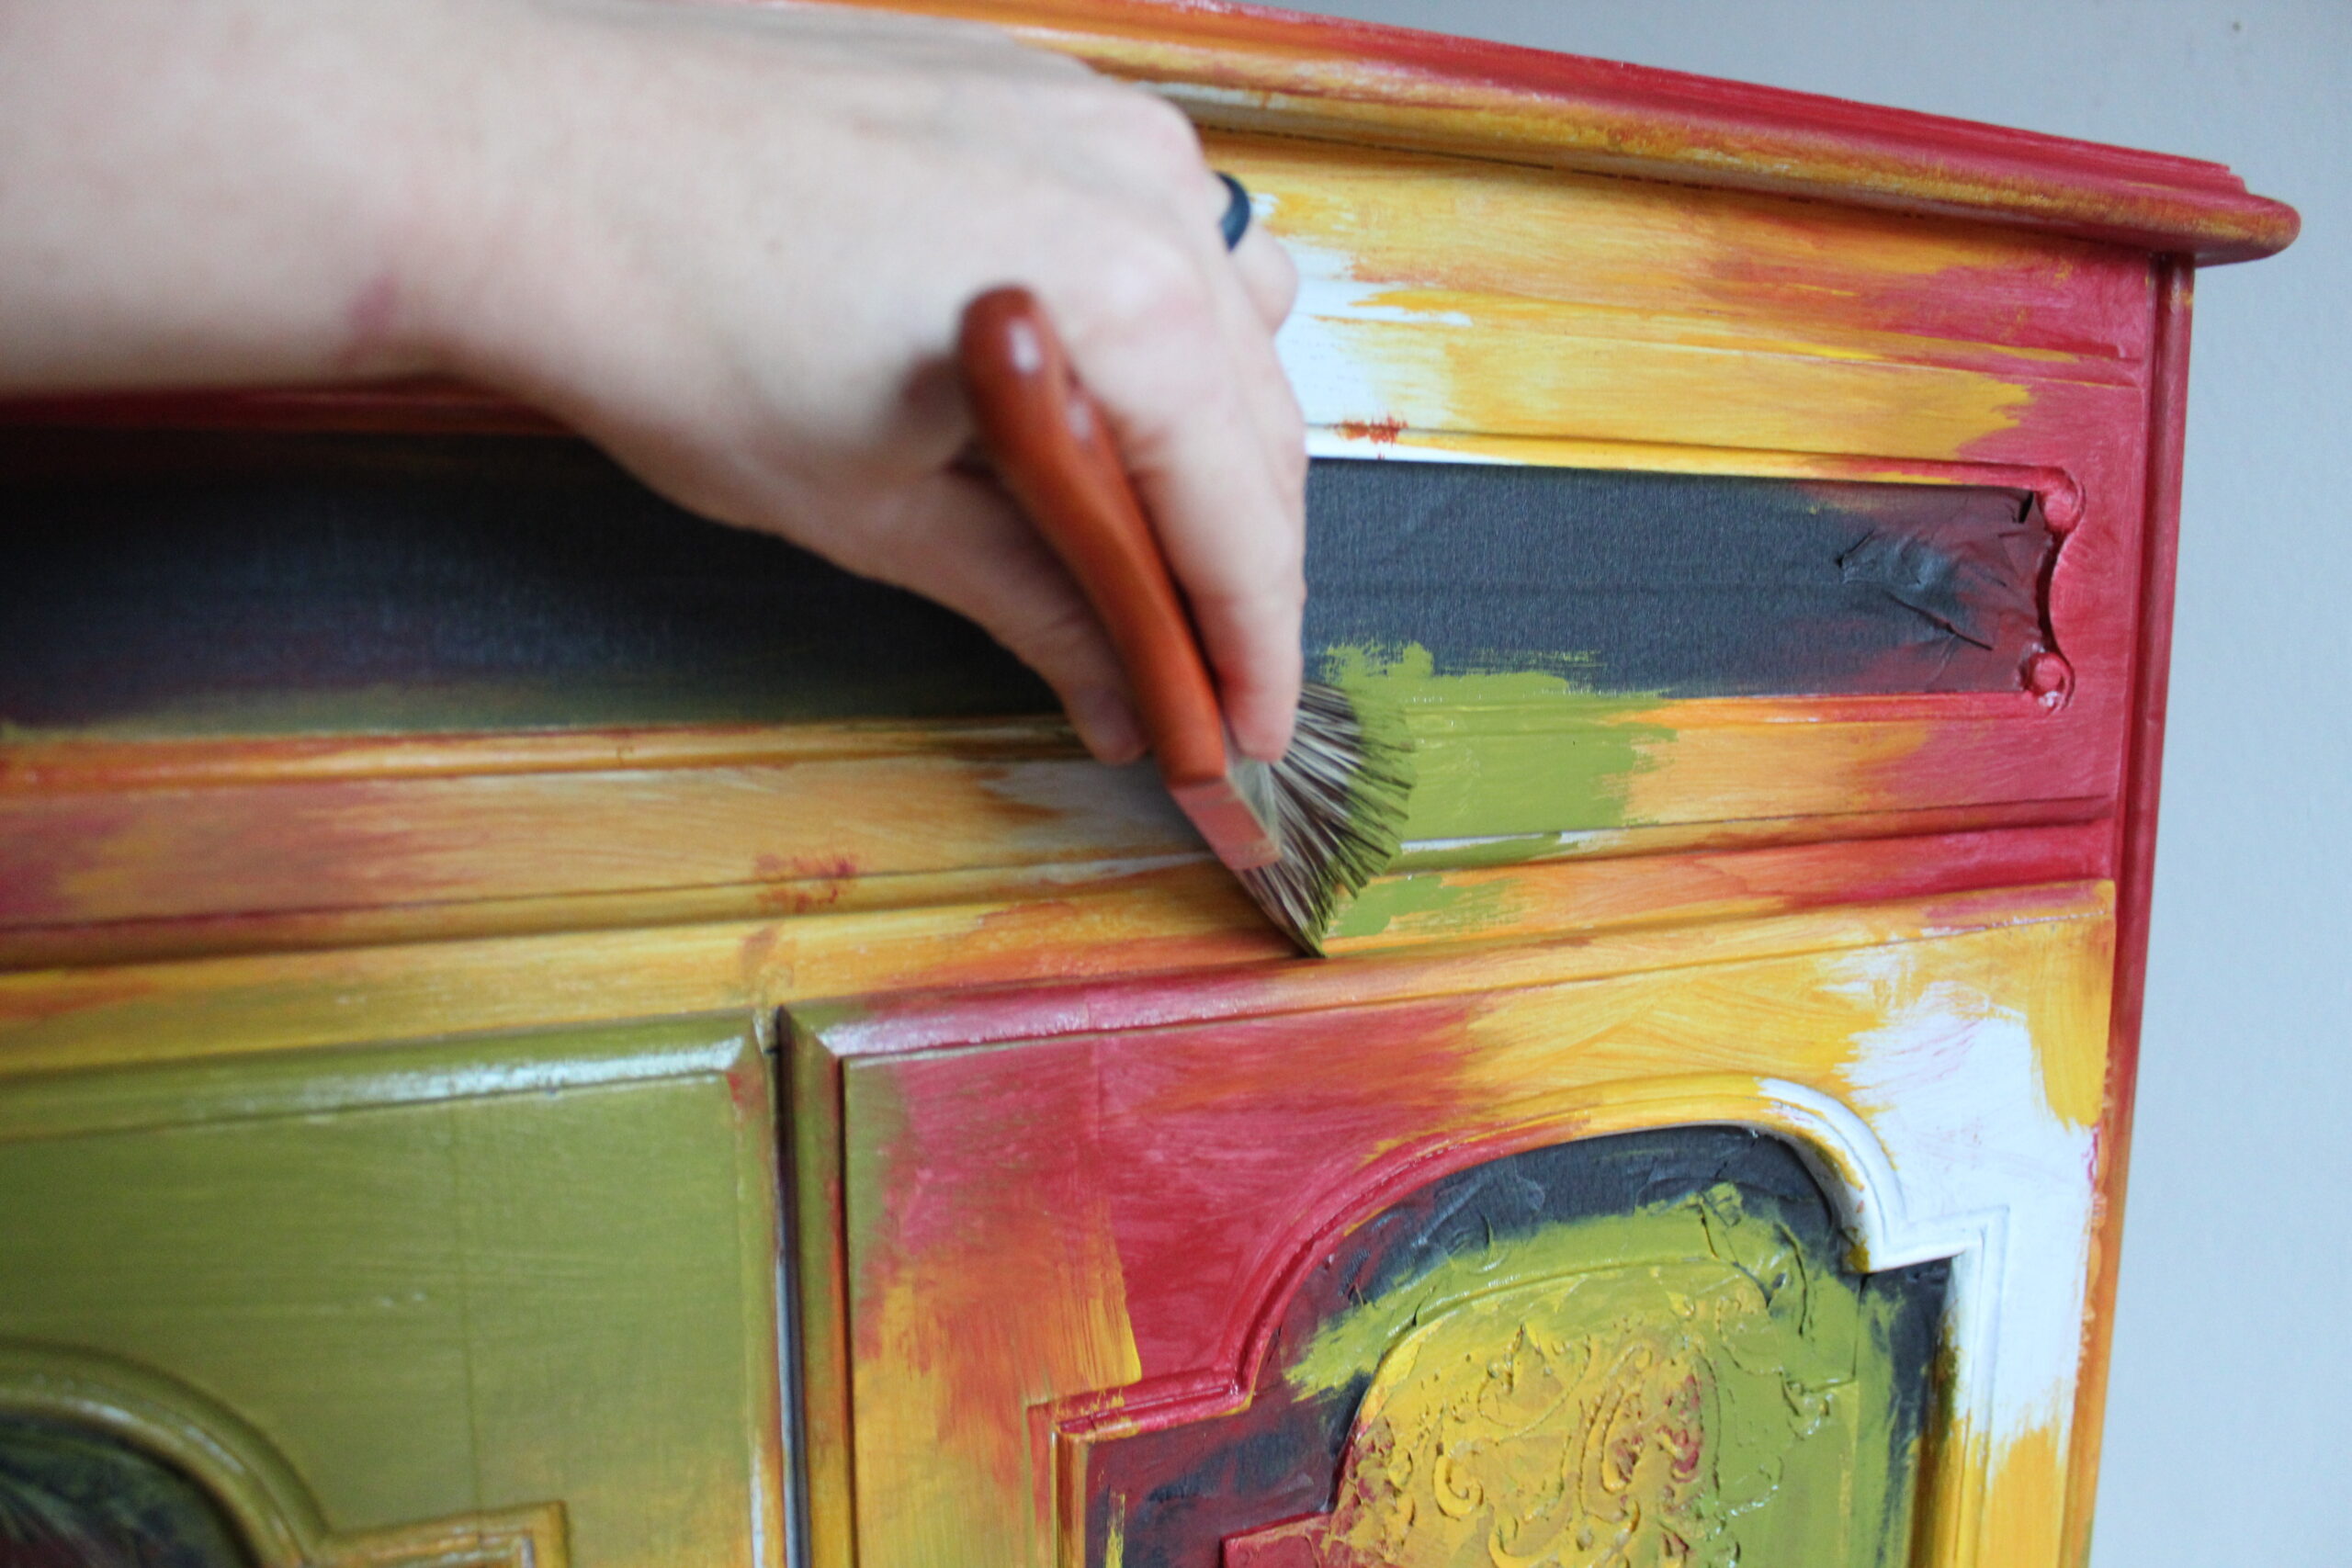
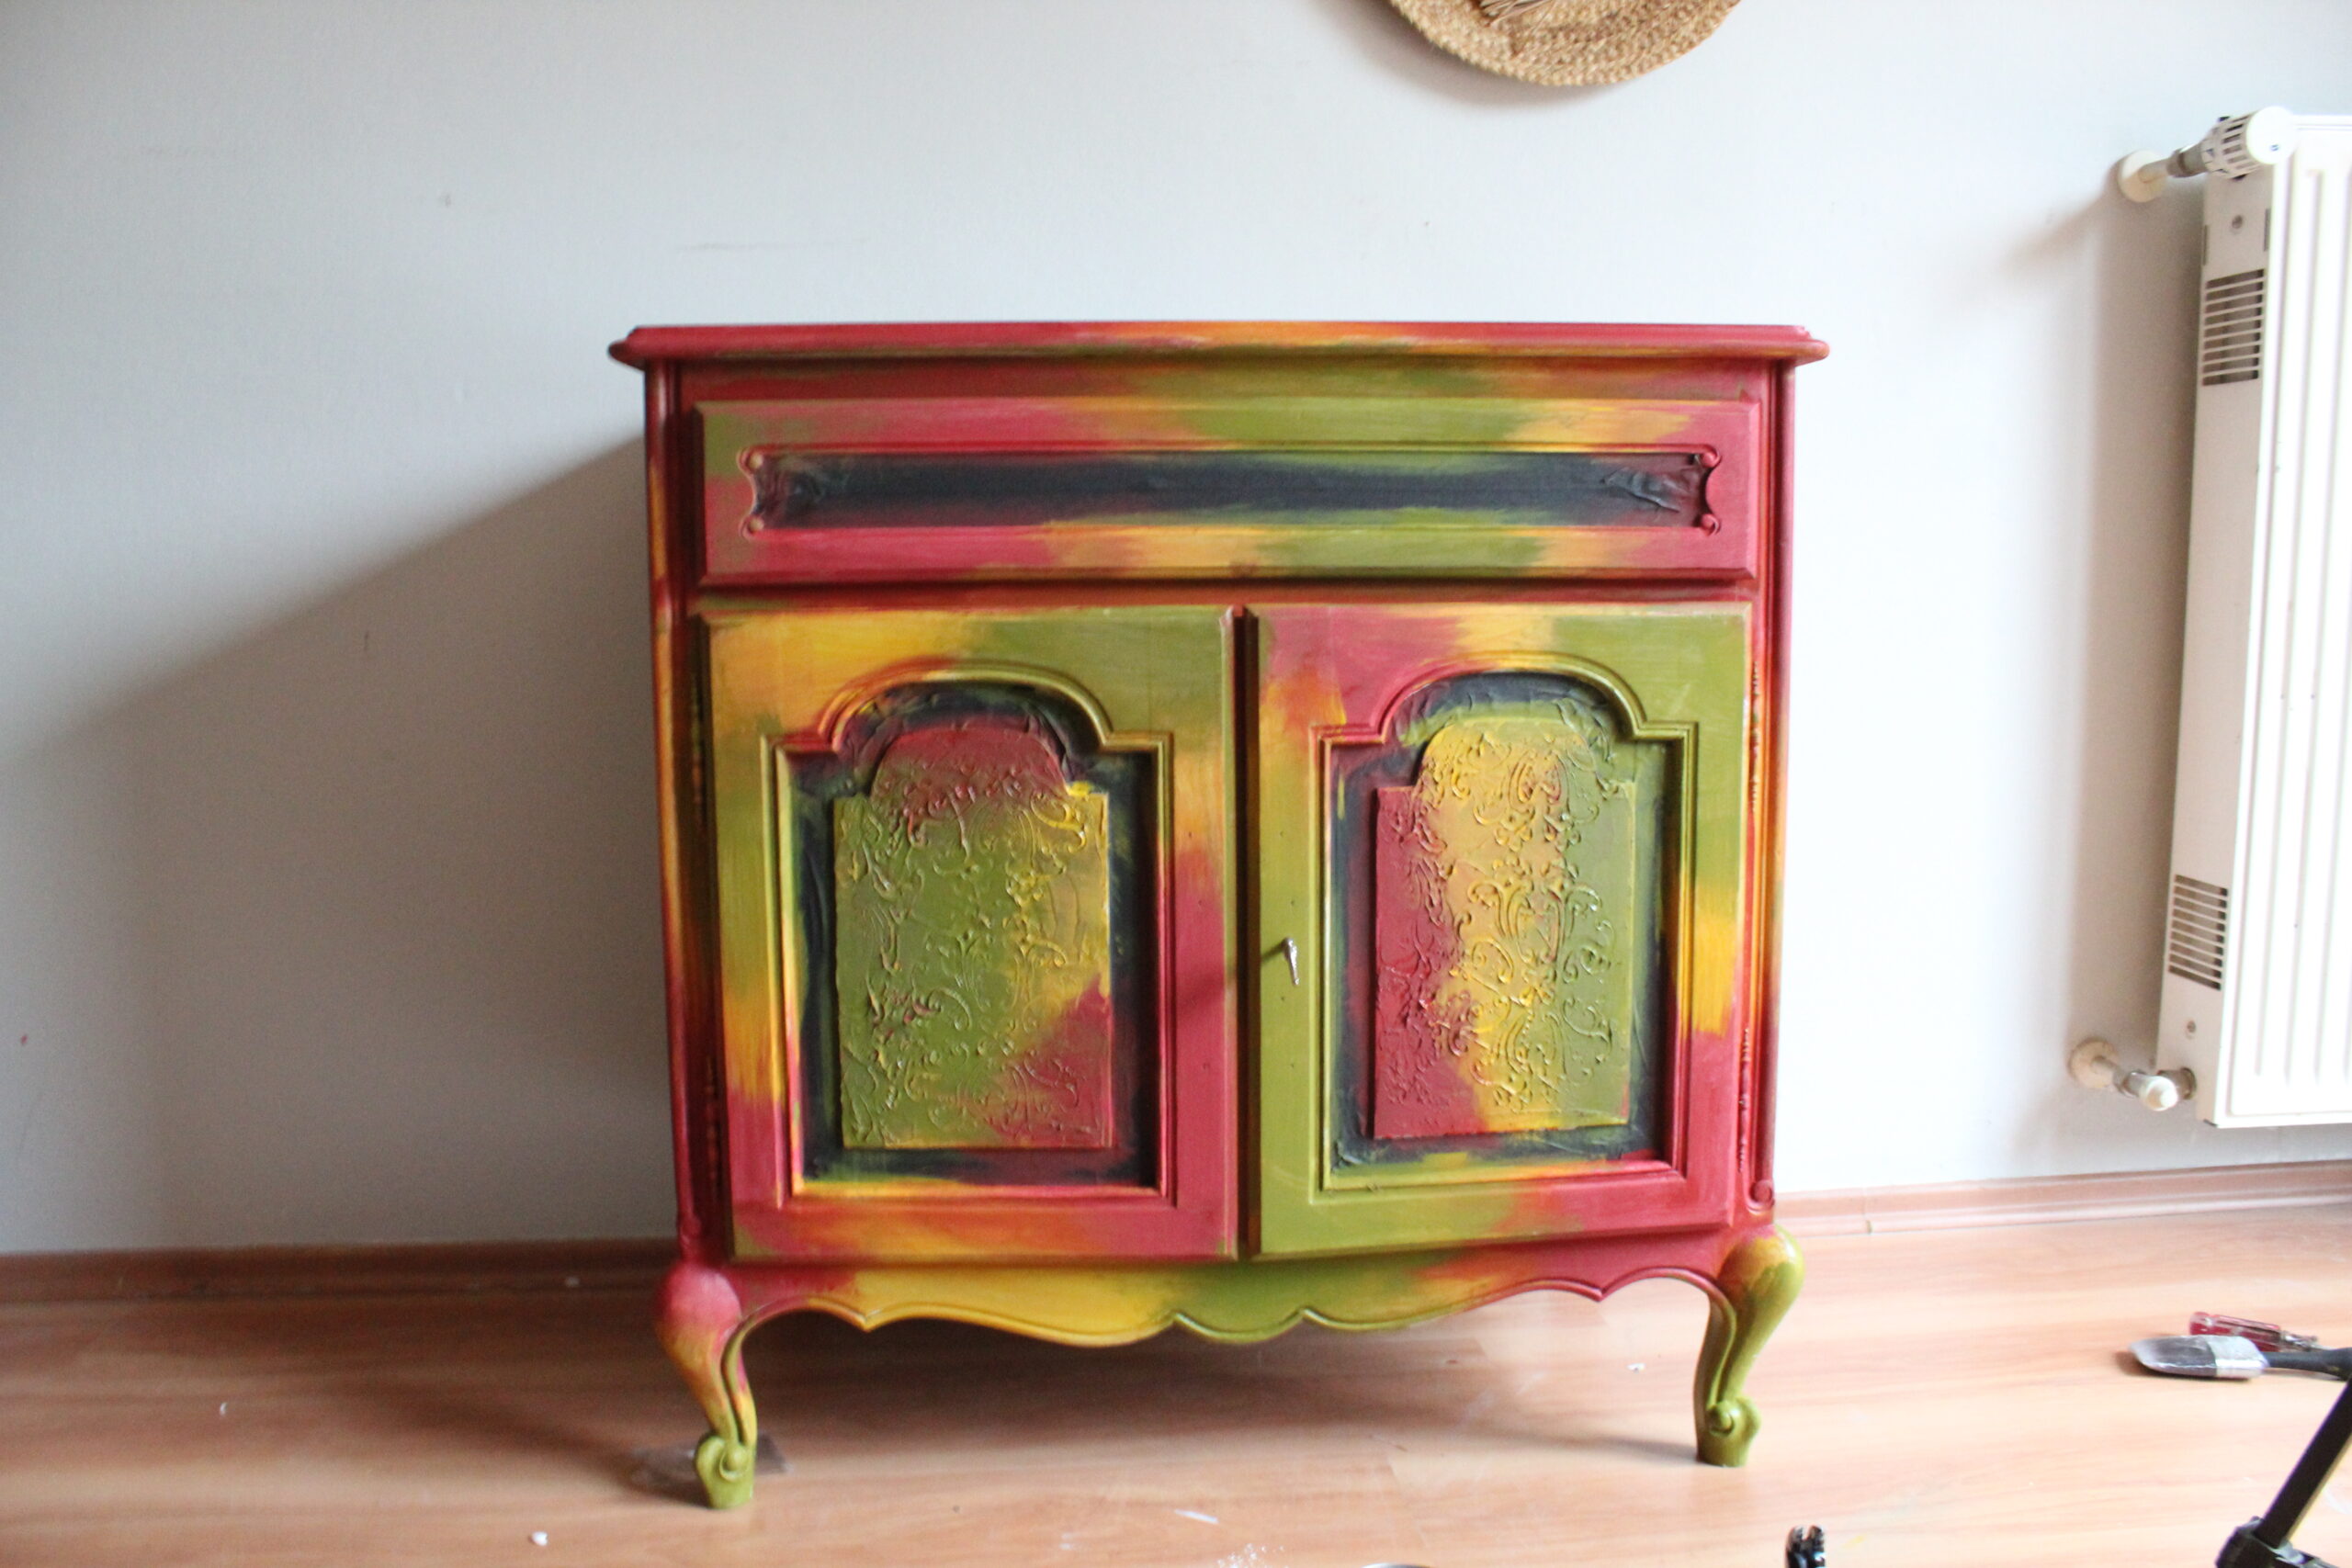
For the body of this piece, I continued to use Wise Owl's Chalk Synthesis Paint in the colors, Republic Red, Turmeric, and Spanish Olive. At this point, I suggest that you cover/protect the areas where you applied the decoupage paper prior to painting the body of the buffet. Using a quality paintbrush I painted all three colors in random places. Blending and stippling to create texture and layers. One of the benefits of using Chalk Synthesis Paint is the ease of blending without the colors turning muddy. I really like the way the red (Republic Red) and yellow (Turmeric) blended to create a unique orange hue. Keep that in mind when you are placing your colors and most of all have fun with it.
Adding Dark Walnut Wax
After the paint was fully dry on the buffet I added Black Walnut Furniture Wax by Wise Owl Paint. The furniture wax is dual purpose, it will seal the Chalk Synthesis Paint and will darken the paint colors giving it a unique Boho look. I applied the wax generously to the entire piece using a Wise Owl Premium 2-inch Palm Brush wiping back the excess with a lint-free cloth. Be sure to remove the decoupage protective covering after waxing. I went back a few hours later to buff it in.
Hopefully, you found this tutorial helpful, and are feeling confident to transform your next project from blah to bomb! I have included a list of the supplies and products used to create this look for your ease. A video tutorial for this project is coming soon.
Thank you so much for being here!! Happy creating!!!
XOXO
CrysDawna
Supply List:
• Green EZ Furniture Cleaner
• Wise Owl Paint Stain Eliminating Primer (Gray)
• Wise Owl Paint Chalk Synthesis Paint (Bone, Republic Red, Spanish Olive, and Turmeric)
• Wise Owl Paint Natural Furniture Wax- Black Walnut
• SaltWash Powder
• APS Decor Roller - Baroque
• Redesign With Prima Decoupage Paper- Tangerine Dream
• Redesign With Prima Decoupage Gel- Matte
• Wise Owl Paint Premium 2" Palm Brush
• Wise Owl Paint Premium Micro Angle Brush
• Surf Prep Sander

