The Guide: Proper Painting Prep Tips!

Wise Owl Paint™ was born from a need to bring things back to life. There is an extraordinary sense of bliss that comes with rescuing an item from injury; from the trash; or simply to bring it back to being a cherished piece once again. Wise Owl Paint™ provides premium products and tools to aide in this transformation. We are compiling "The Guide" to cover all things about Wise Owl Paint™ products, including Product Specs, Pro Tips, Proper Painting Prep, and of course the science! From Paint-to-Finish we have you covered!
What’s the biggest thing that makes or breaks a painter? The answer is simple Quality Products and Proper Prep! Let’s chat about preparing your surface for paint. Follow these pro tips for success with Wise Owl Paint™ products.
CLEAN!
 If you clean your project before sanding, you won’t gum up your sanding paper with dirt and grime.
The best way to clean depends on the level of filth and the existing finish. Always remove all flaking or peeling paint from the piece. If it’s not adhering now, putting our paint on top won’t make it better, it will just prevent our finishes from properly bonding.
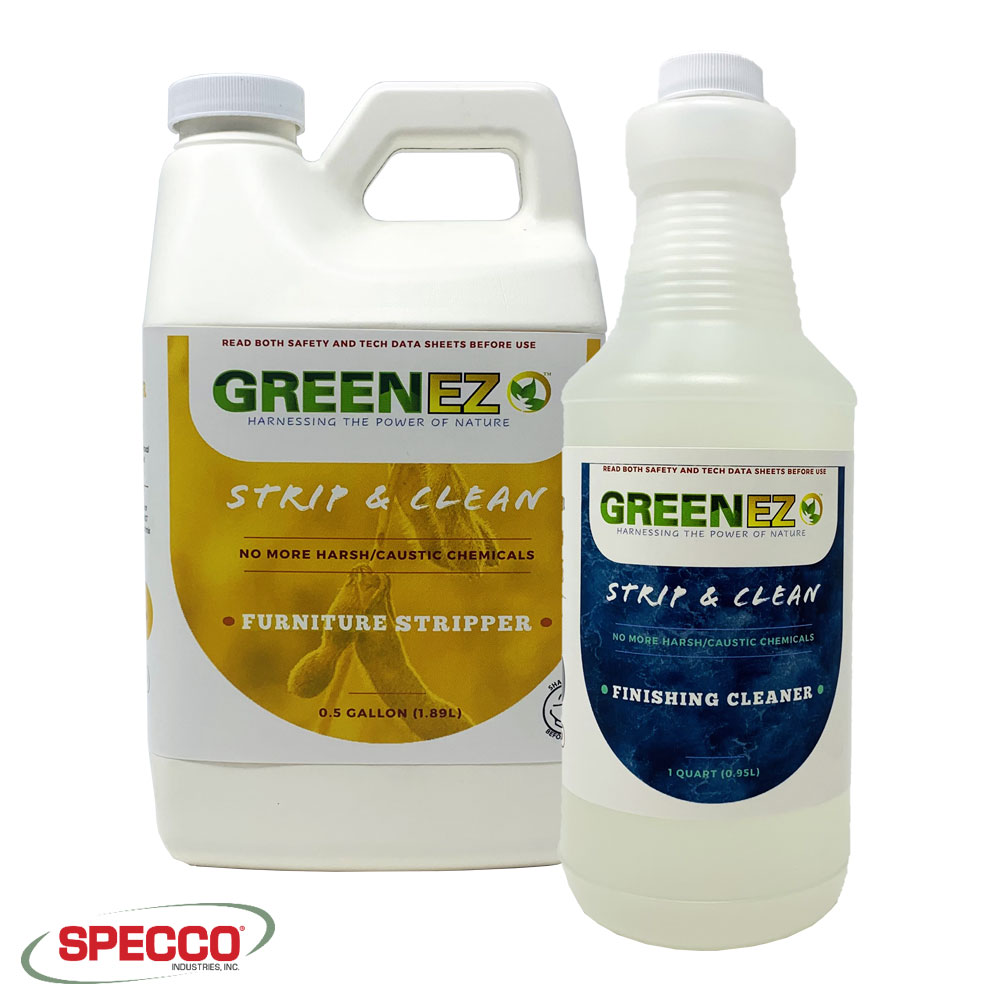
Recommended Cleaning Solutions:
Don't forget to double-check the Wise Owl Paint product specs before selecting a cleaning solution, as each product has different requirements.
• For cabinets: TSP (tri-sodium-phosphate) or TSP Substitute. Be careful when using these products, they don’t have a smell but can be caustic on the skin so wear gloves and follow the manufacturer’s precautions. Mix with water and scrub cabinets down well with the solution. Use a green scrubby sponge to remove all oils and buildup. Once you are done make sure to rinse well with water; paint finishes will not adhere unless the cleaners are completely washed away.
• For smelly pieces and tobacco smells: LA’s Totally Awesome is, well, totally awesome! It’s available at the Dollar Tree. Krud Kutter or TSP Substitute works wonders as well. After a good scrub, I generally finish with a rag and vinegar to neutralize any residual odors. As always, rinse cleaners completely from the piece with water.
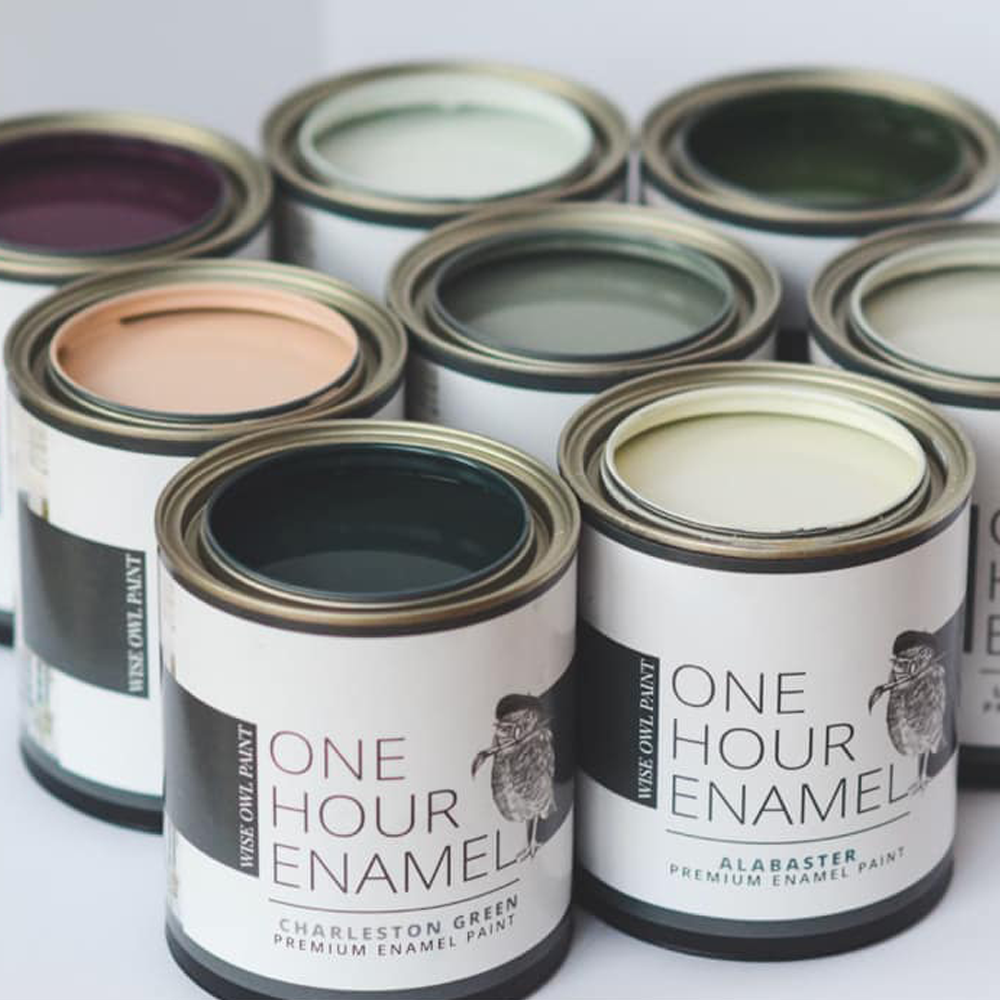
• Alligator varnish or unstable oil-based varnish: These finishes will generally affect adhesion. Why? These old varnishes had a wax in them that rises to the surface after 100+ years and need to be removed or your finish could peel and/or crackle. Depression-era pieces are often culprits, as well as old singer tables. Use denatured alcohol to scrub and soften the buildup then sand with a drywall sponge to make removal easiest. This is especially important before using the One Hour Enamel!
RINSE!
Once you are done make sure to rinse well with water; paint finishes will not adhere unless the cleaners are completely washed away.
SAND!
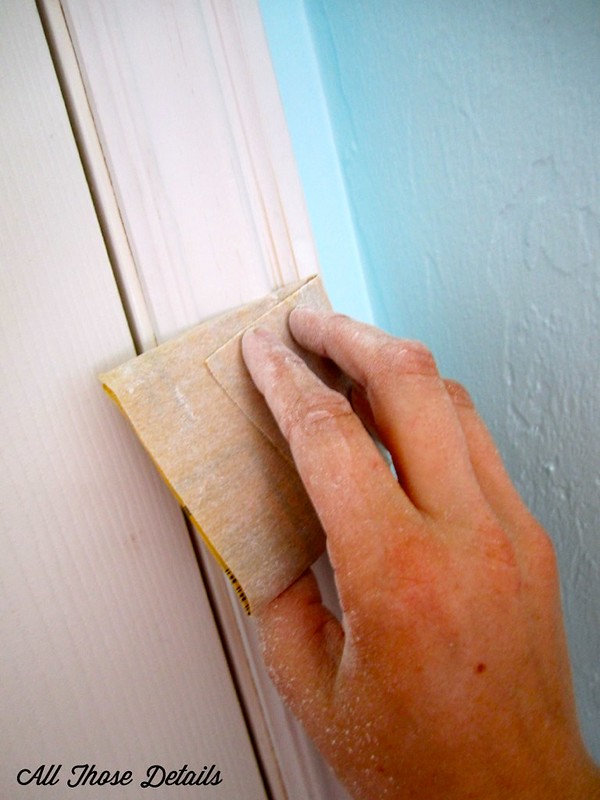 It’s never a bad idea to at least do a quick once over with a sanding block. Usually, this is nothing vigorous! Just quickly to be sure there are no uneven surfaces or grit left on the piece.
• Laminate or other very slick surfaces: Scuff sanding before priming or painting will give the paint something to grip on to. This will help ensure the best adhesion and durability
of the finish.
• Cabinets: Since cabinets are so heavily used, it’s a great idea to scuff sand cabinets well before priming and painting.
DUST REMOVAL!
When you’ve finished sanding, it’s important to remove all the dust. Use a cloth (damp or not) to wipe away residual dust, followed by a thorough vacuuming. Leftover dust will not only mess up the new finish but also keep the paint and primer from sticking.
PRIME!
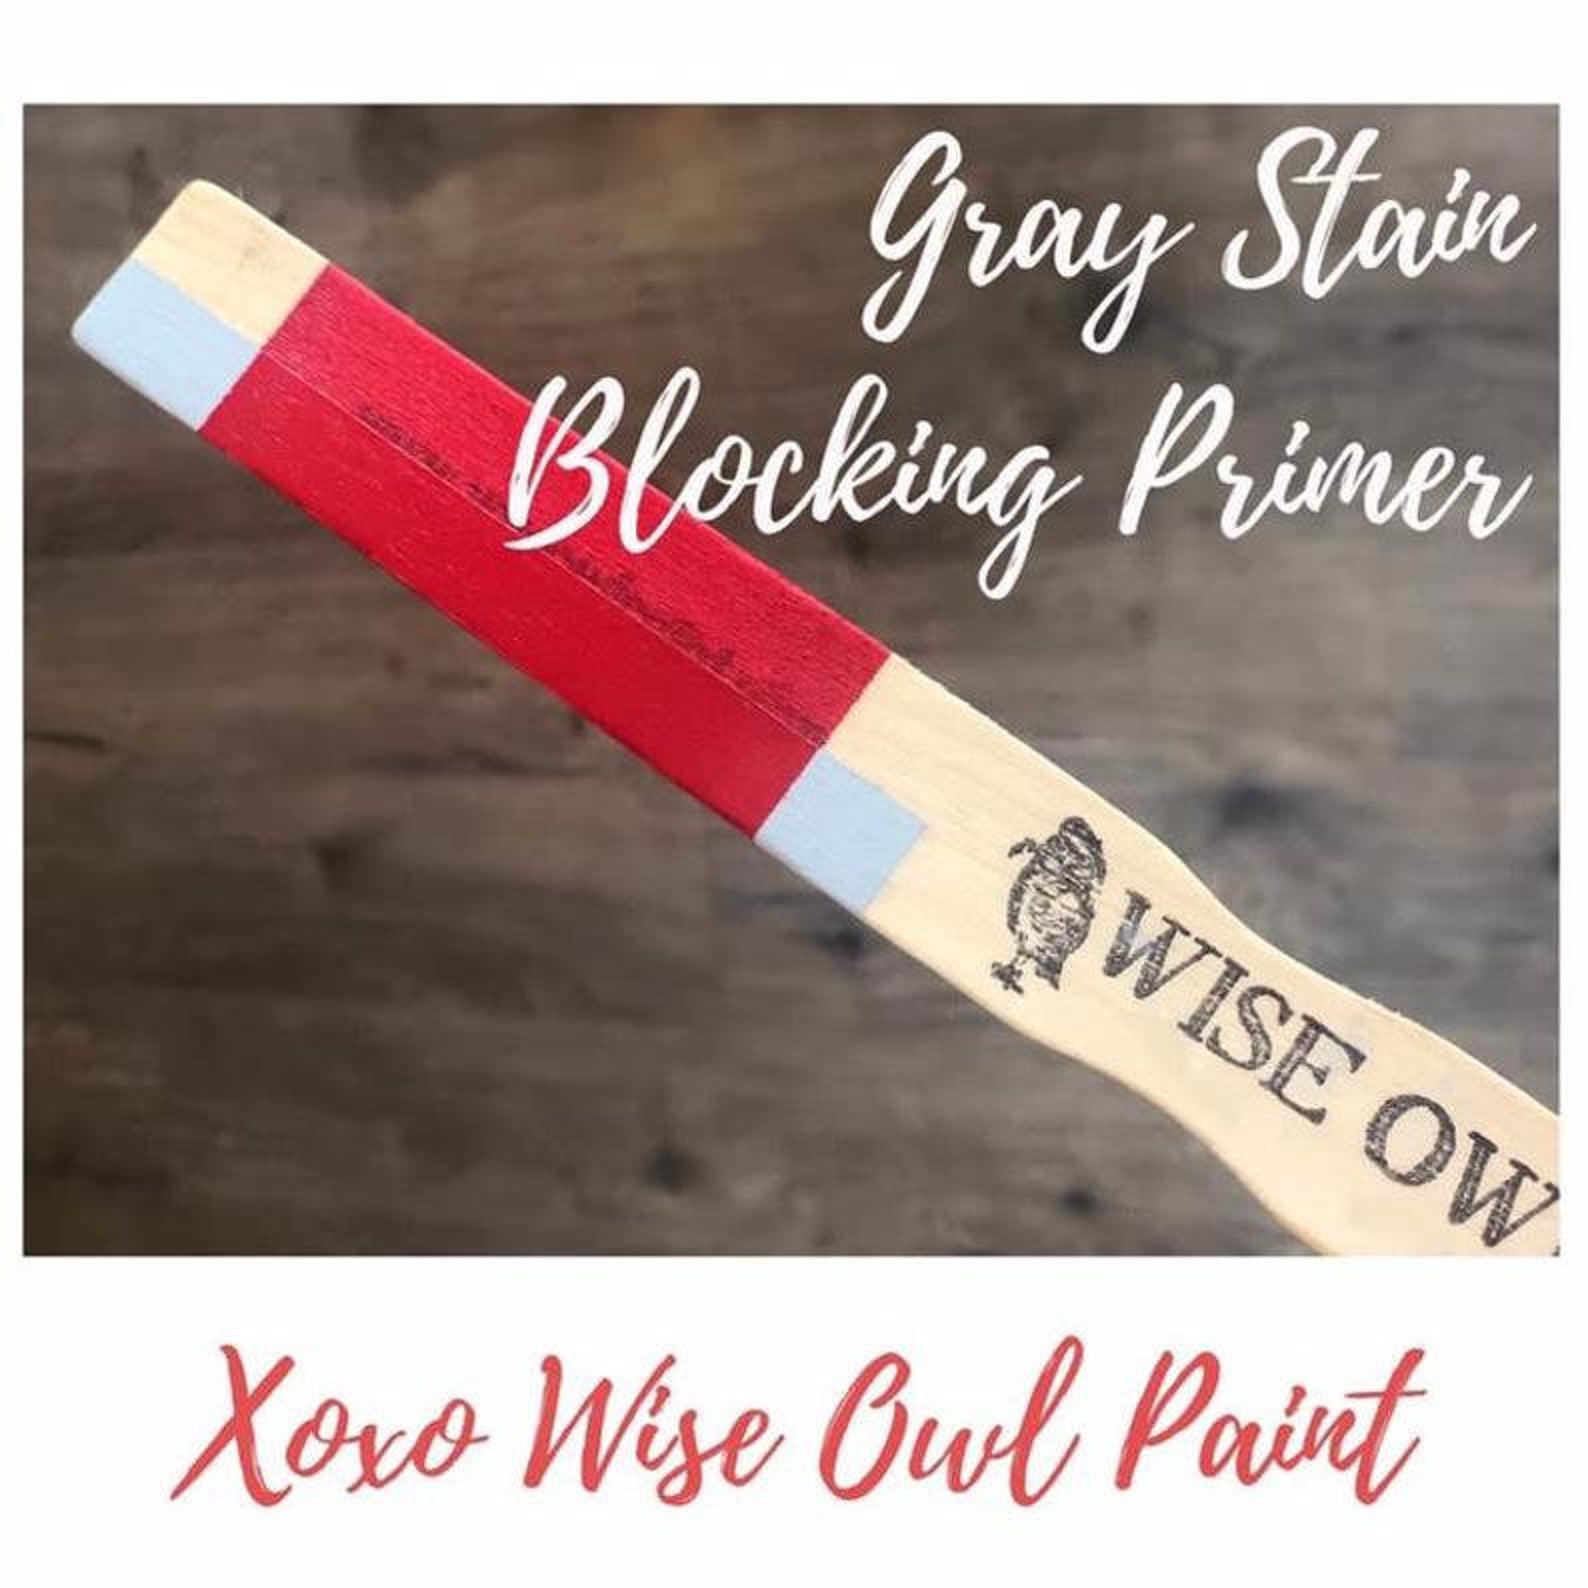 An ounce of prevention is worth a pound of cure. Man, I sure hate it when my mom is right, lol. It’s much easier than getting to the topcoat stage where the tannins present in the wood will rise to the surface and discolor it (think ugly yellow/orange/pink spots). If this happens stop what you are doing, prime the entire piece in 2 coats, then start over. After painting for a while, you will be able to guess who’s a bleeder and who’s not. Or you just eventually figure out that priming most pieces is just more efficient and cost-effective in the long run!
Wise Owl Paint™ Stain Eliminating Primer is available in Clear, Gray, and White, in Quarts and Gallons. It will effectively block tannins AND it is an amazing bonding primer.
For more Pro tips on preparing your project visit us on Facebook: Wise Owl Paint Lovers tips and techniques, a place to share tips and techniques using Wise Owl Paint products and completed projects, and seek advice from members and admins.

